Connecting Stripe to Your Booking Calendar
1
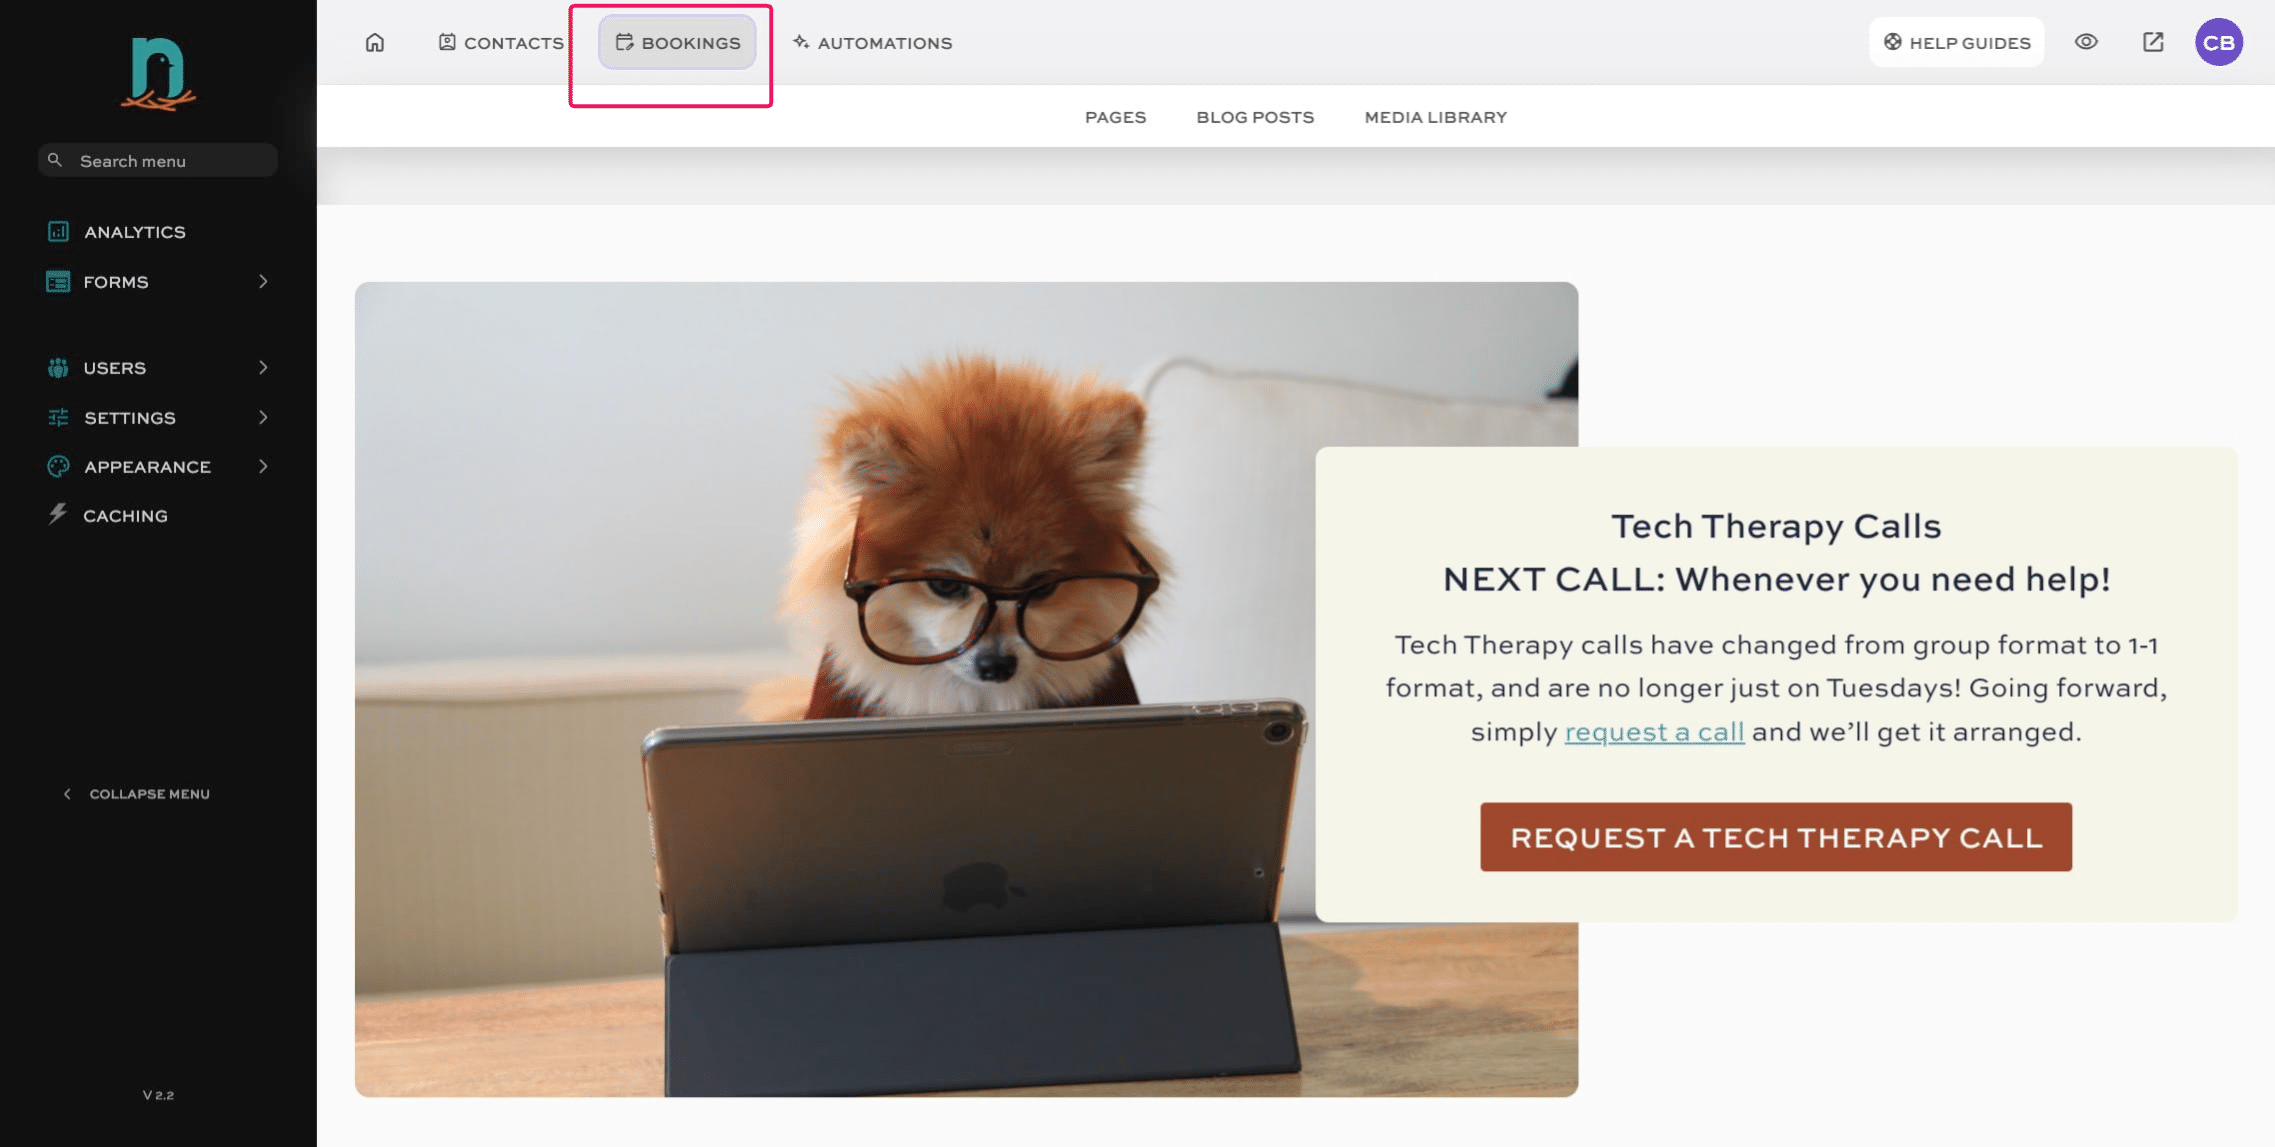
Click on "Bookings"
2
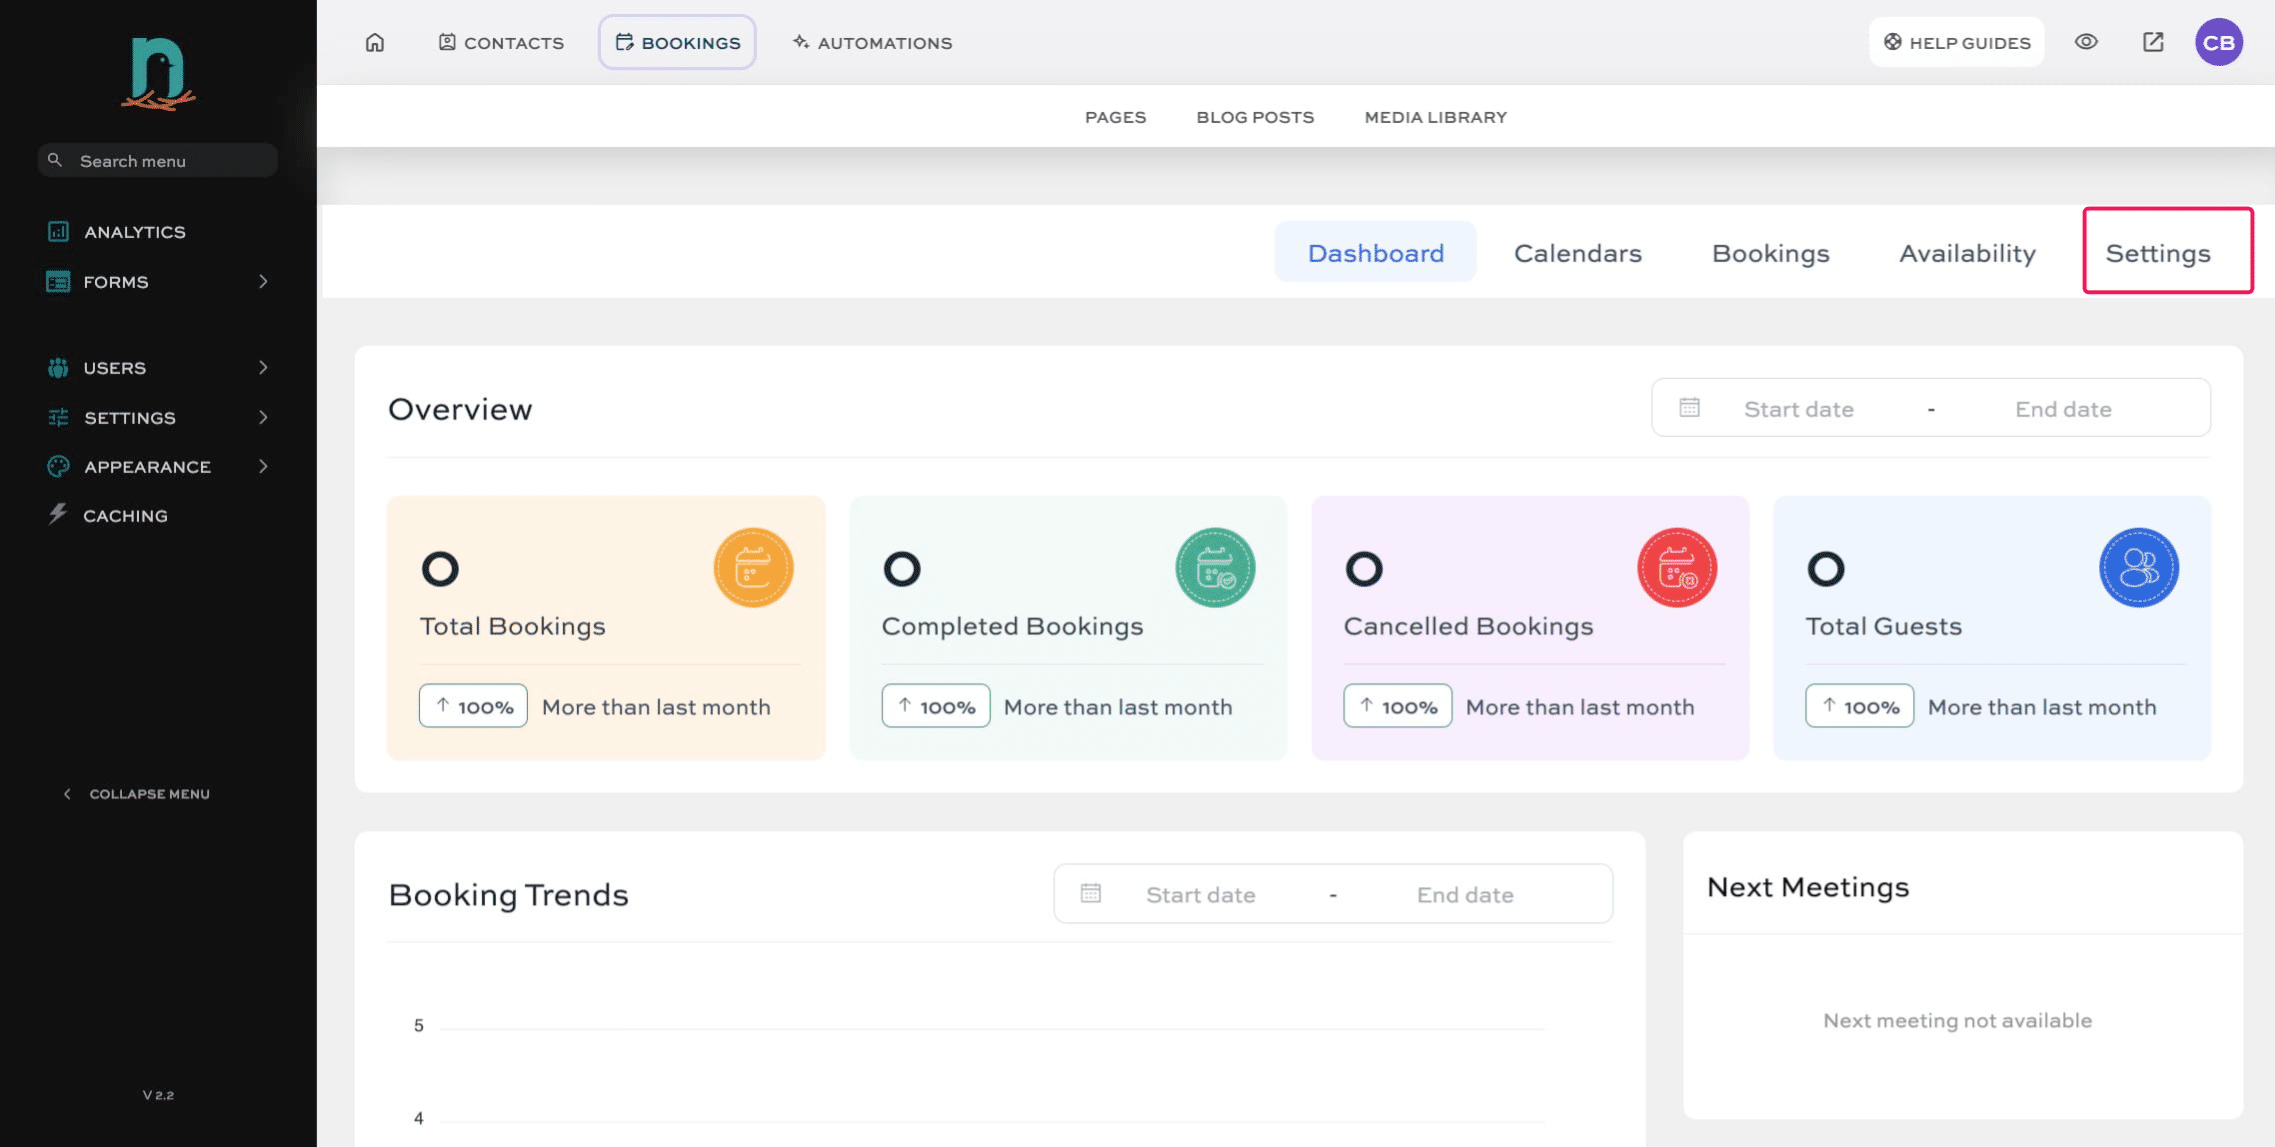
Click on "Settings"
3
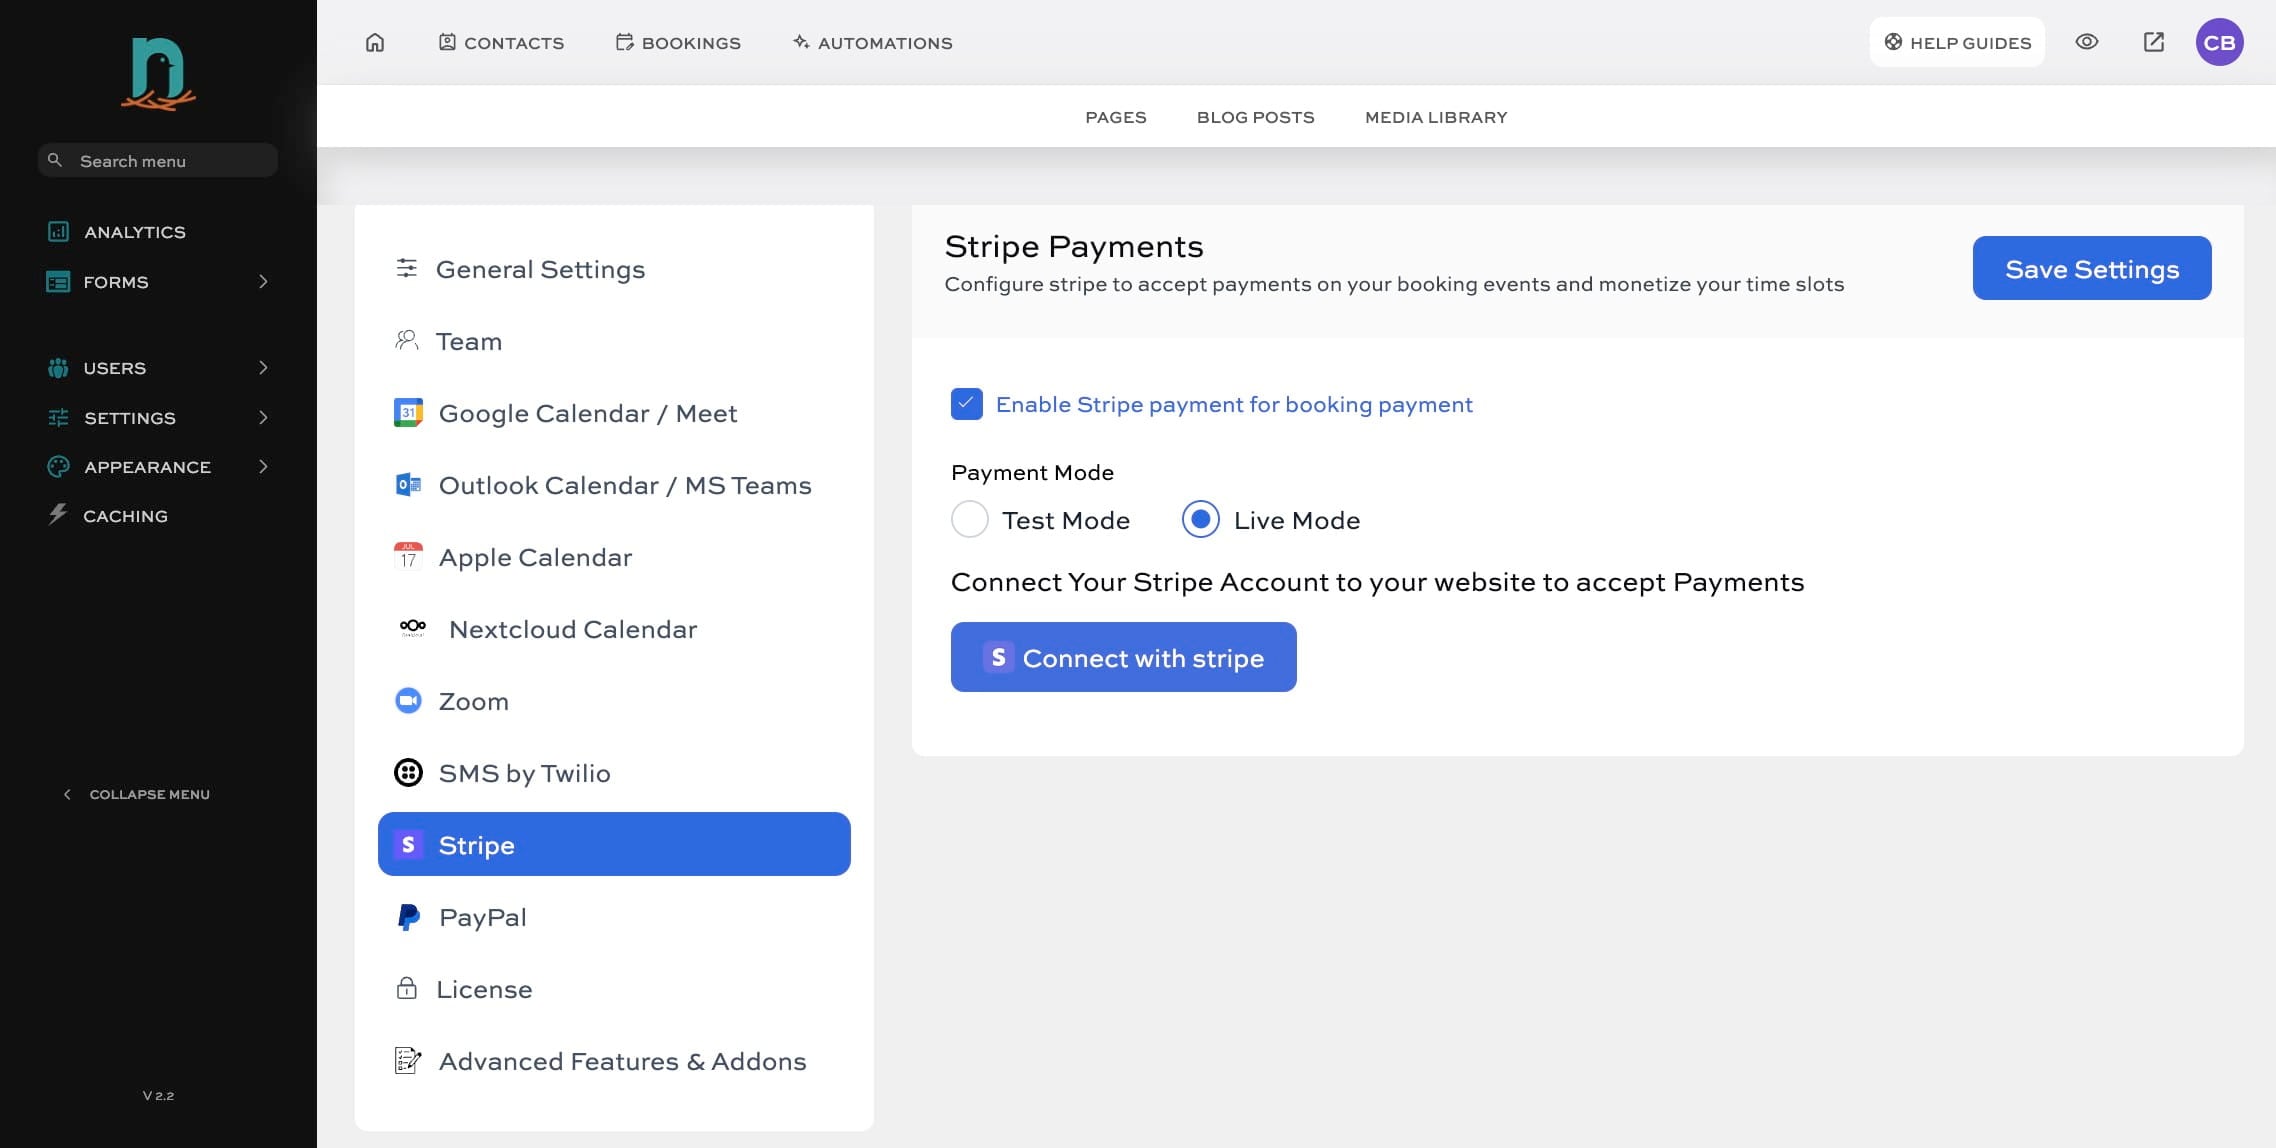
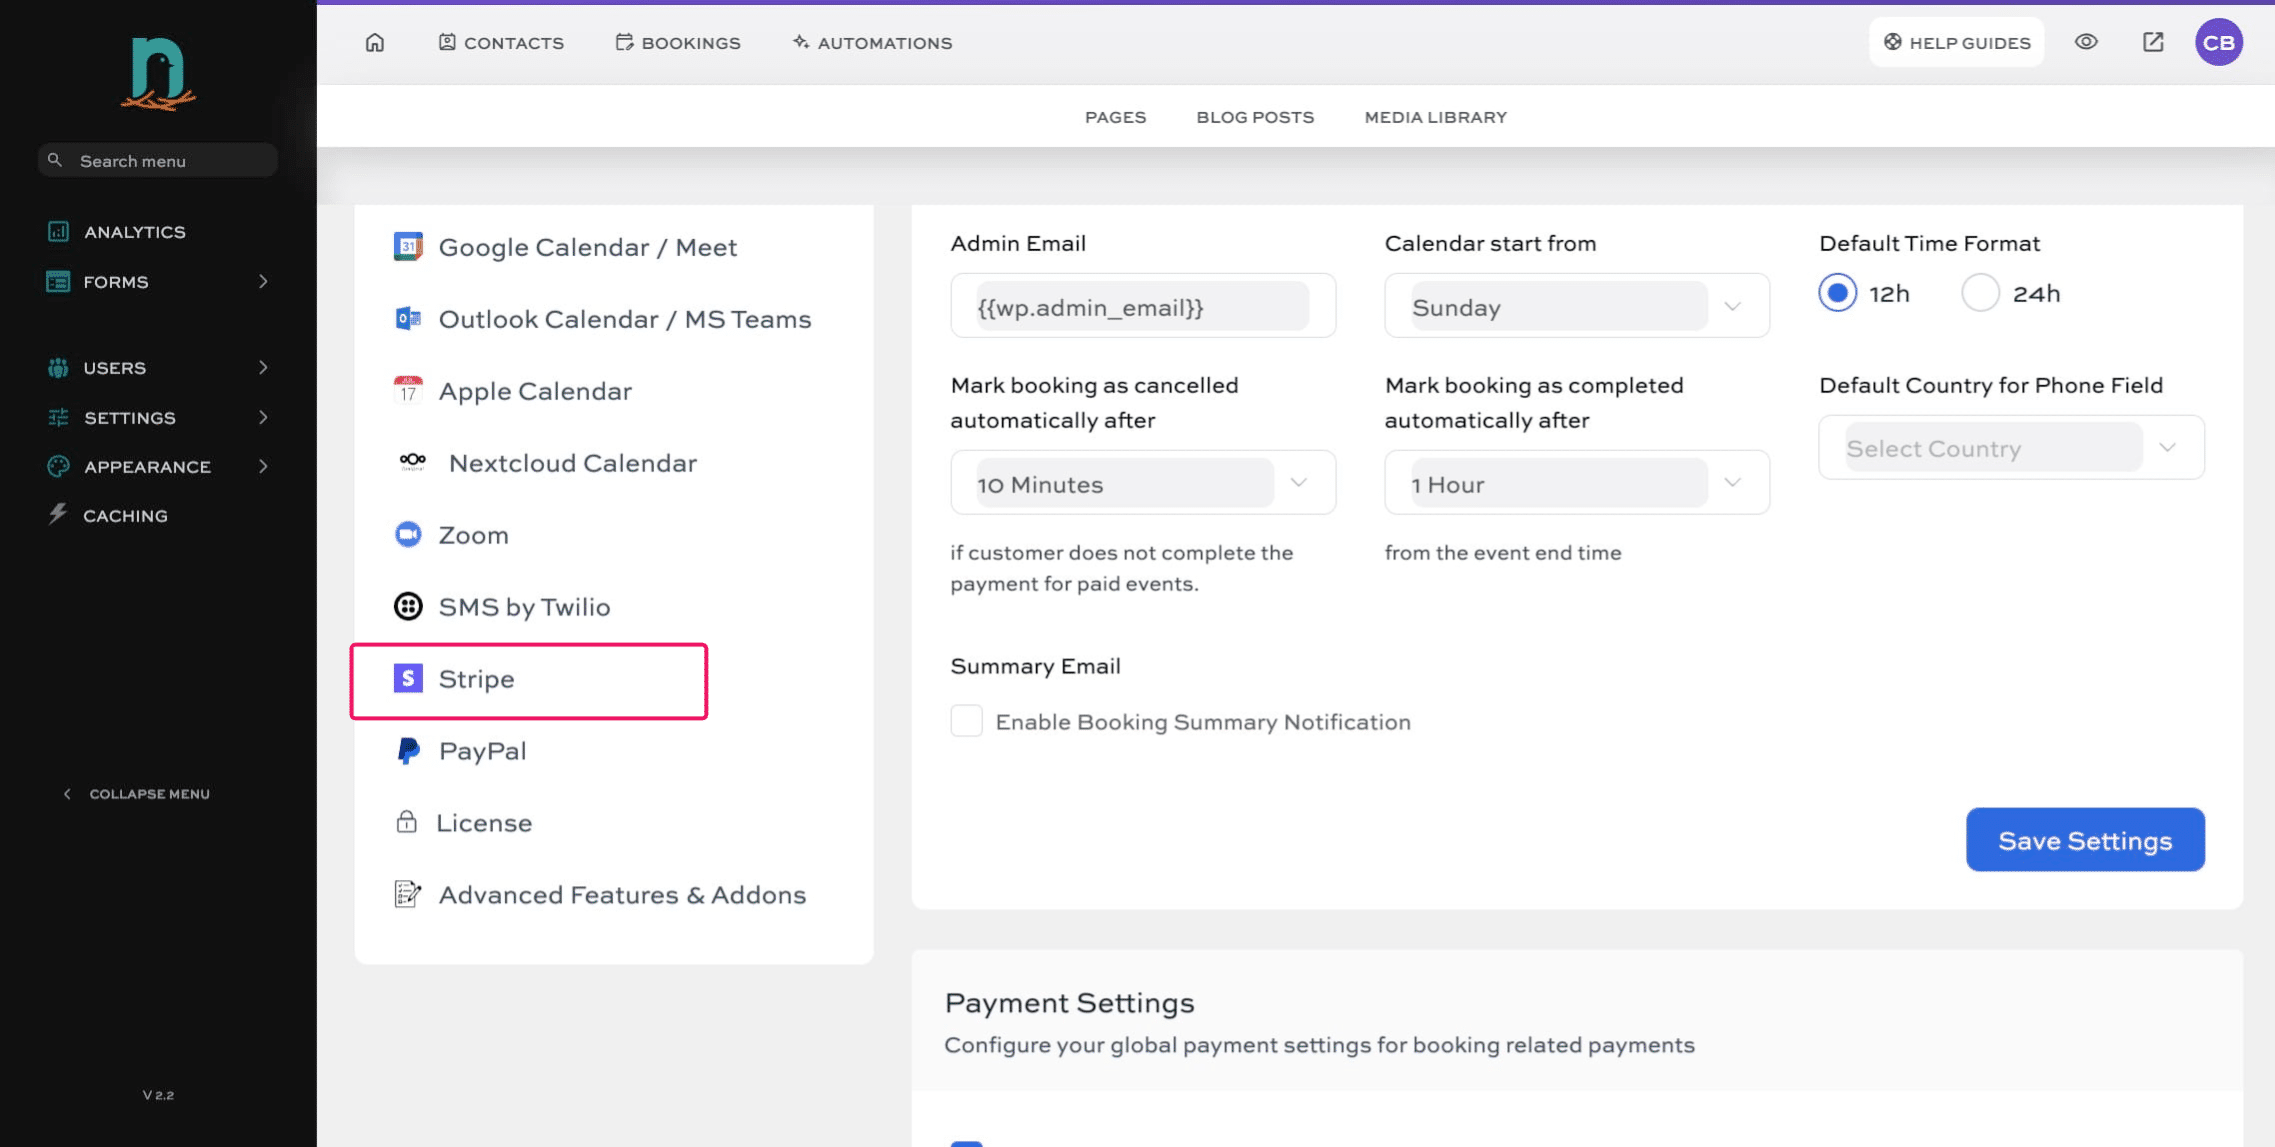
Click on "Stripe"
4
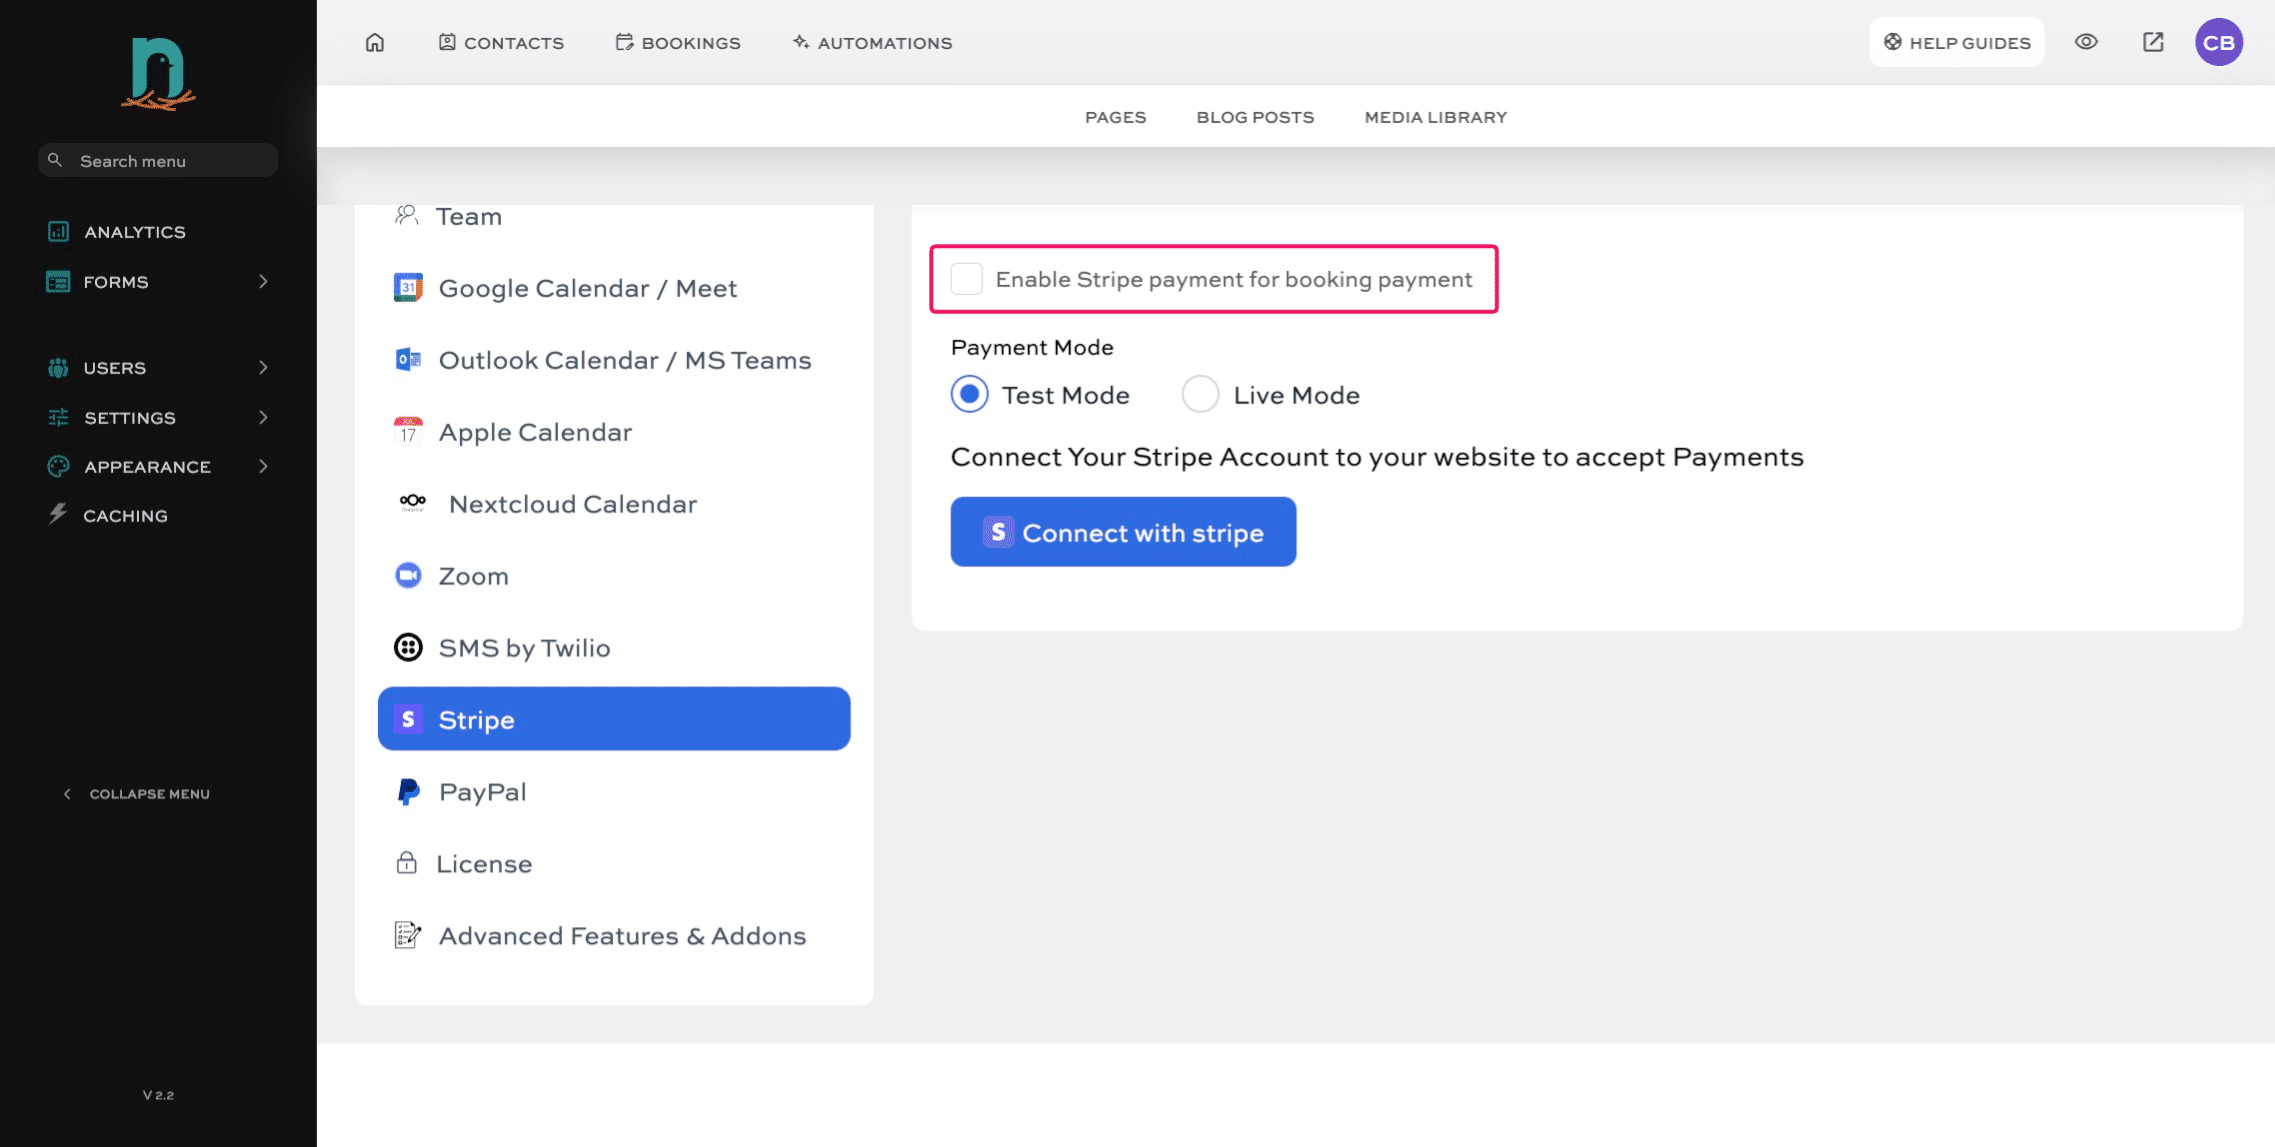
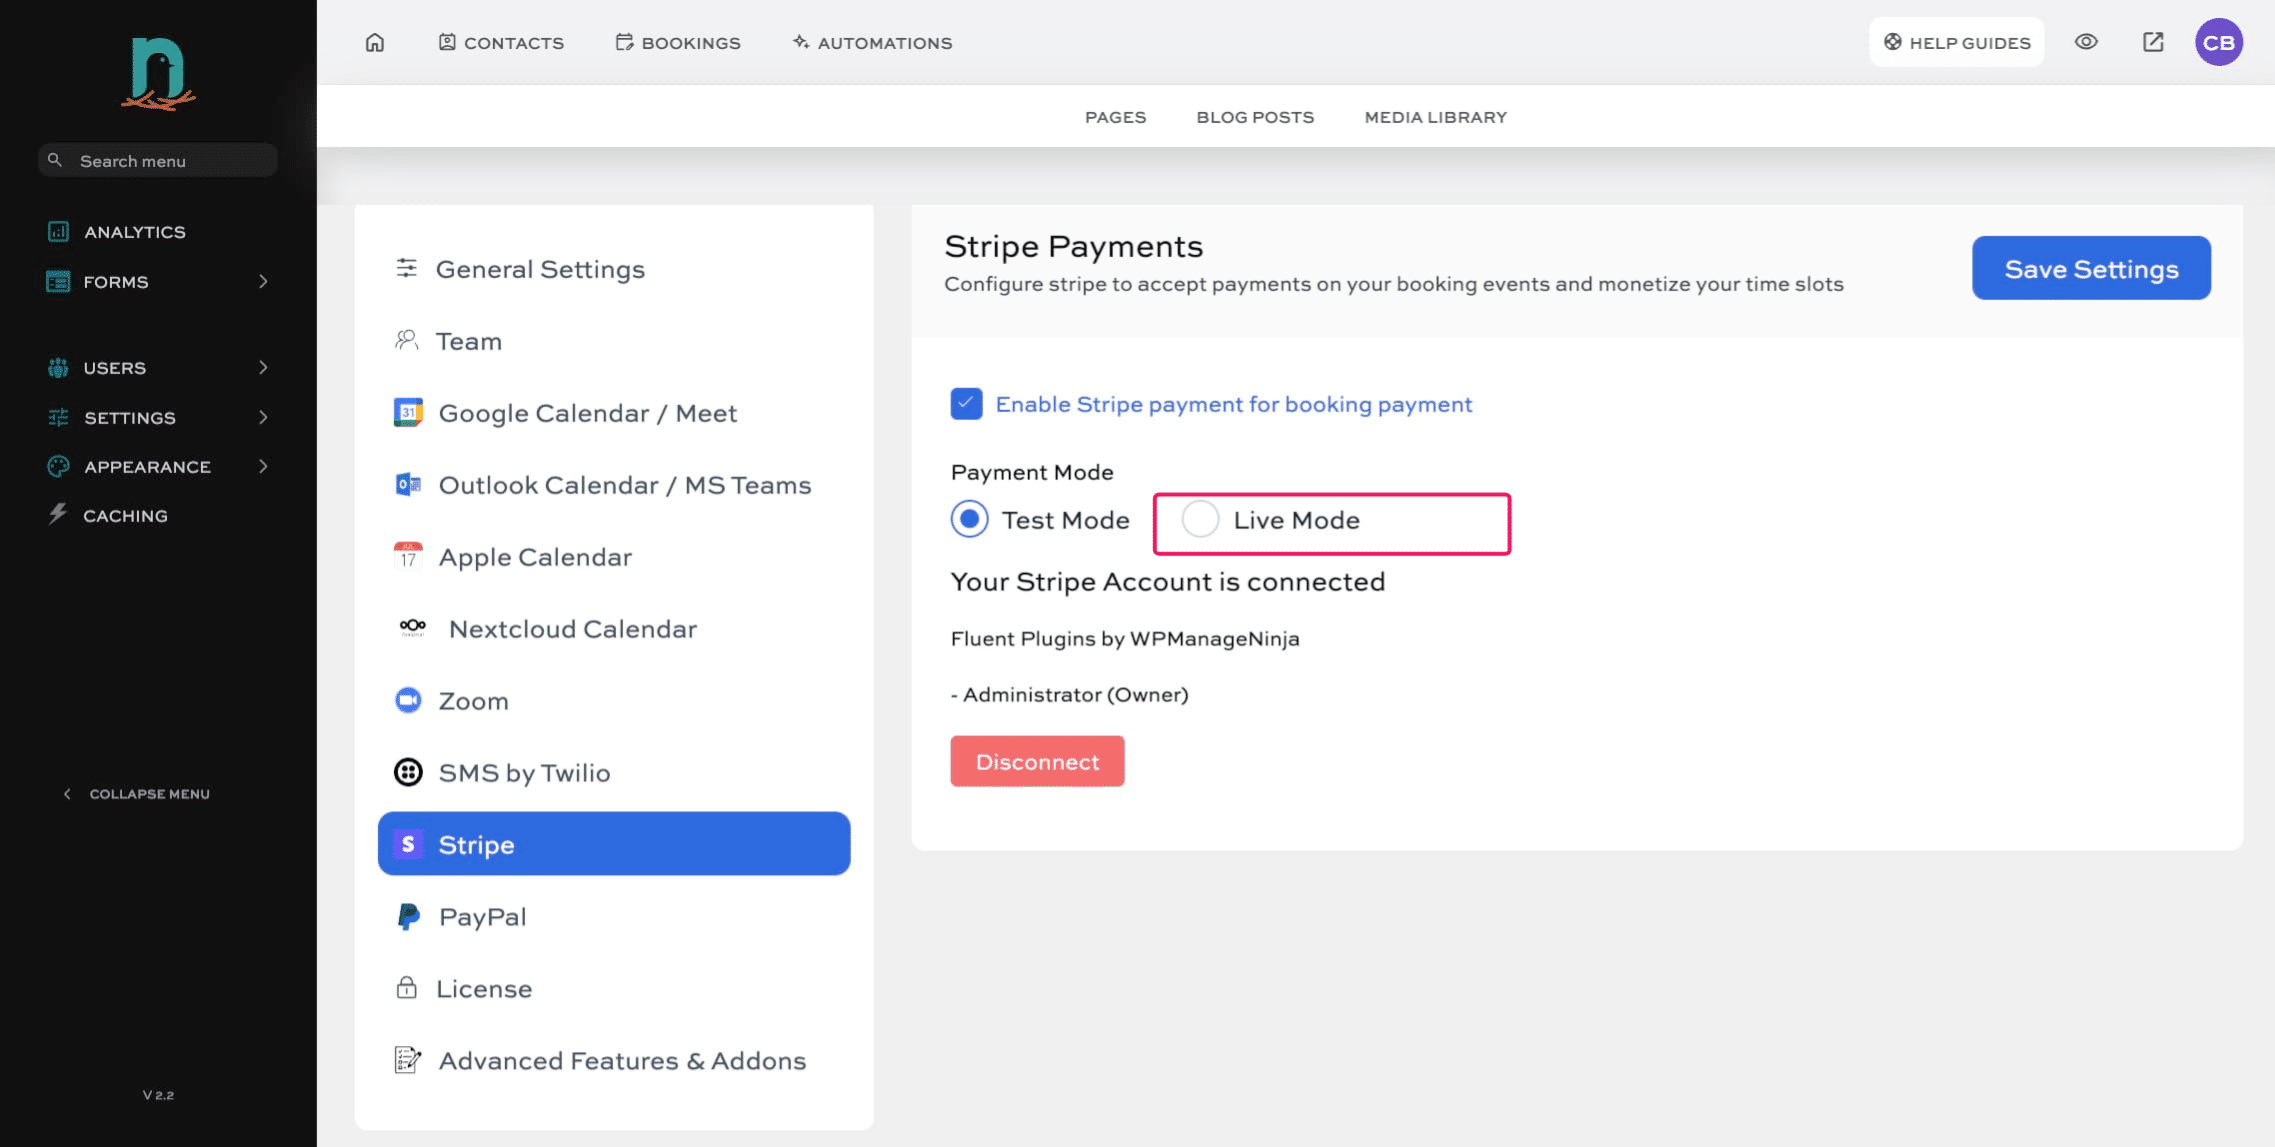
Click 'Enable Stripe payment for booking payment'
5
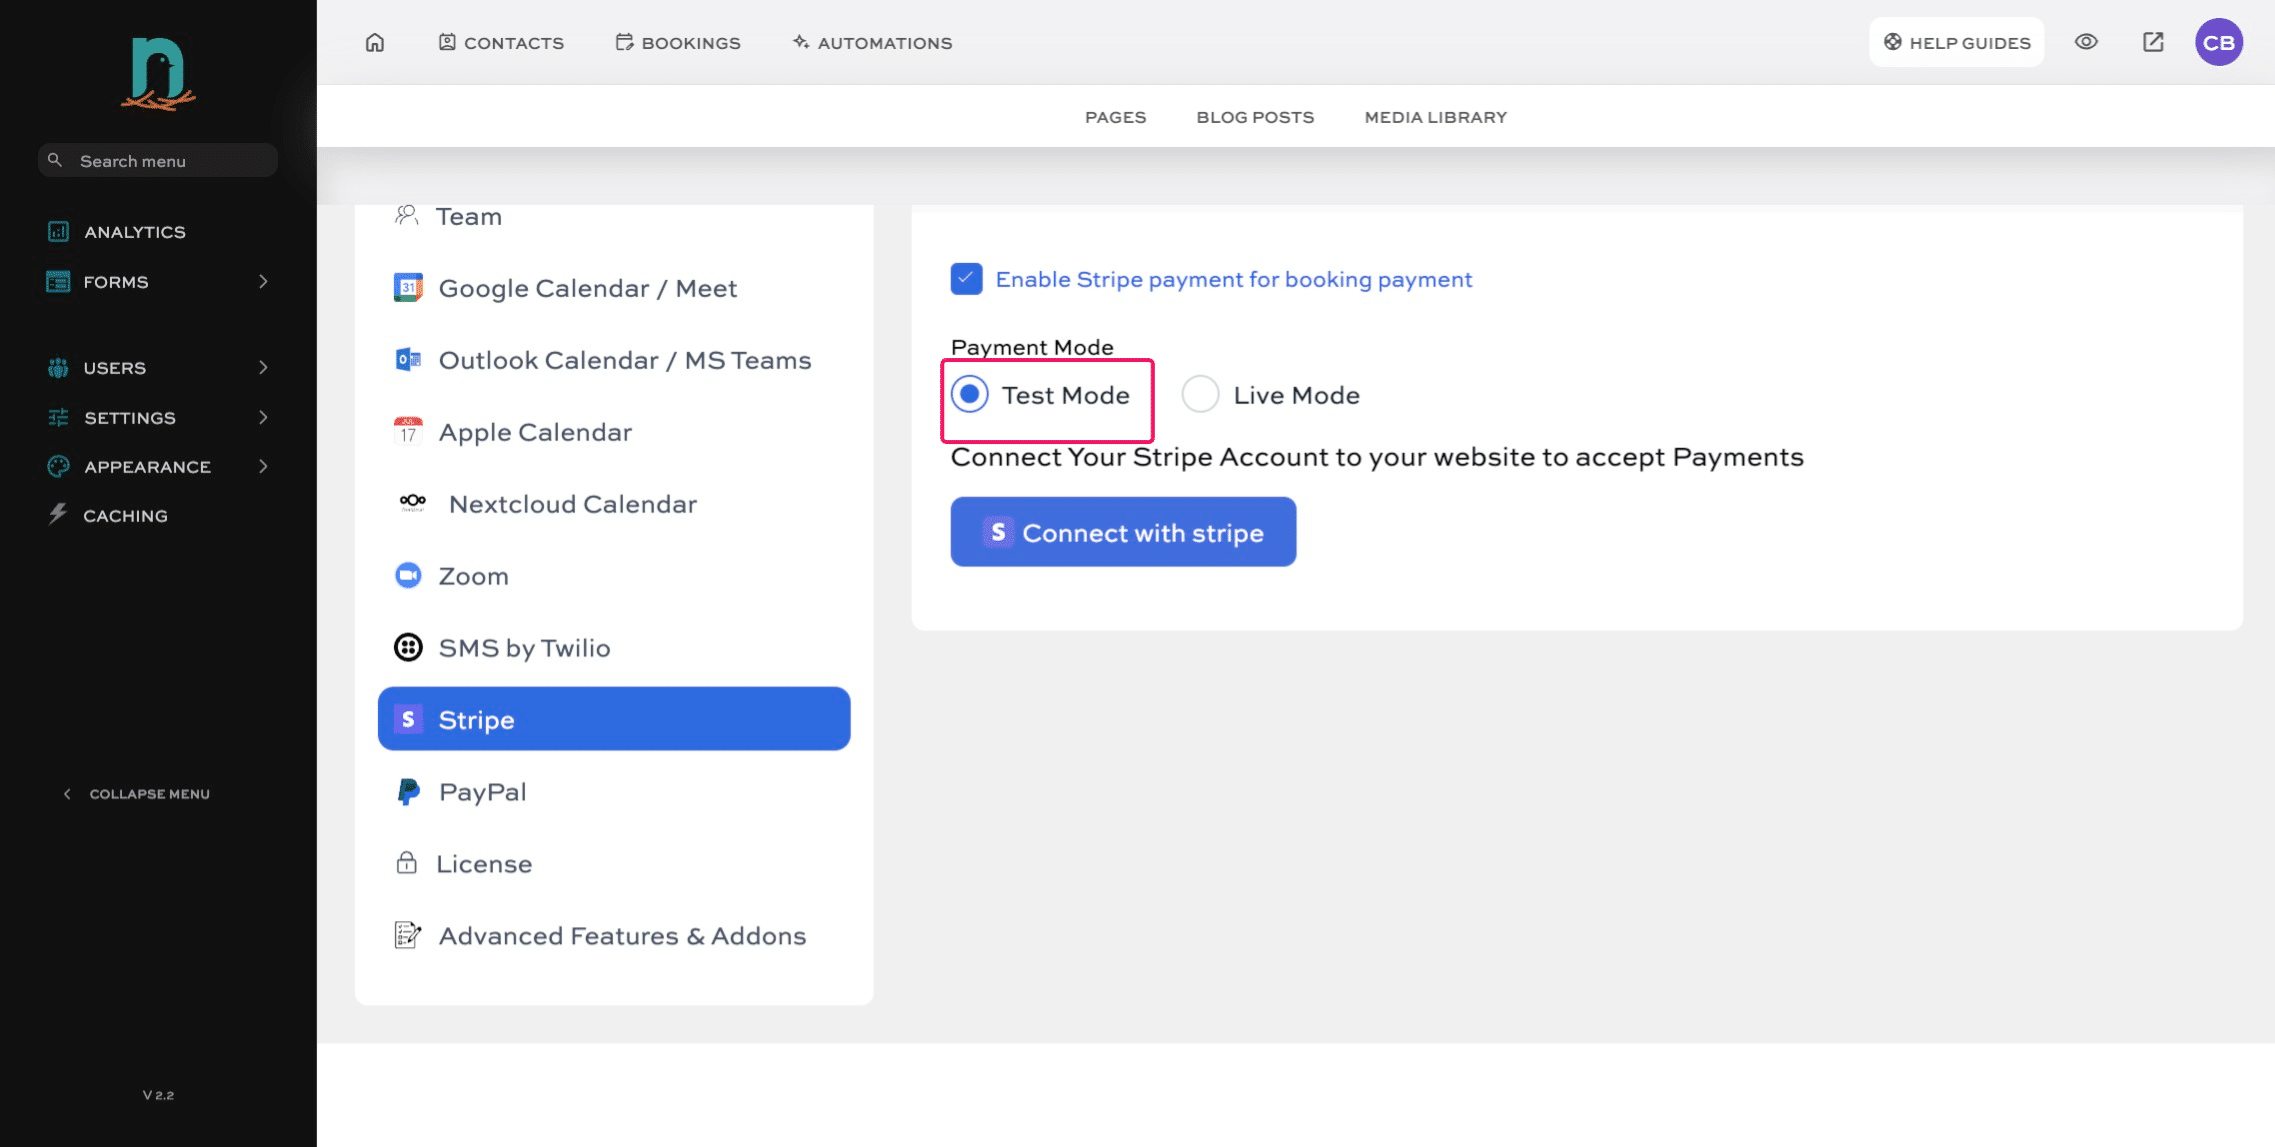
Make sure 'Test Mode' is selected. (If you are ready to take LIVE payments, skip to Step 8).
6
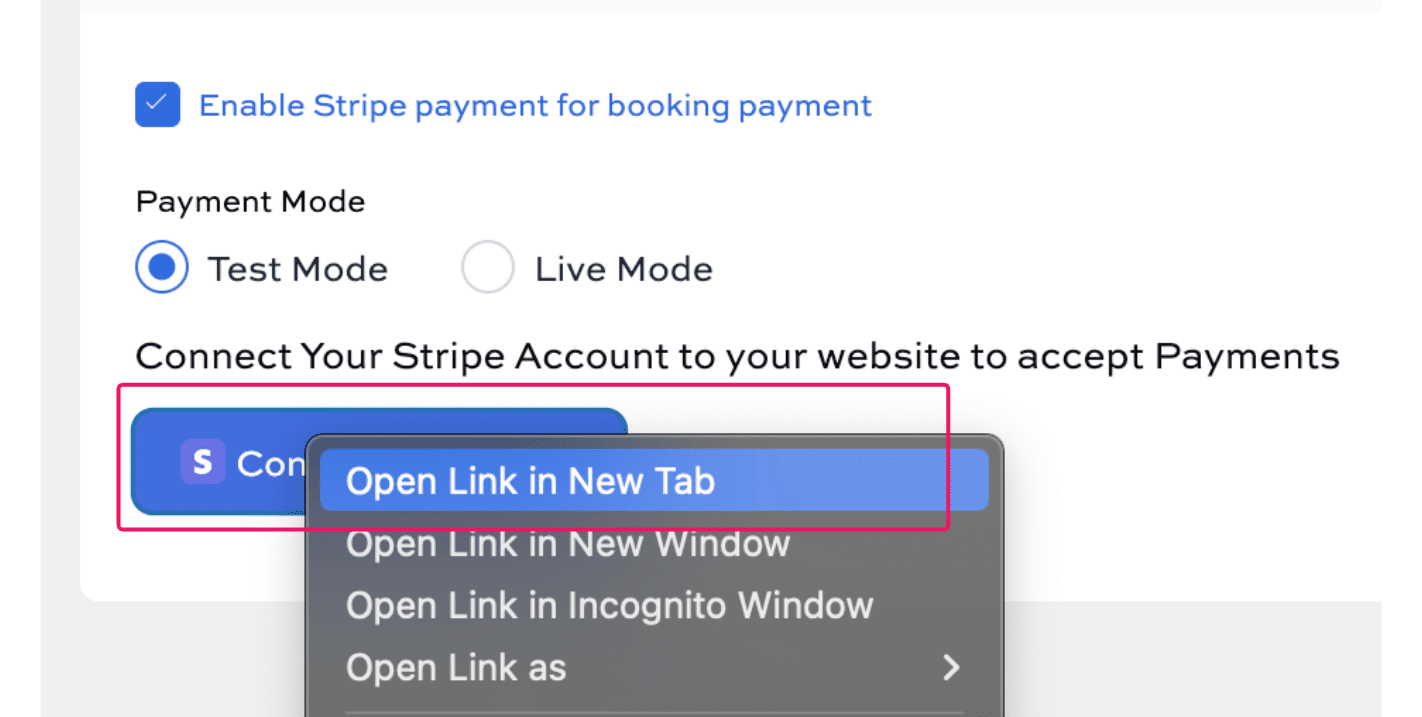
Right click on the 'Connect with Stripe' button and select 'Open Link in New Tab' (or the PC/Windows equivalent - we are on a Mac in this example)
7
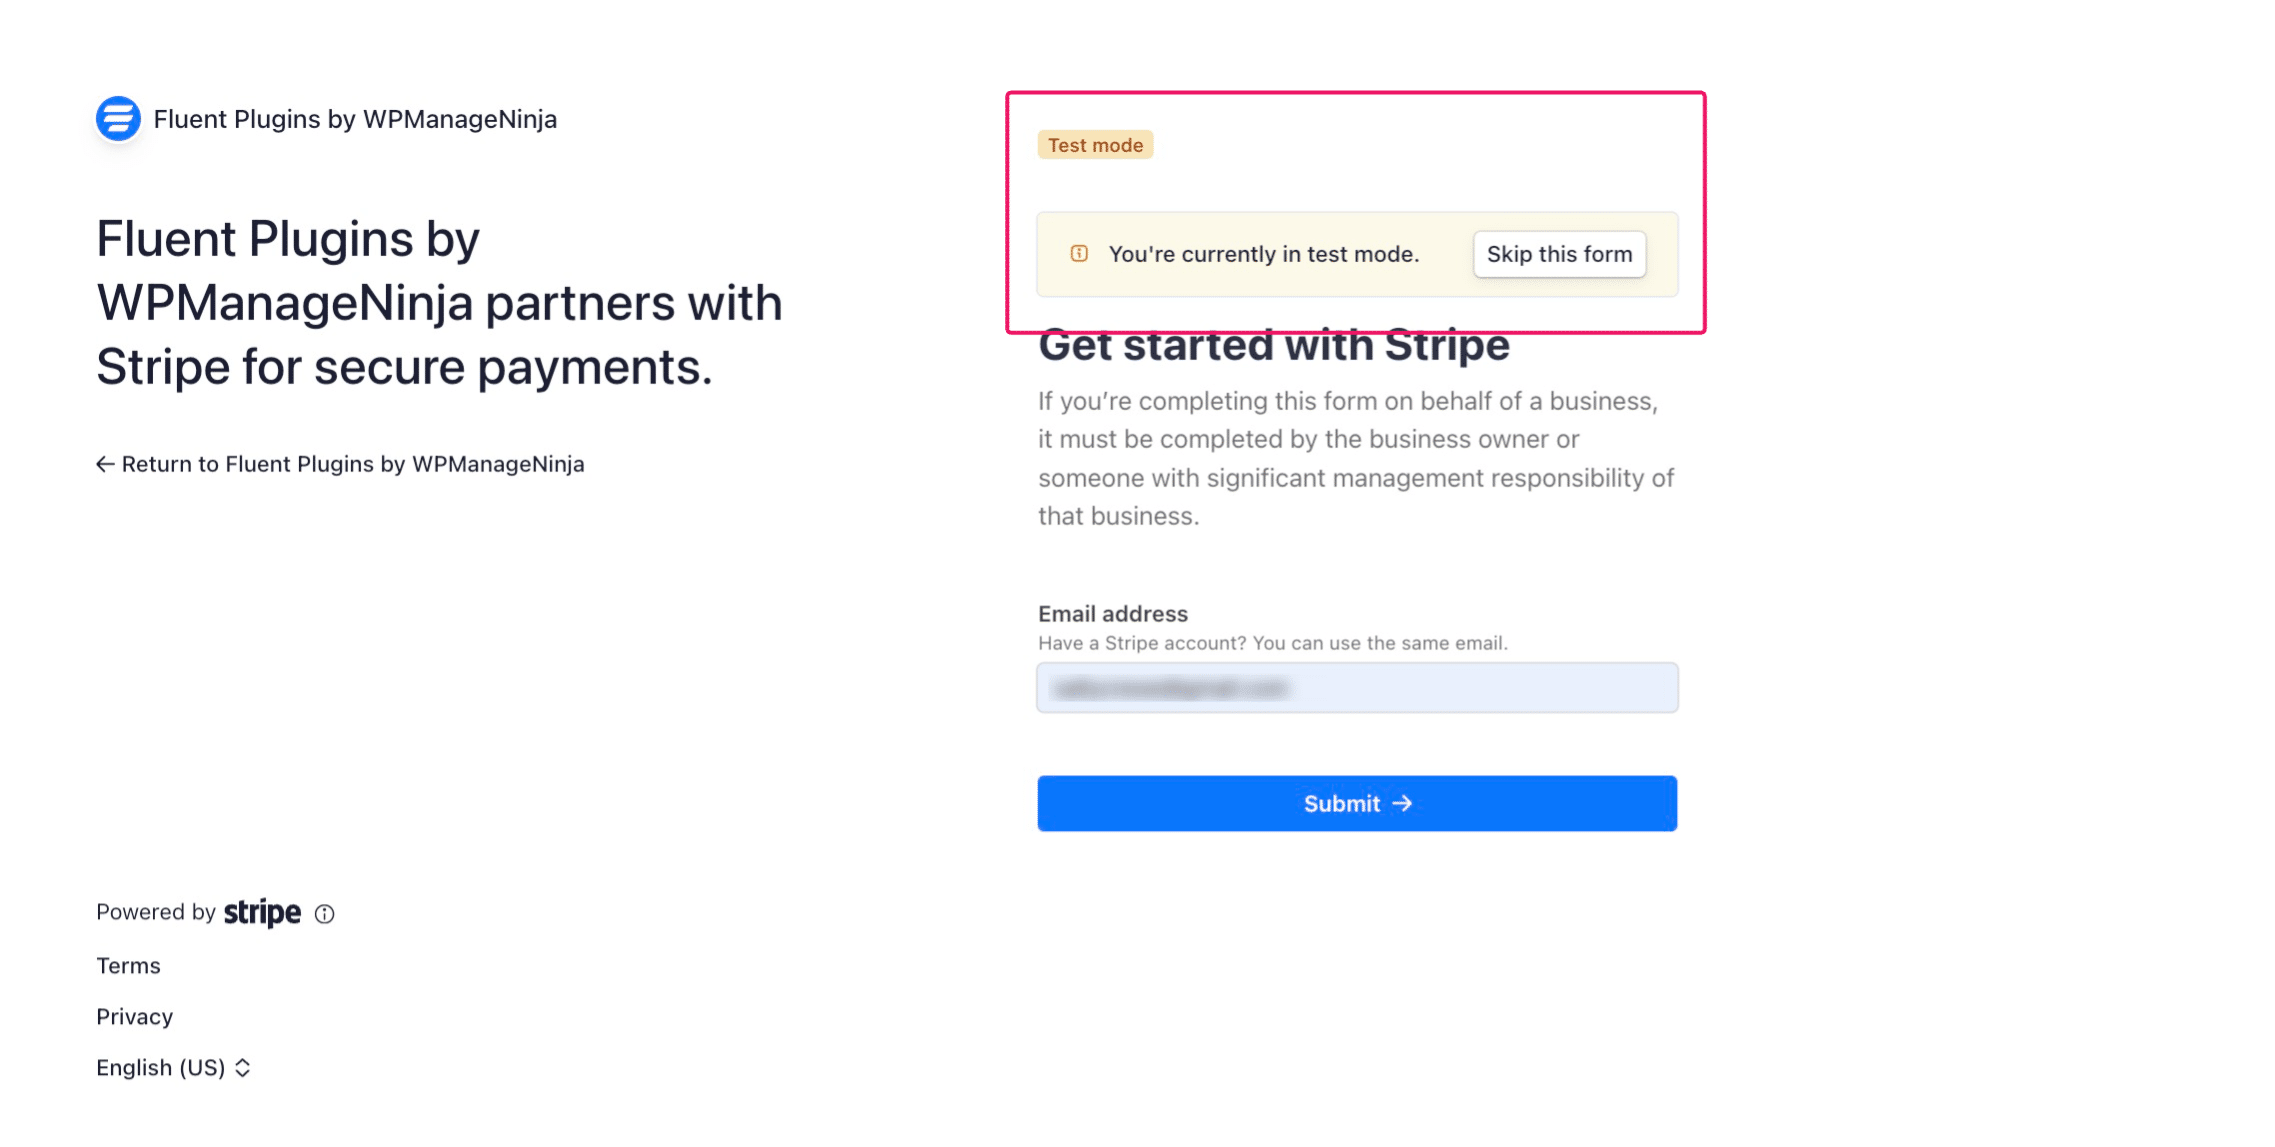
Click on "Skip this form"
8
Once you're ready to activate LIVE payments, click the 'Live Mode' button.
9
Right click (like in step 6) the 'Connect with Stripe' button to open it in a new tab. This will take you to your Stripe account. Follow the prompts to connect your account.