Automating delivery of a product after purchase (part 1)
1
Click on "AUTOMATIONS"
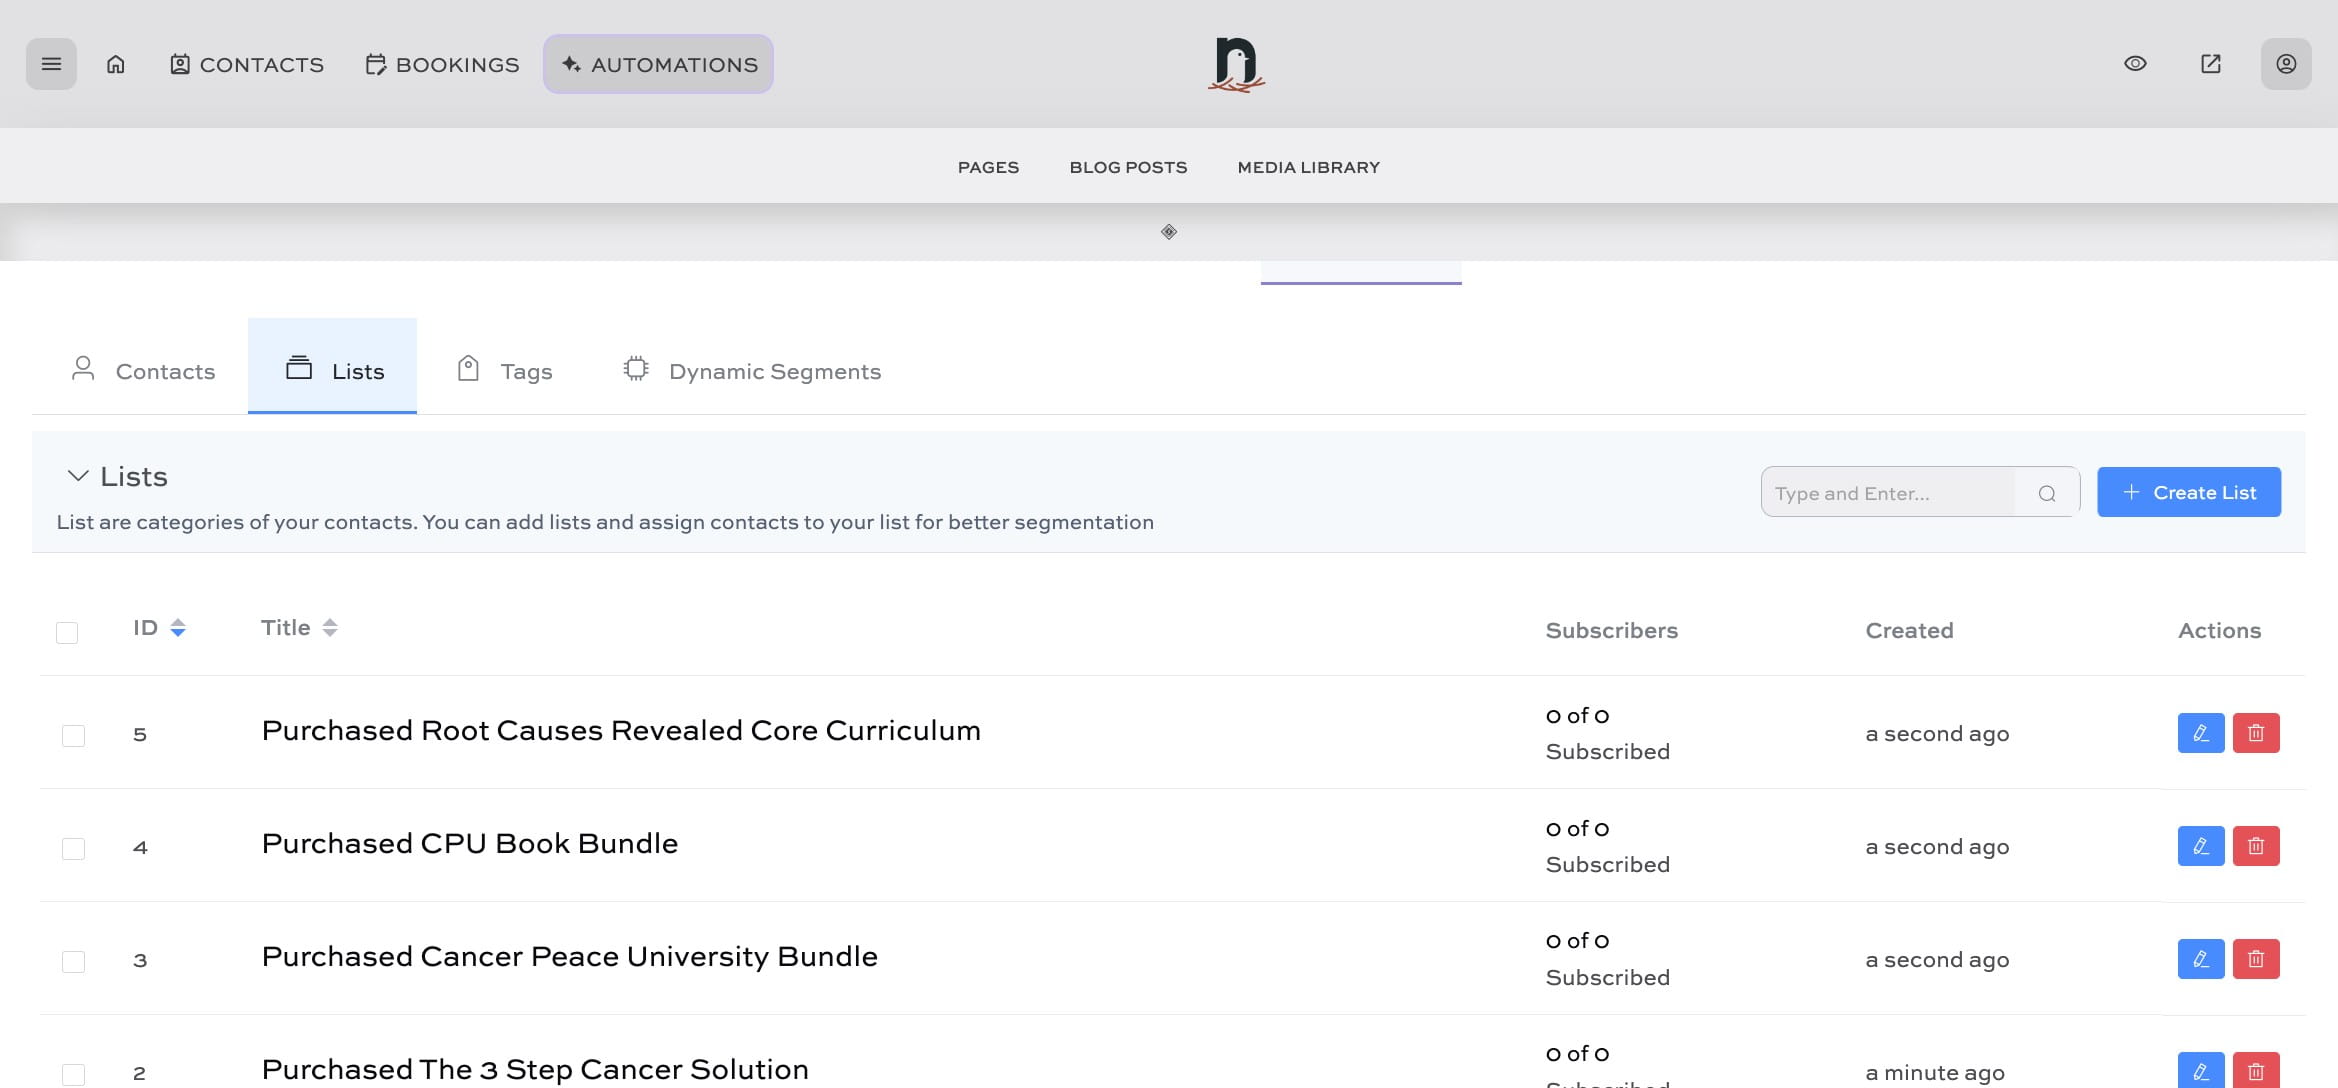
2
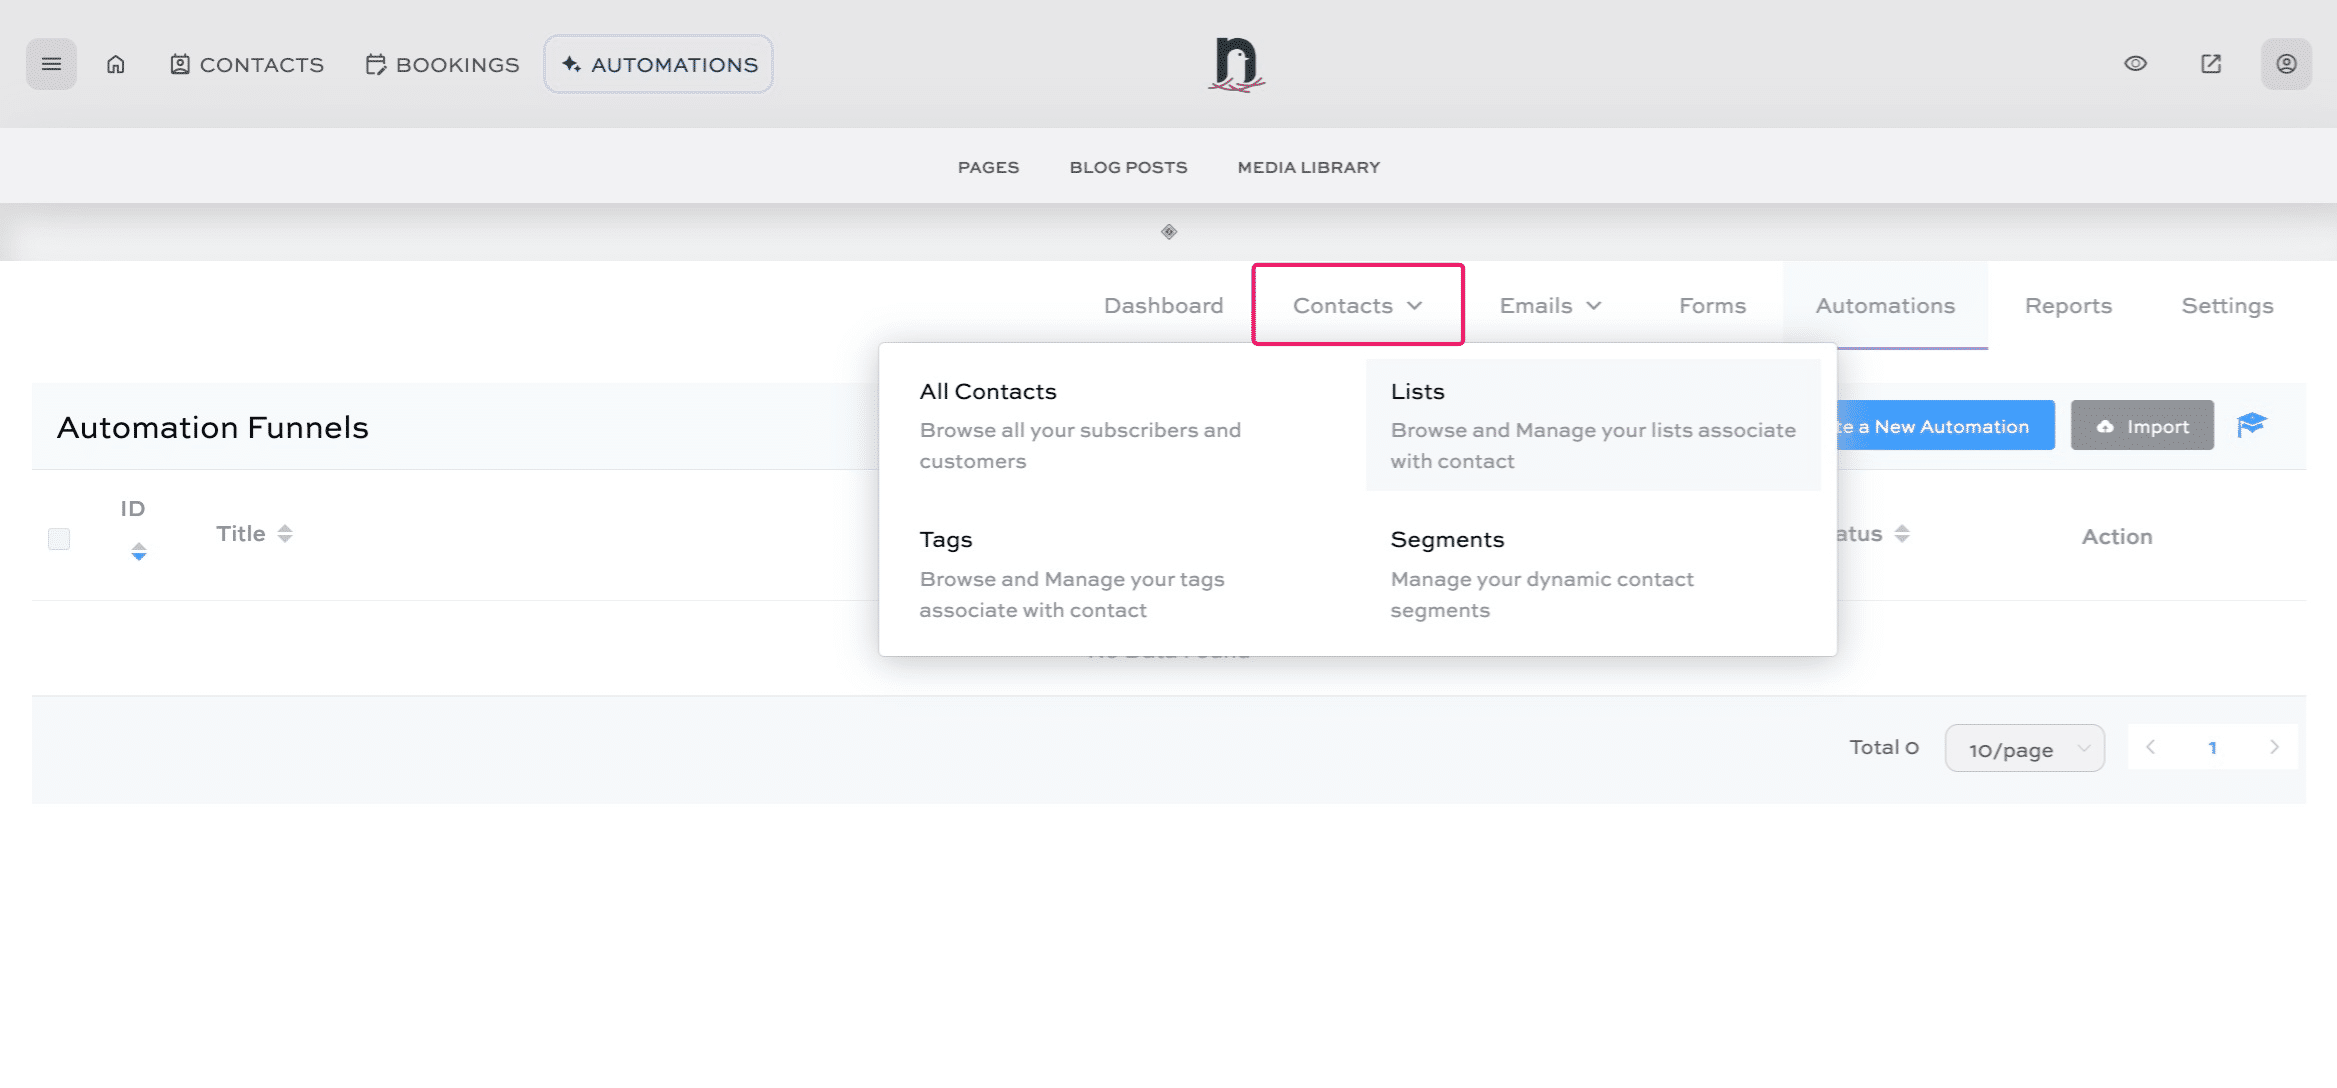
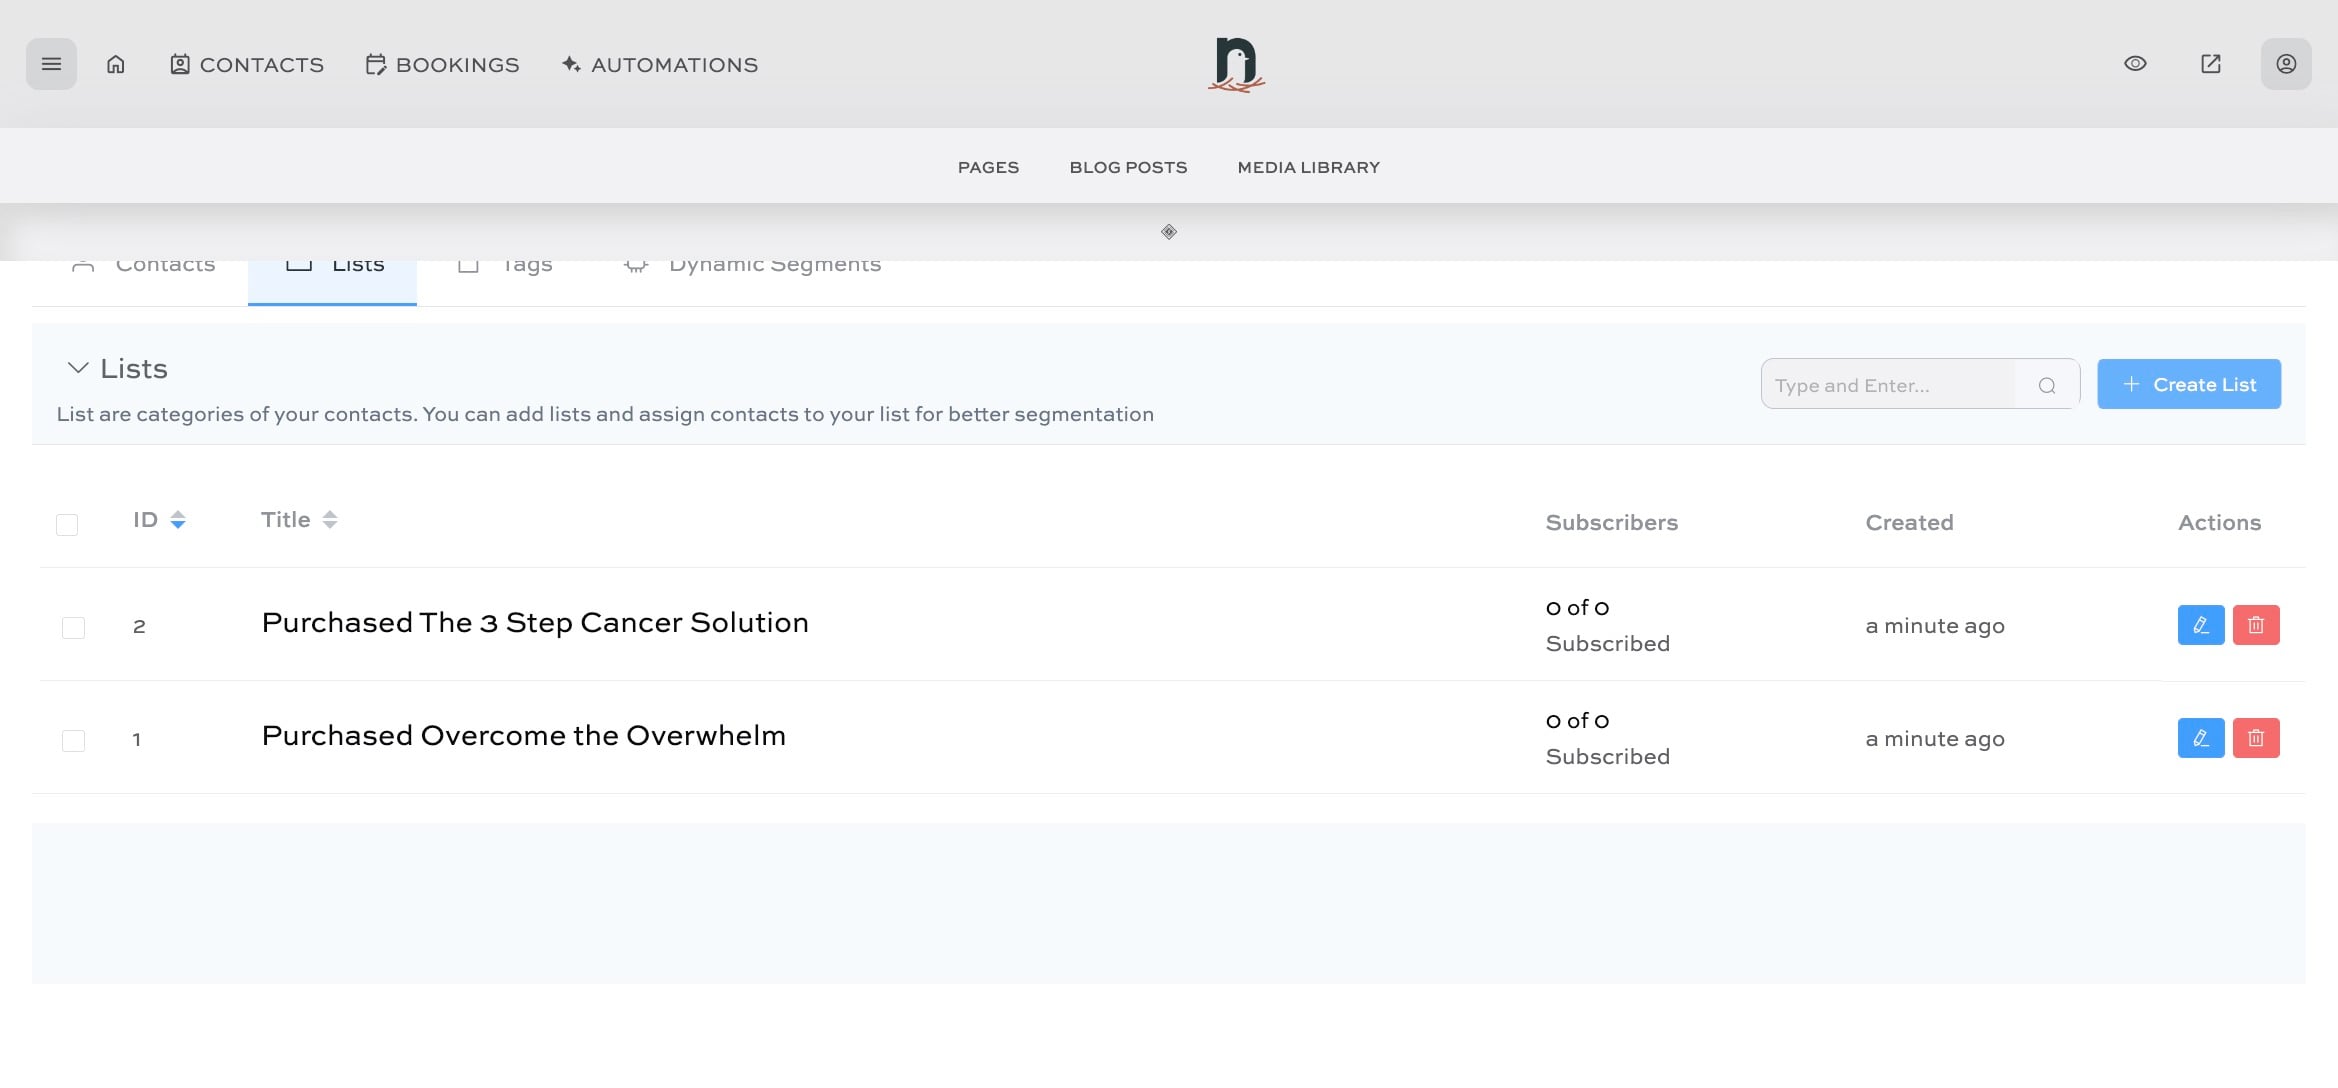
Under 'Contacts' click on 'Lists'
3
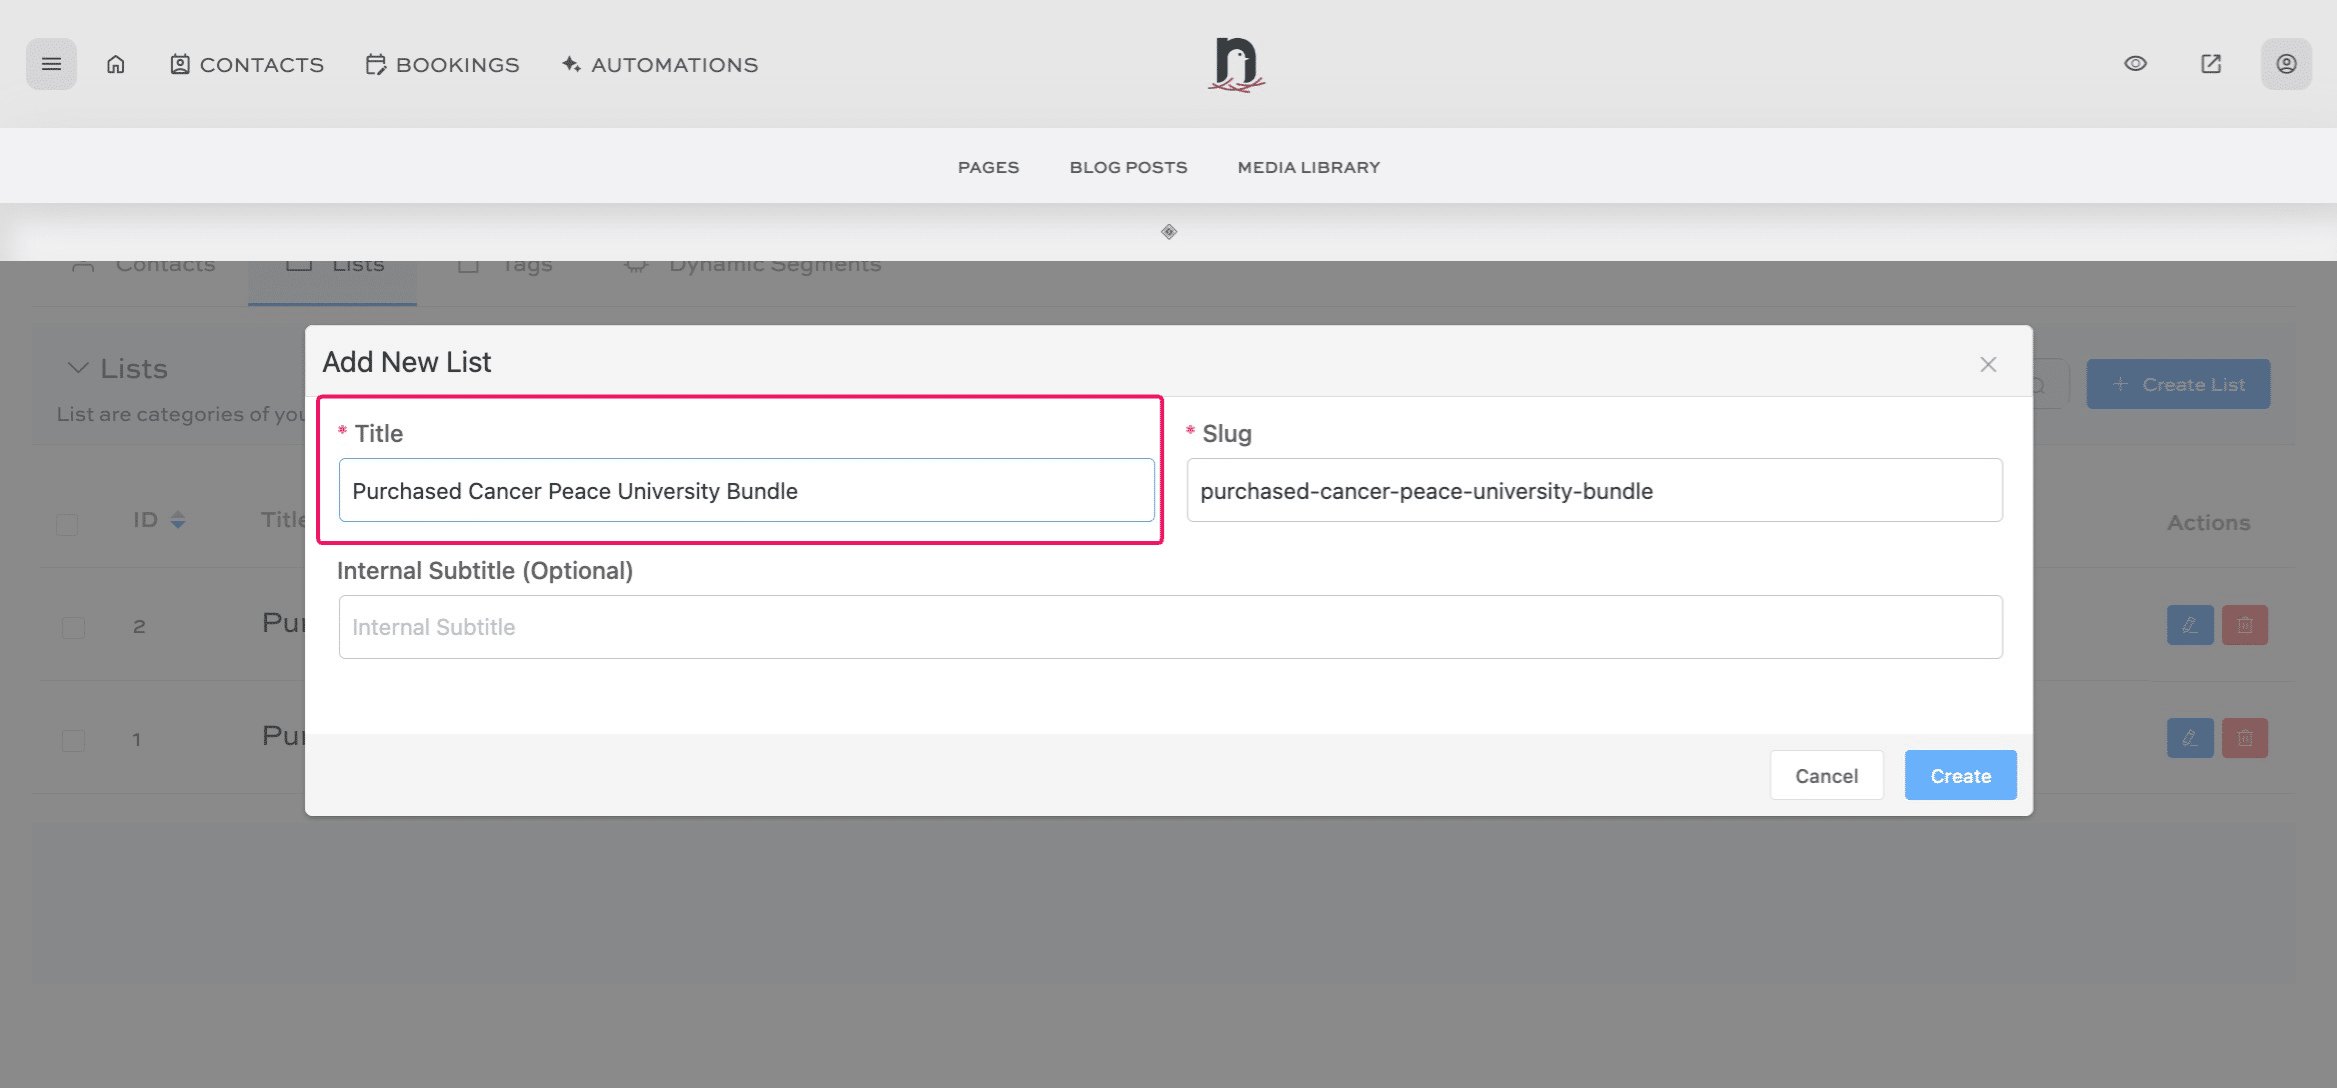
Click on "Create List"
4
Give the list a title, then click "Create"
5
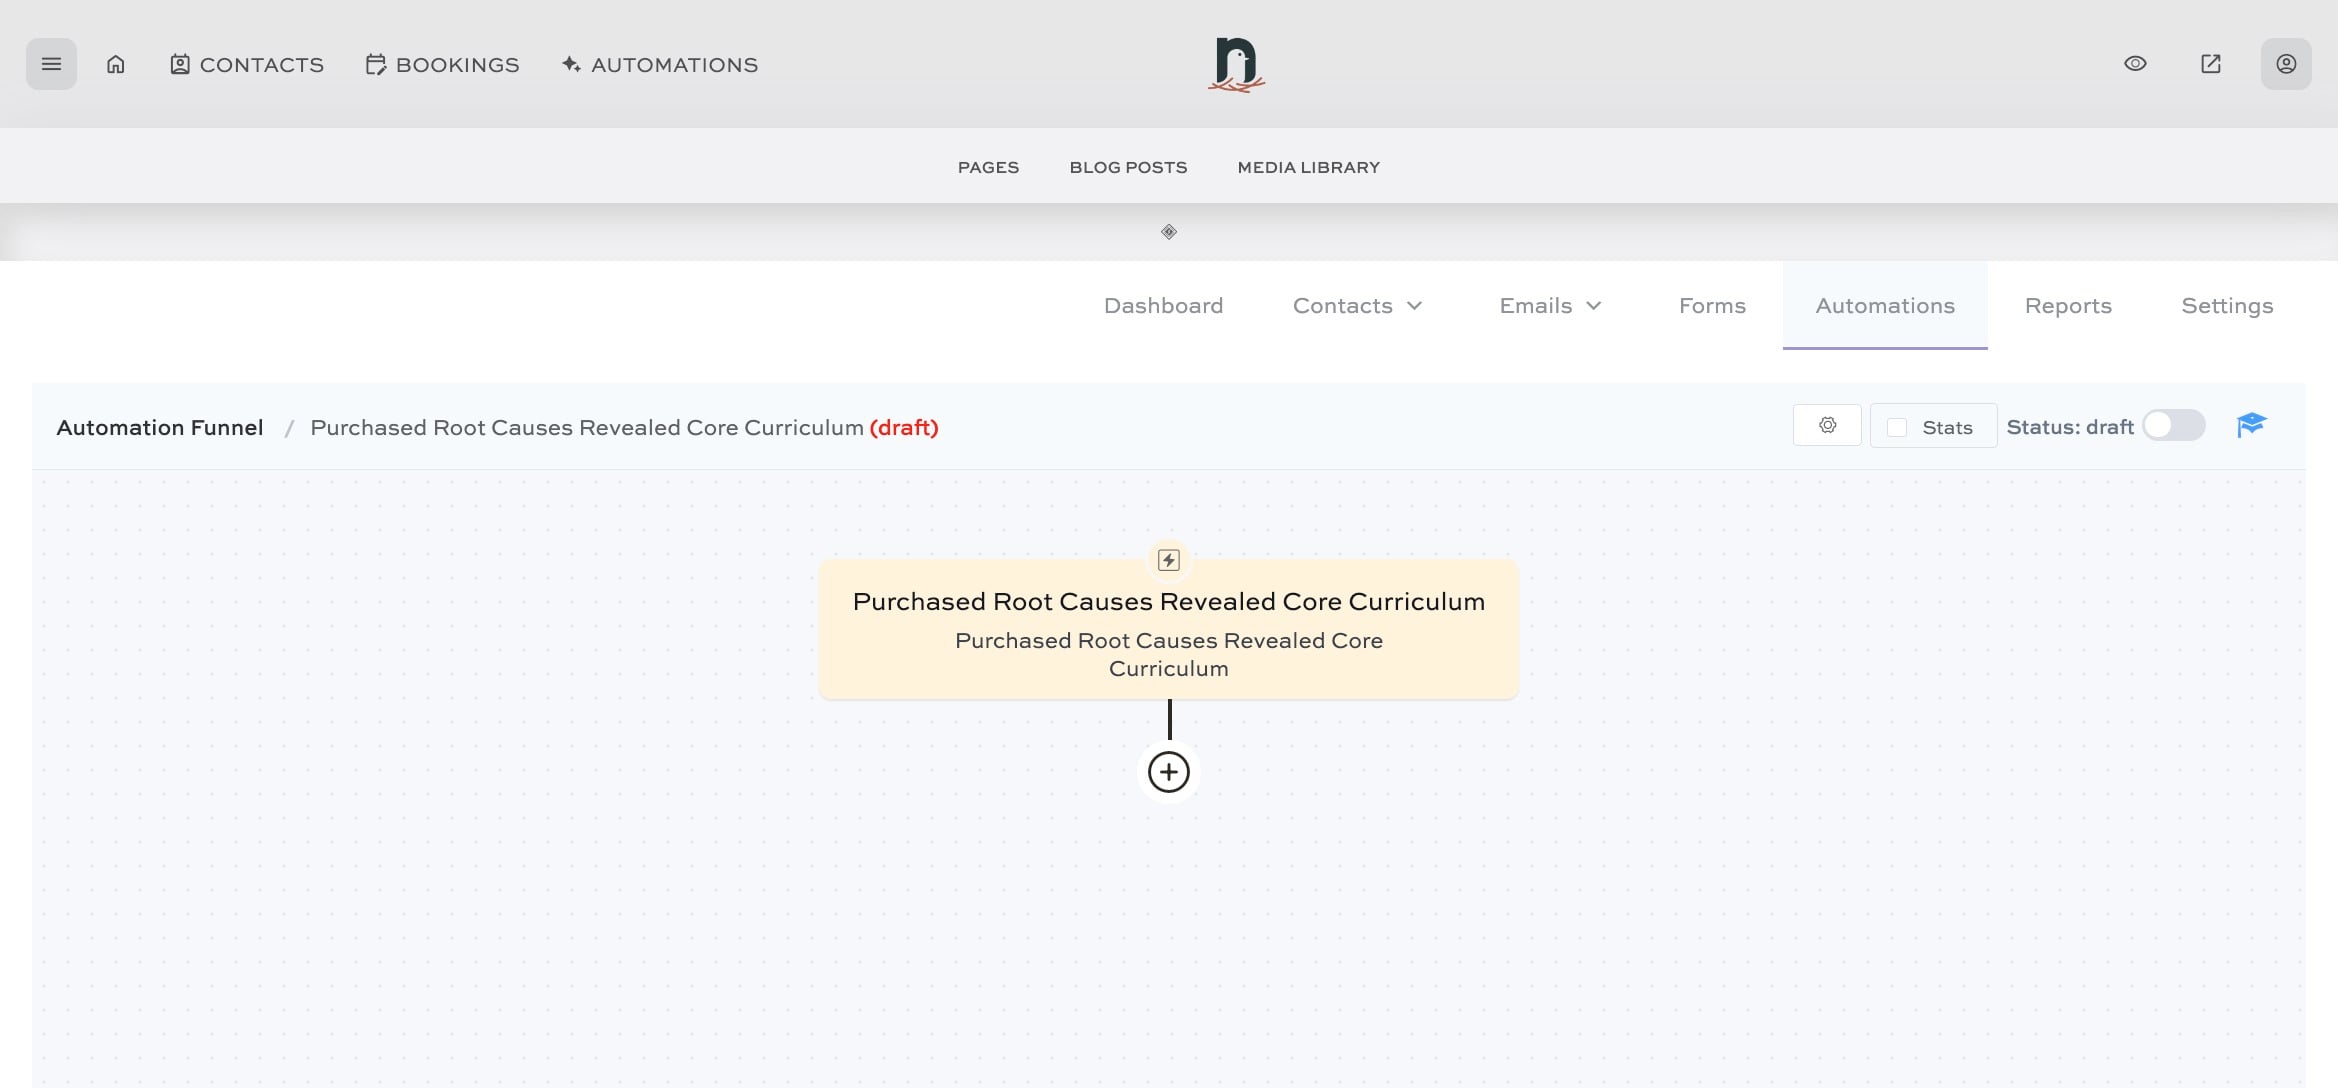
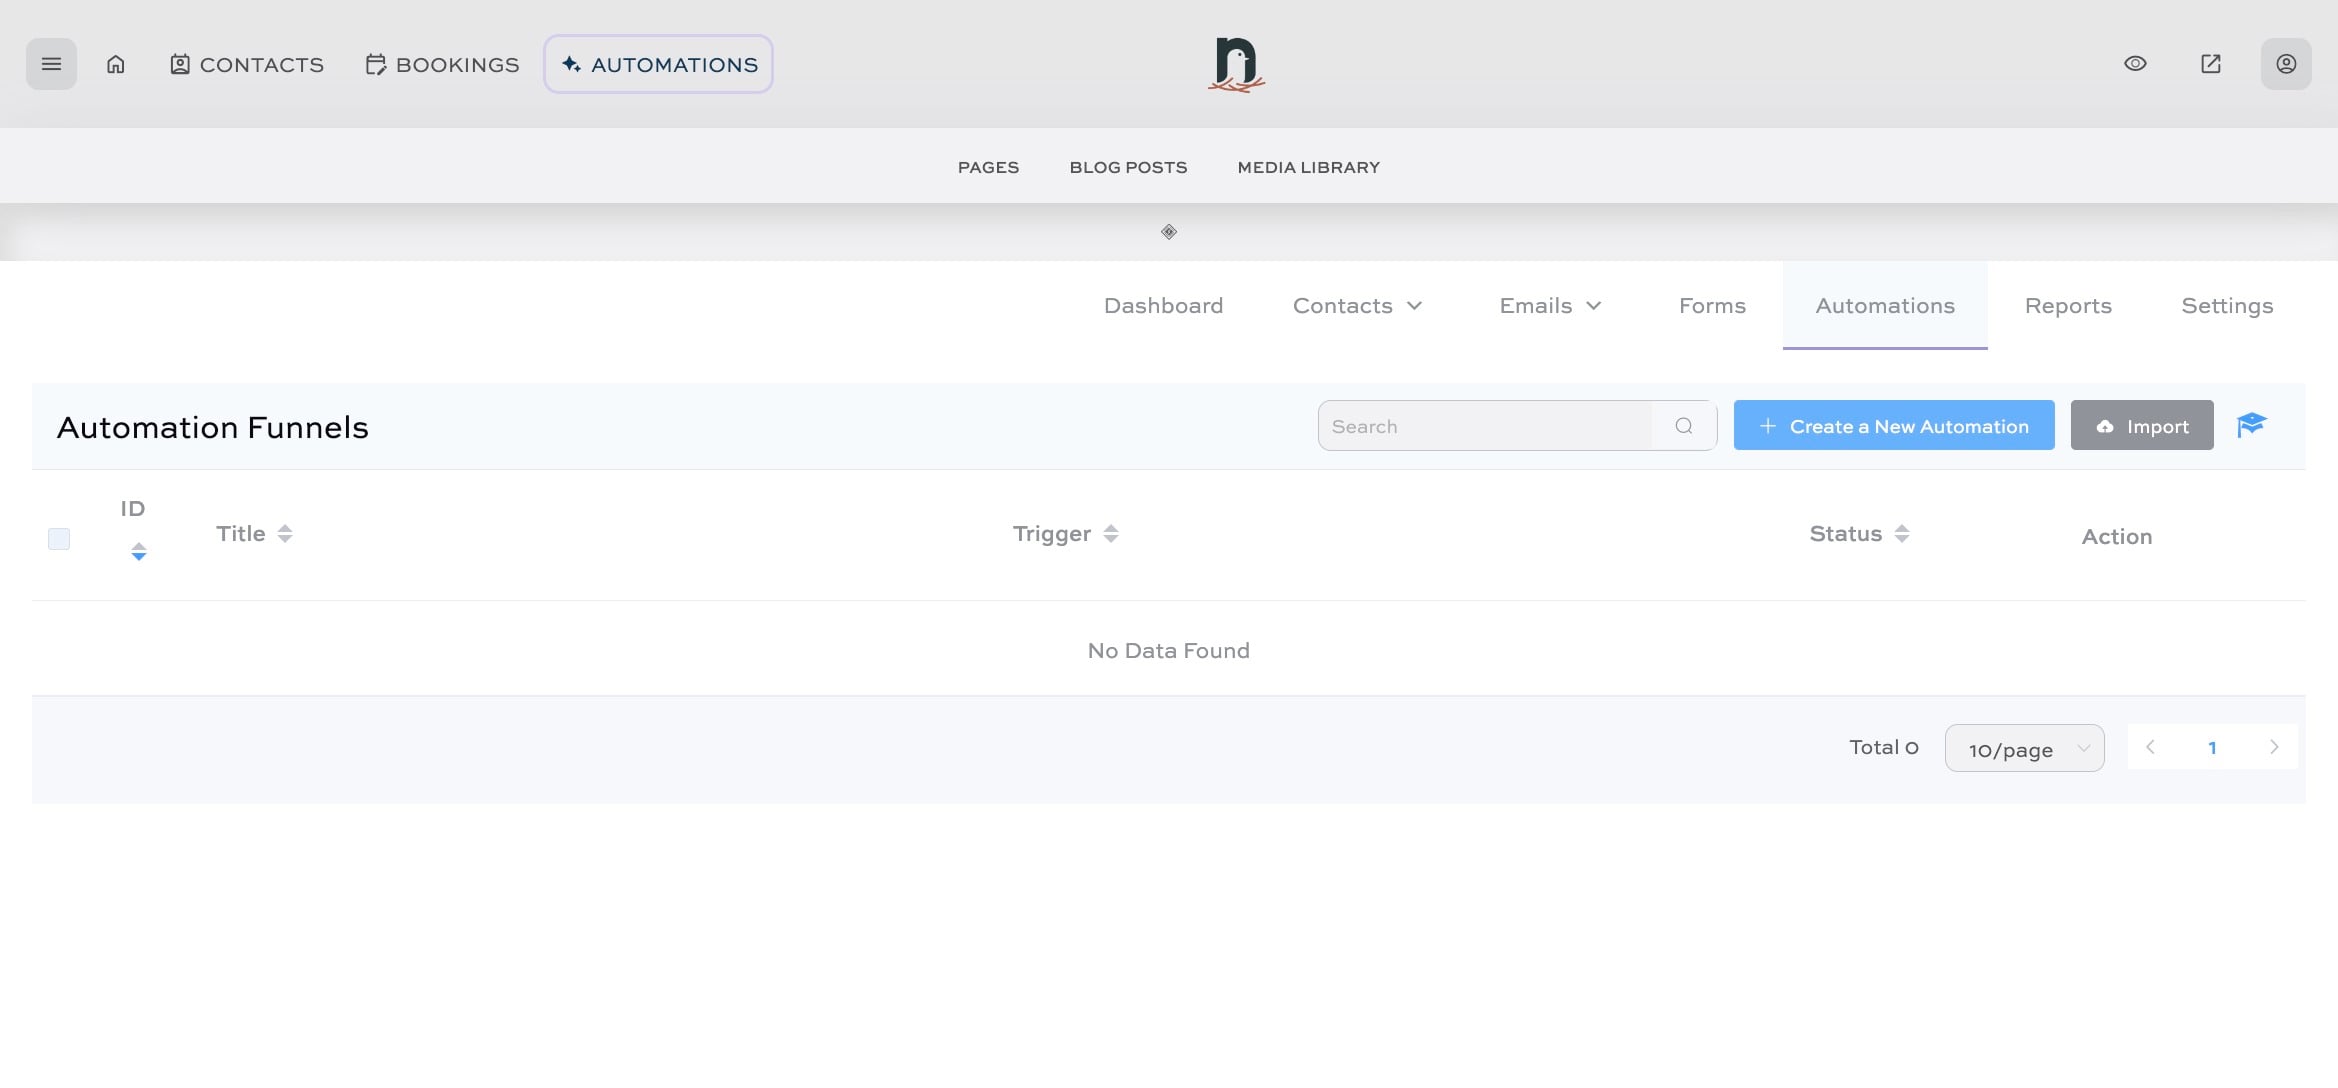
Click on "AUTOMATIONS"
6
Click on "Create a New Automation"
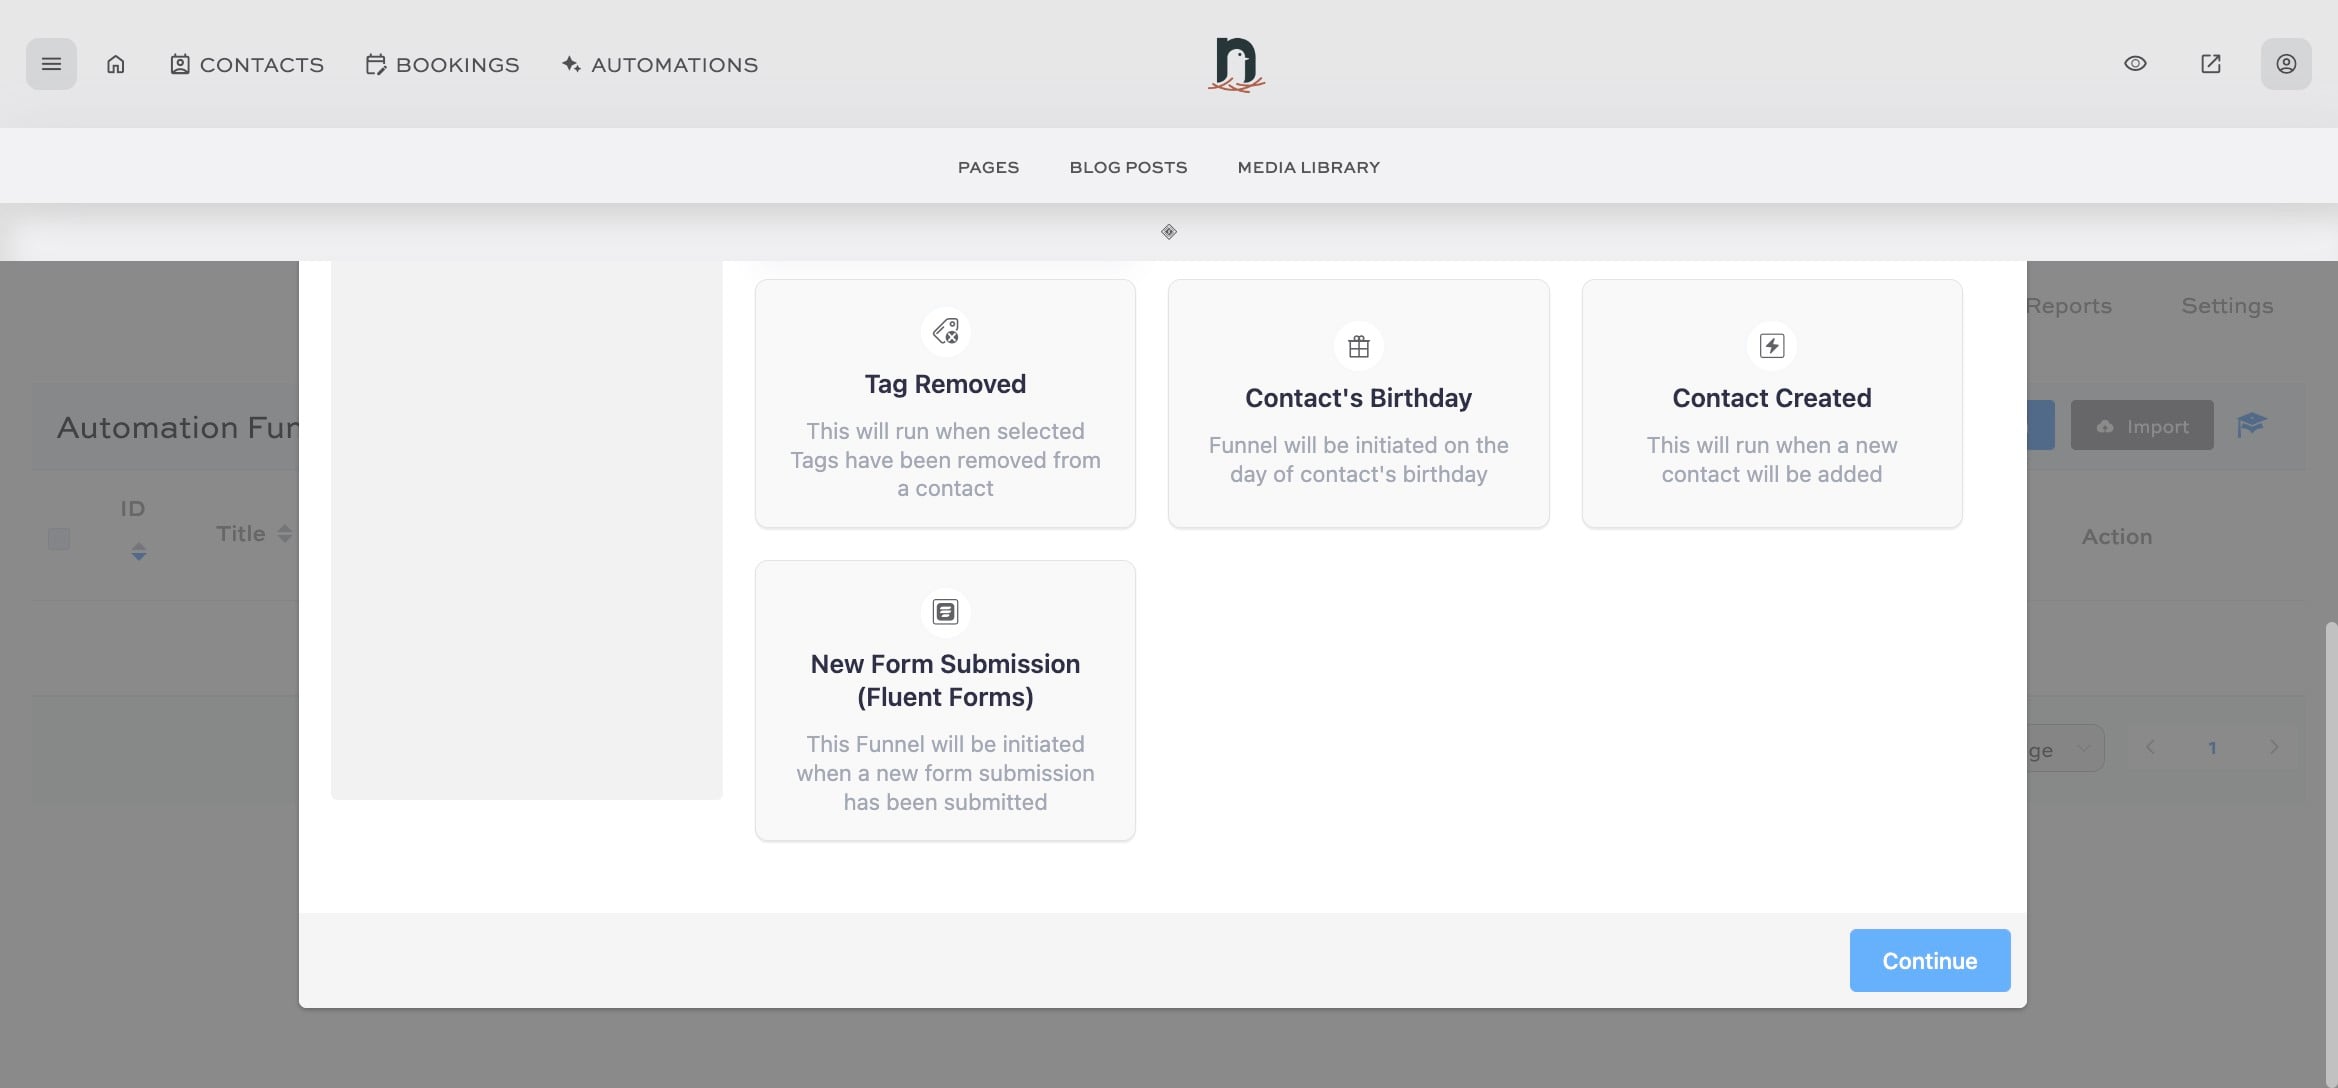
7
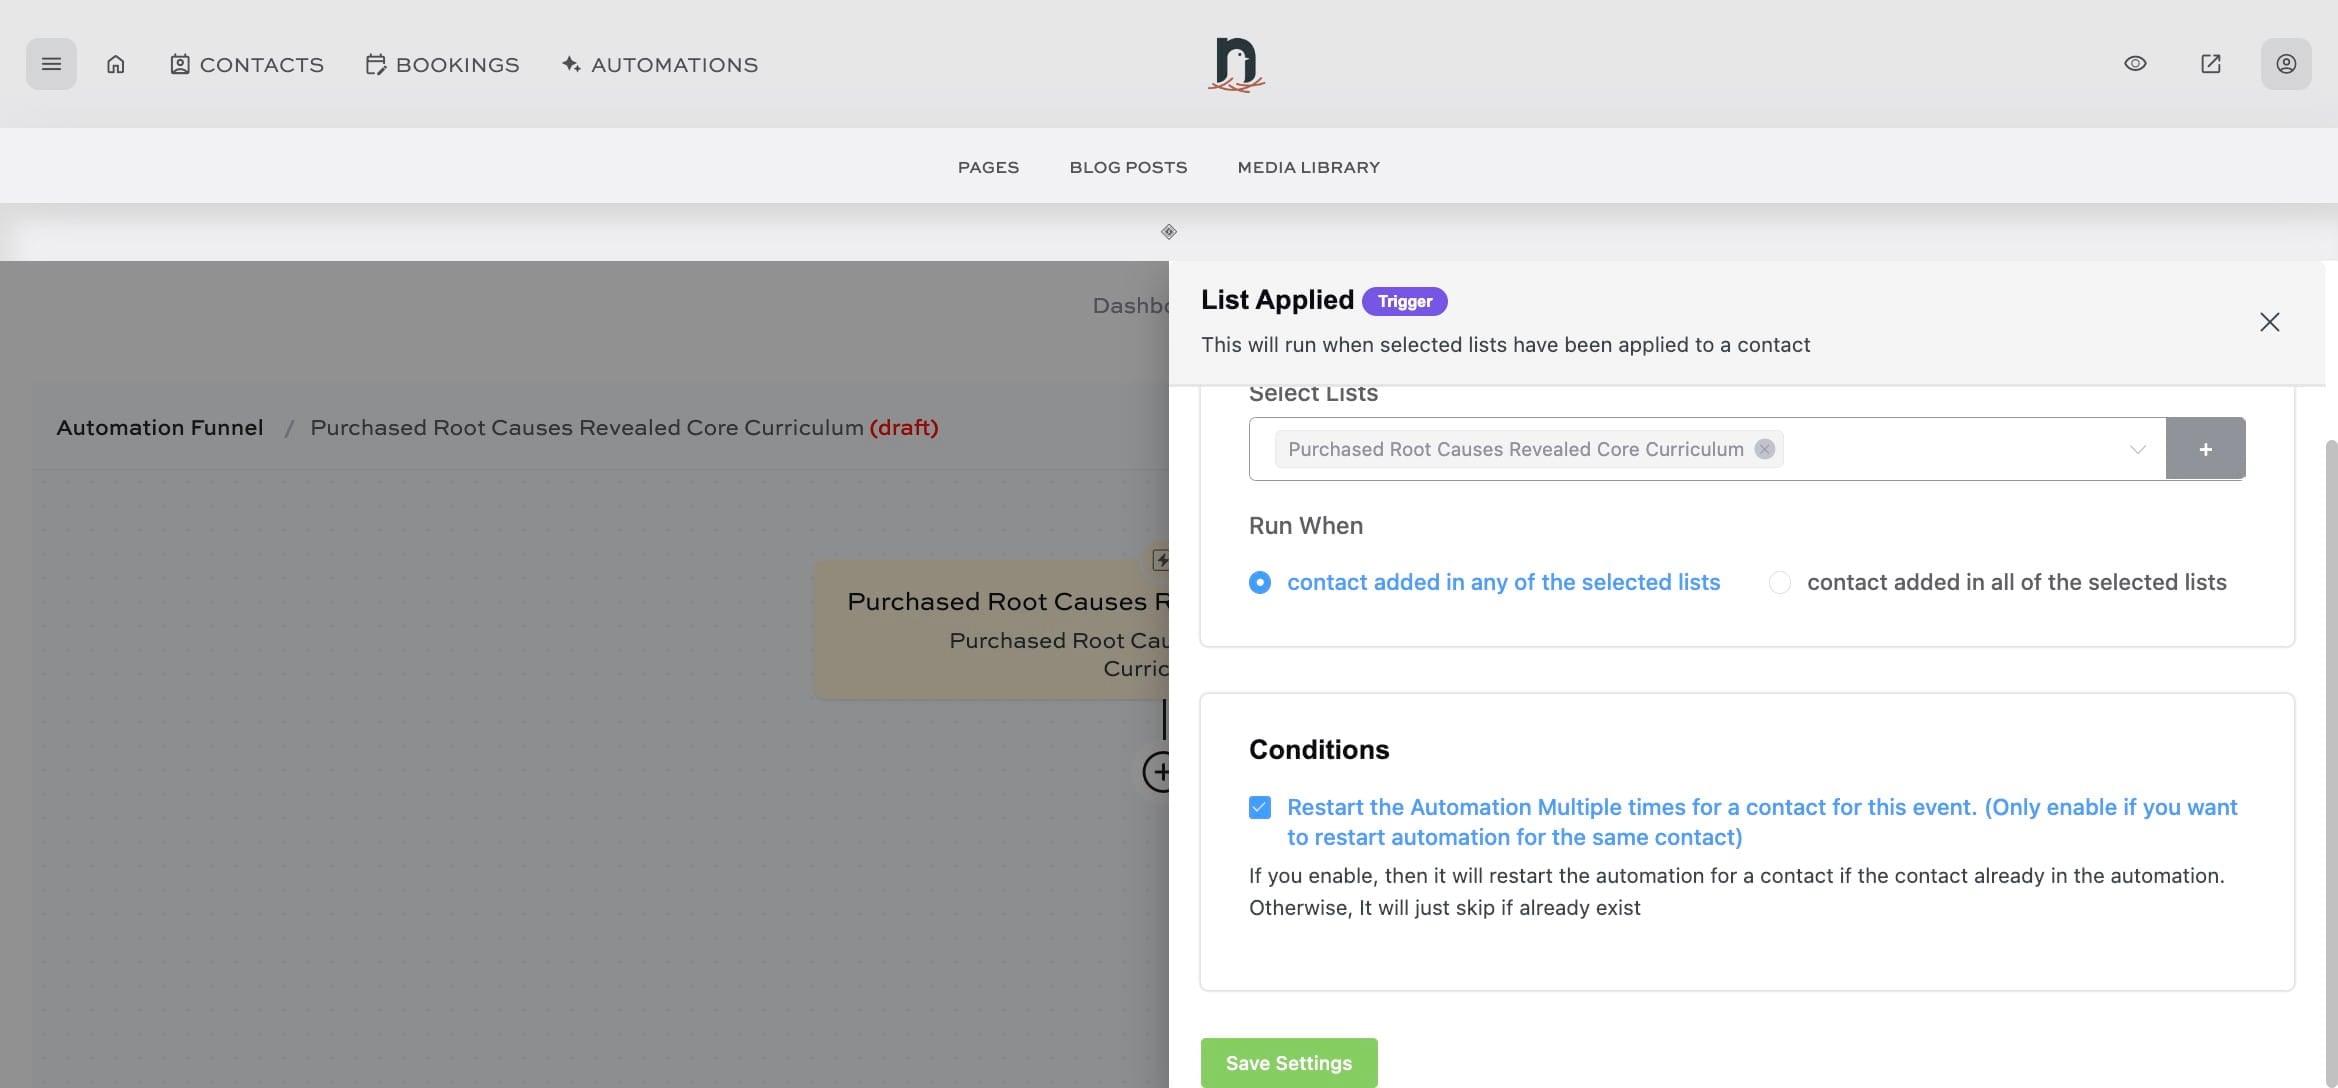
Under the 'CRM' tab, select 'List Applied' as the trigger for this automation

8
Click on "Continue"
9
Give the automation a name
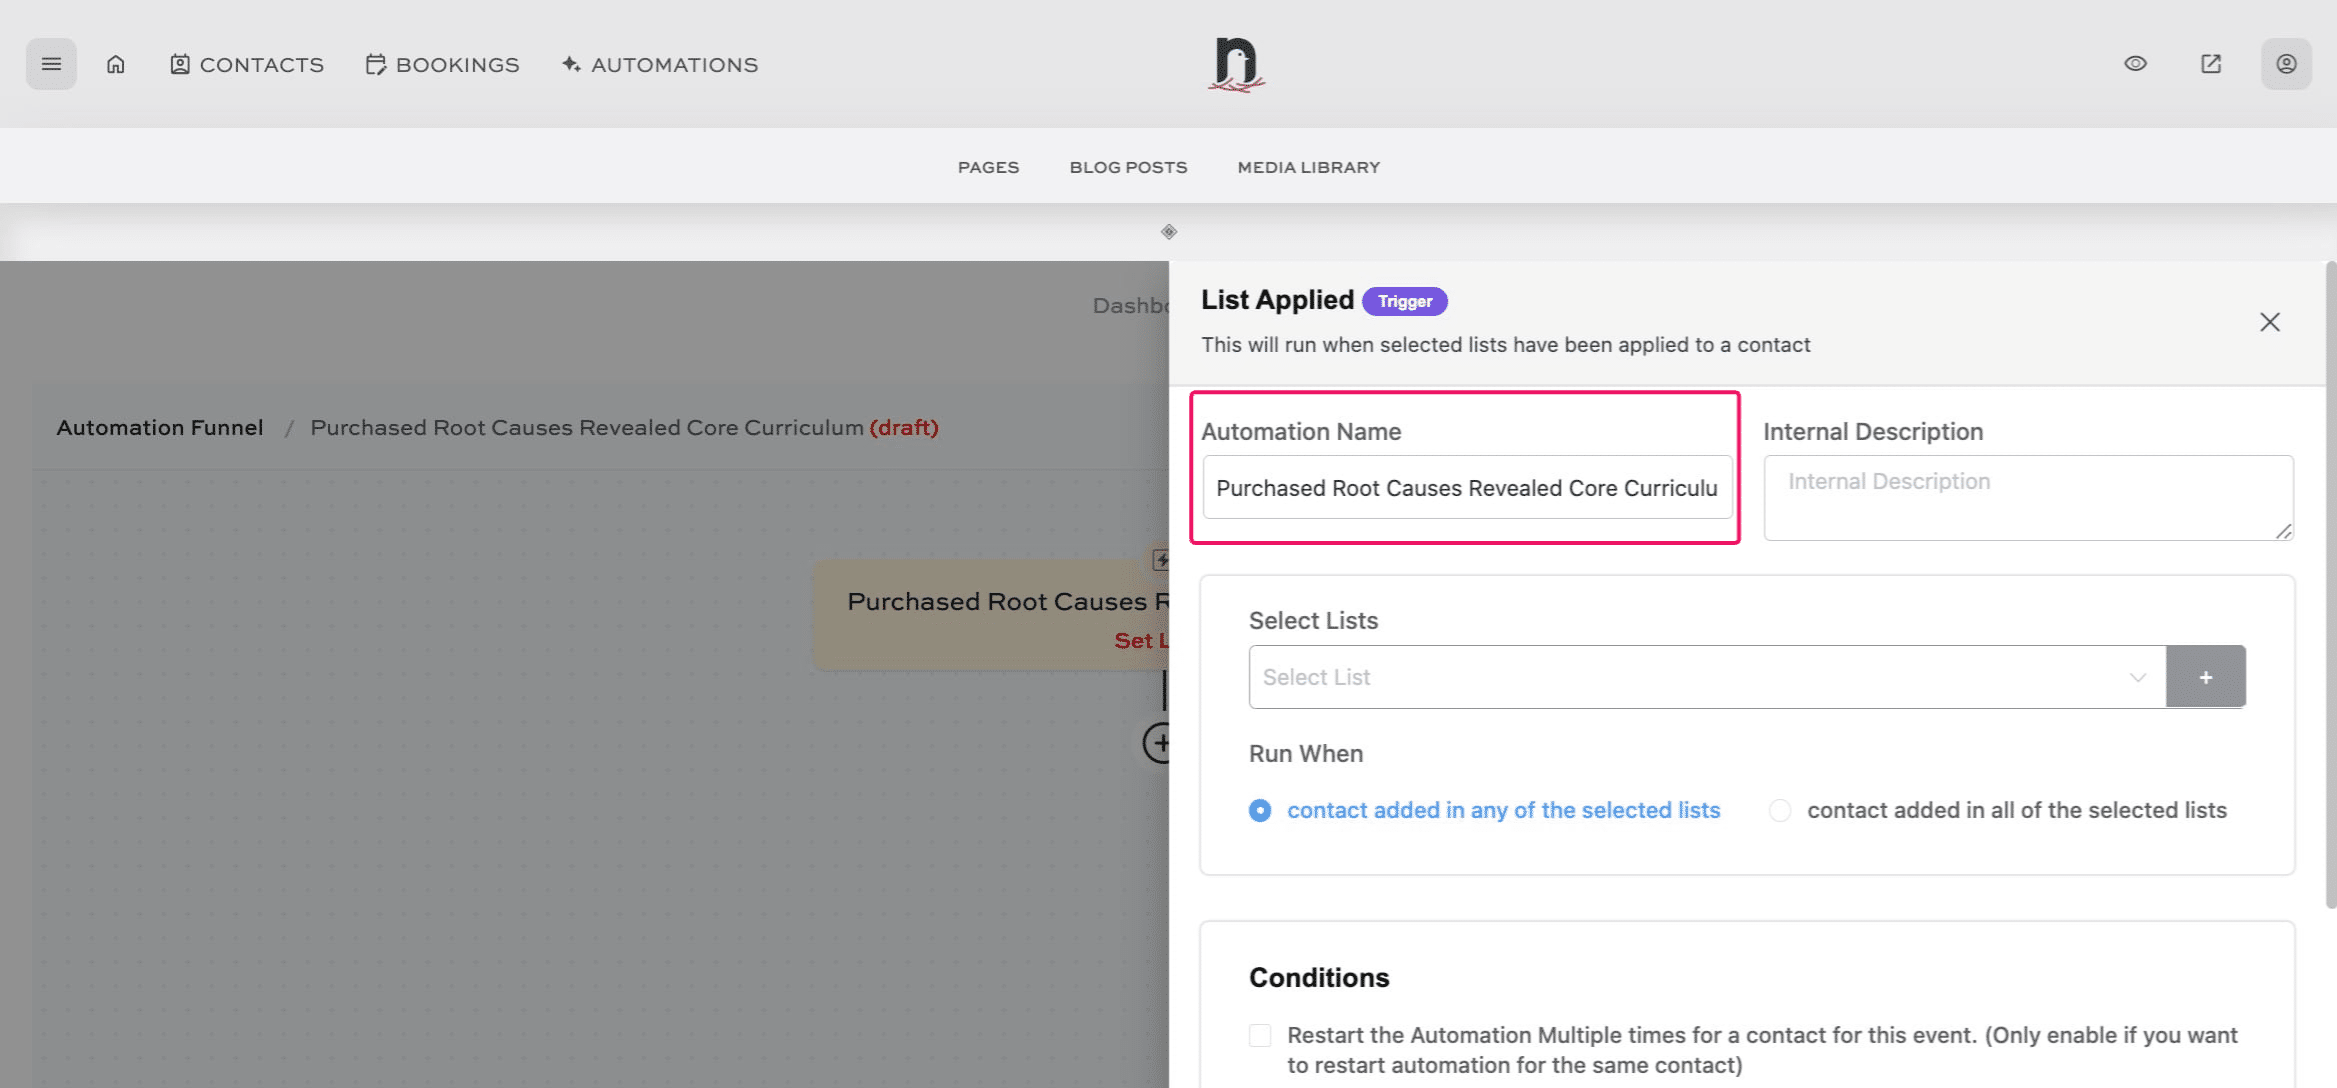
10
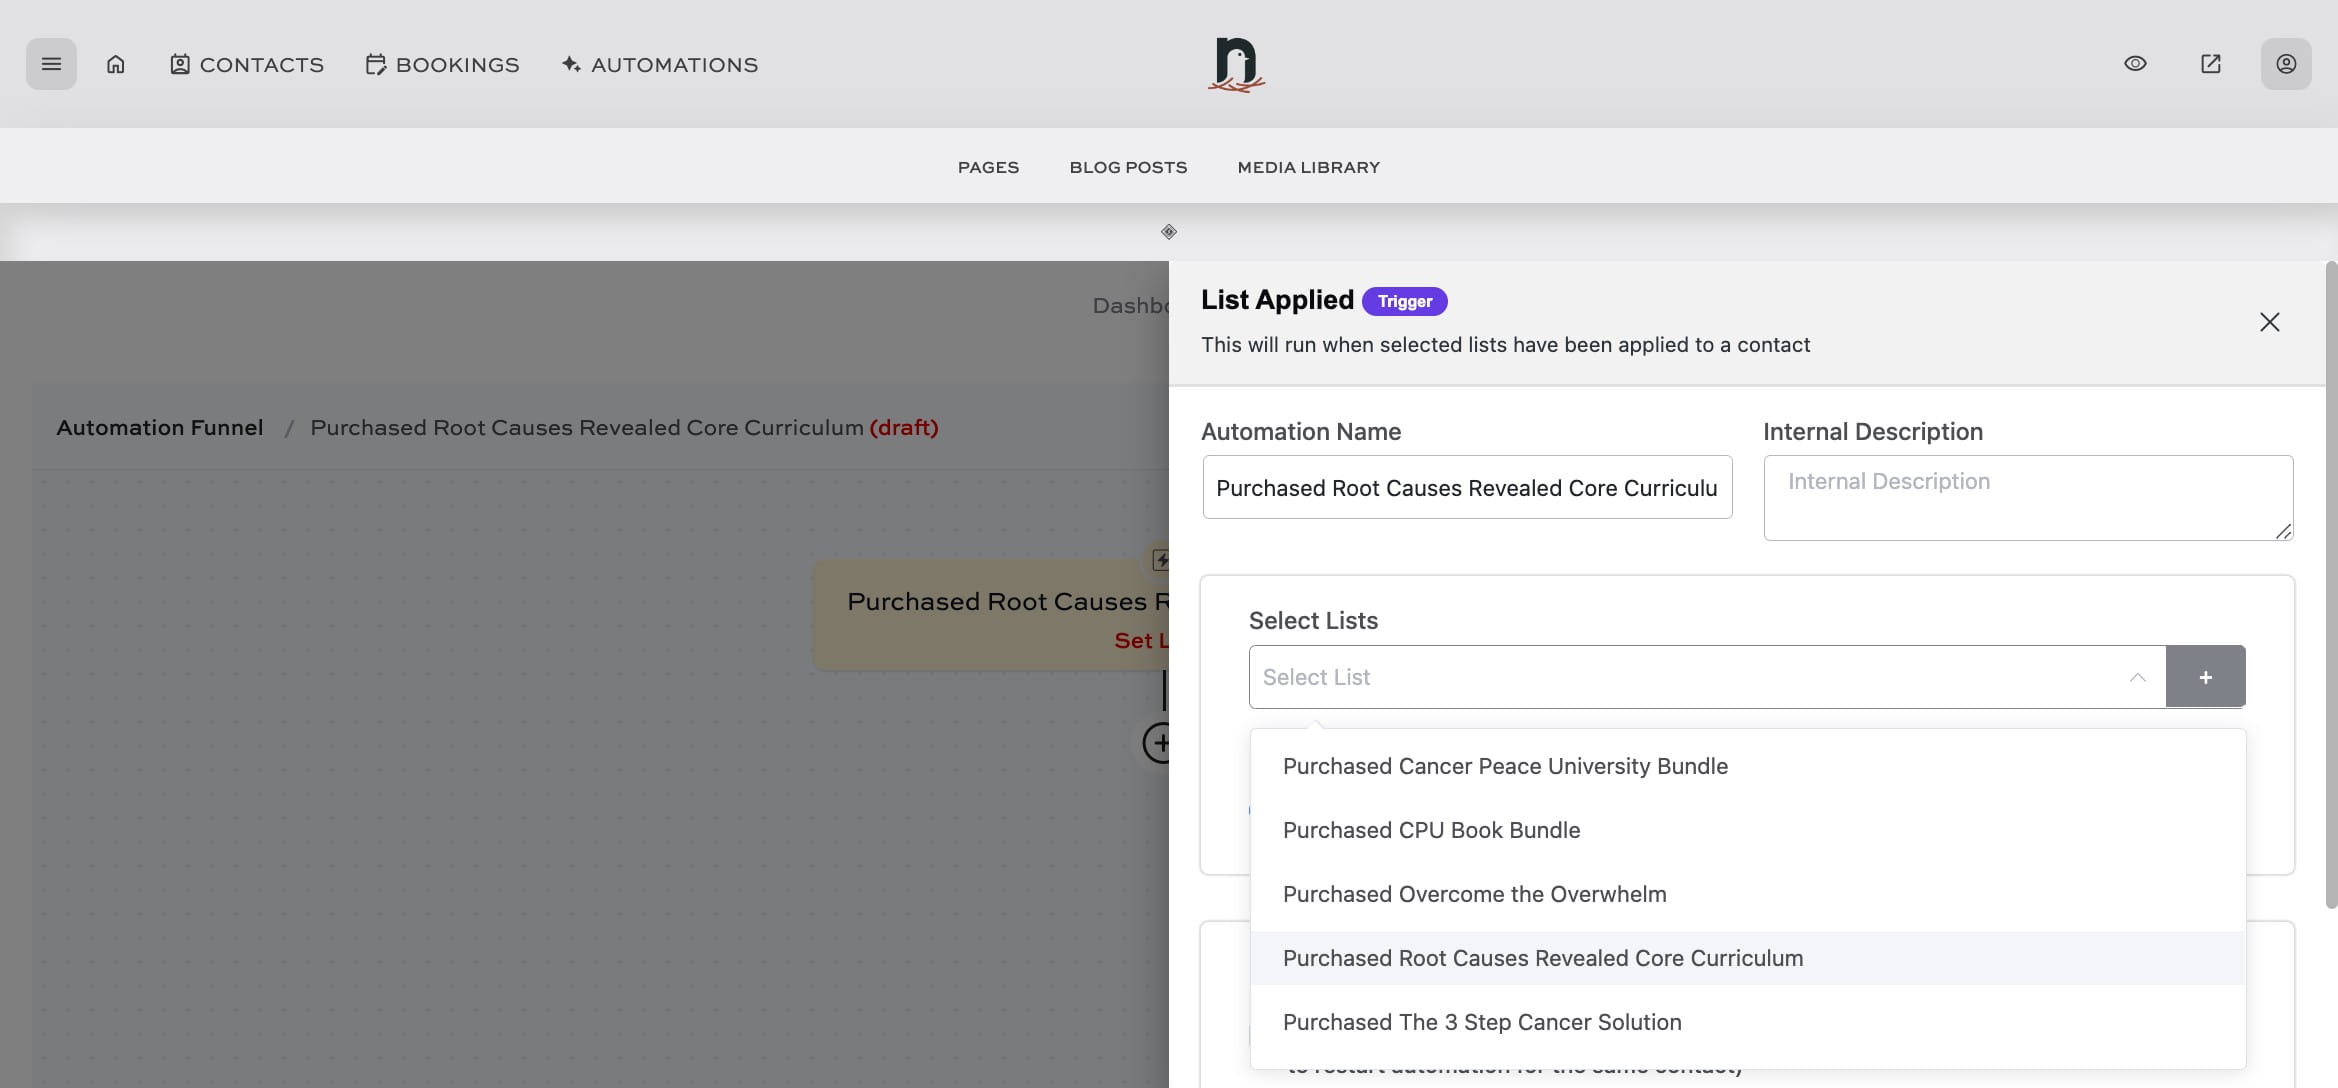
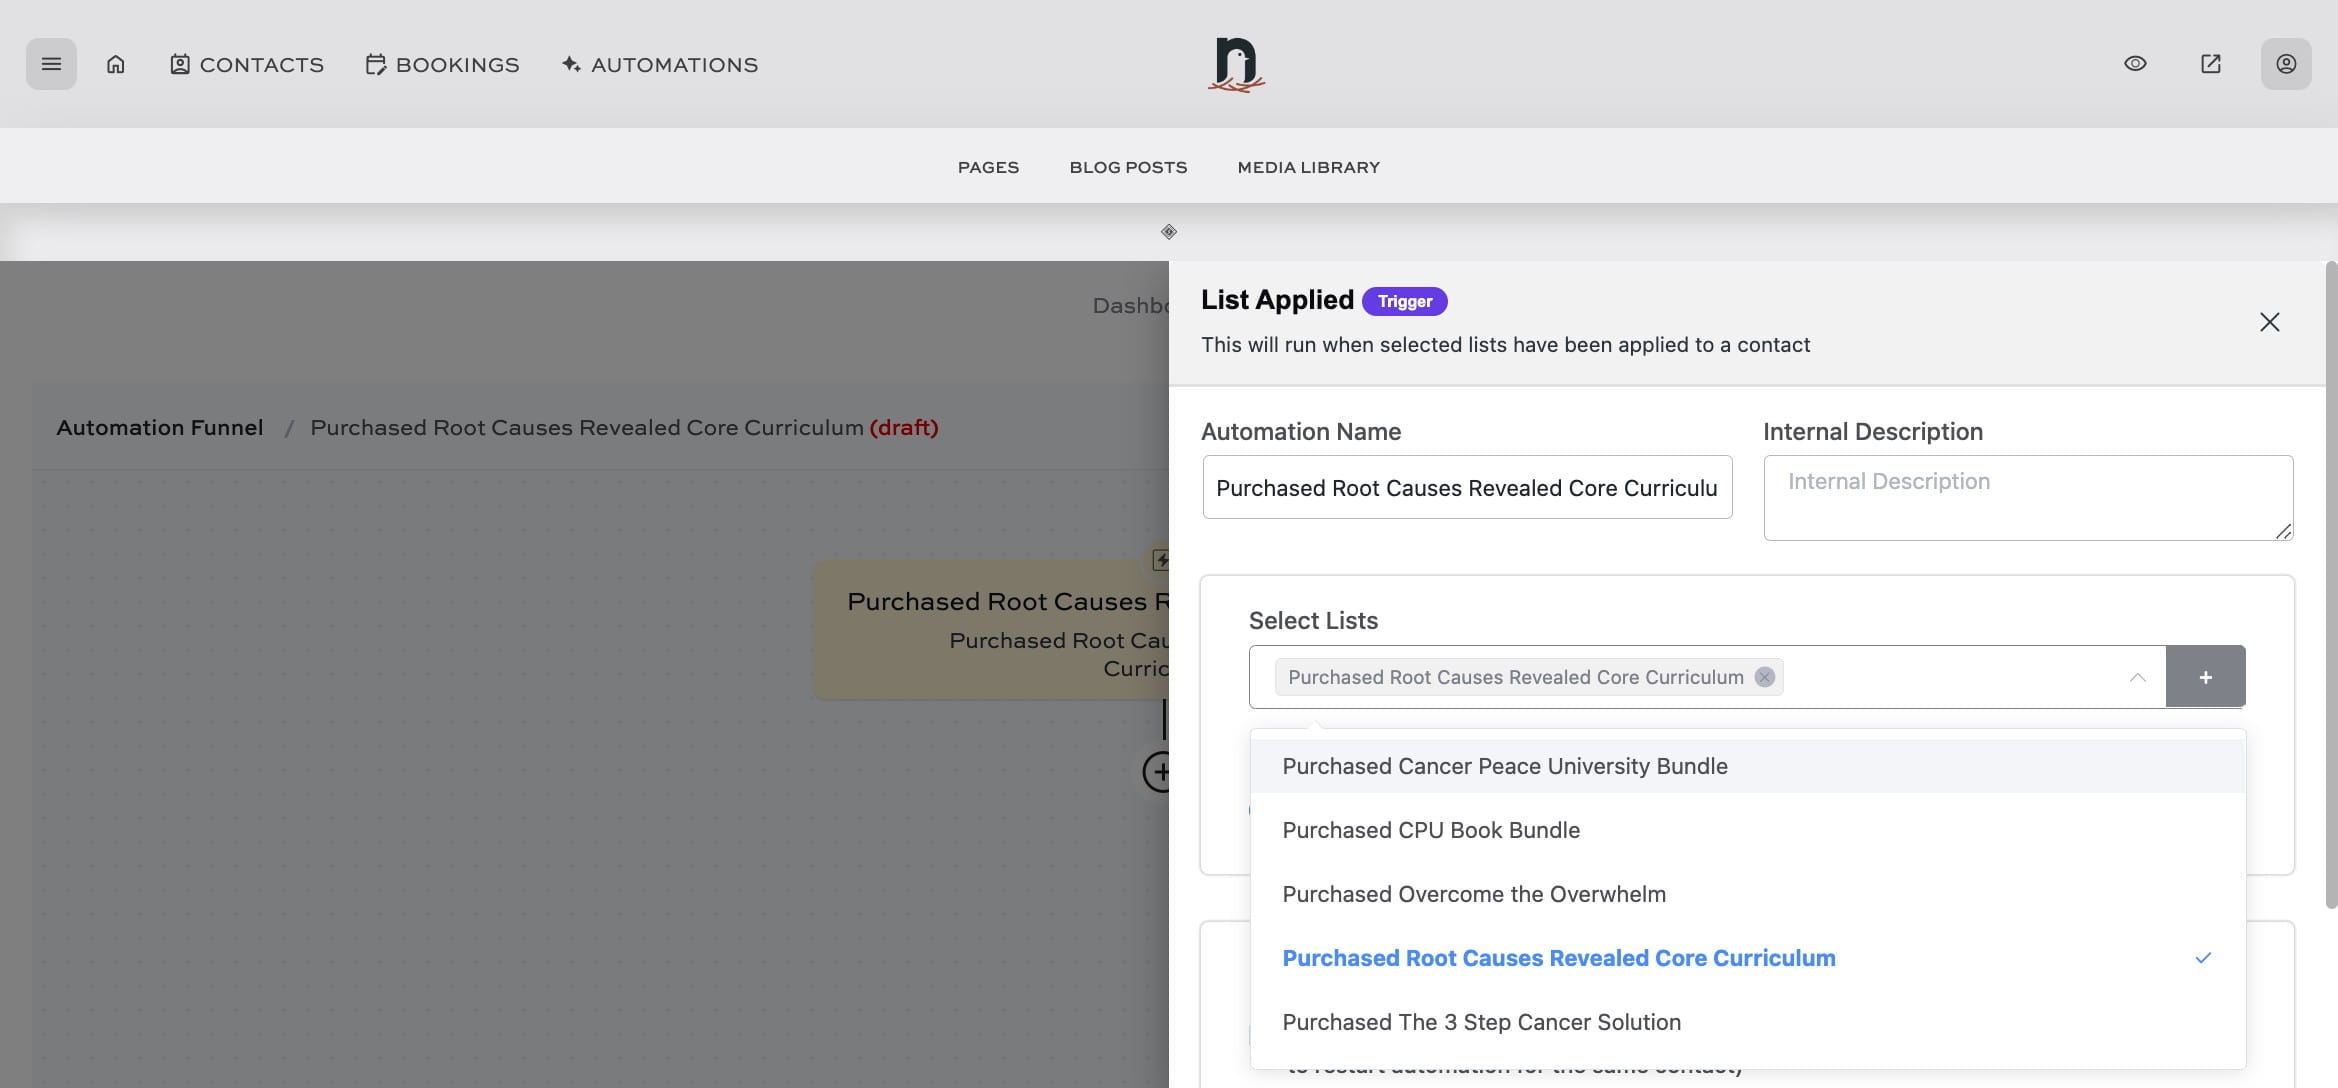
Select the correct list from the drop-down menu
11
Click on "List Applied"
12
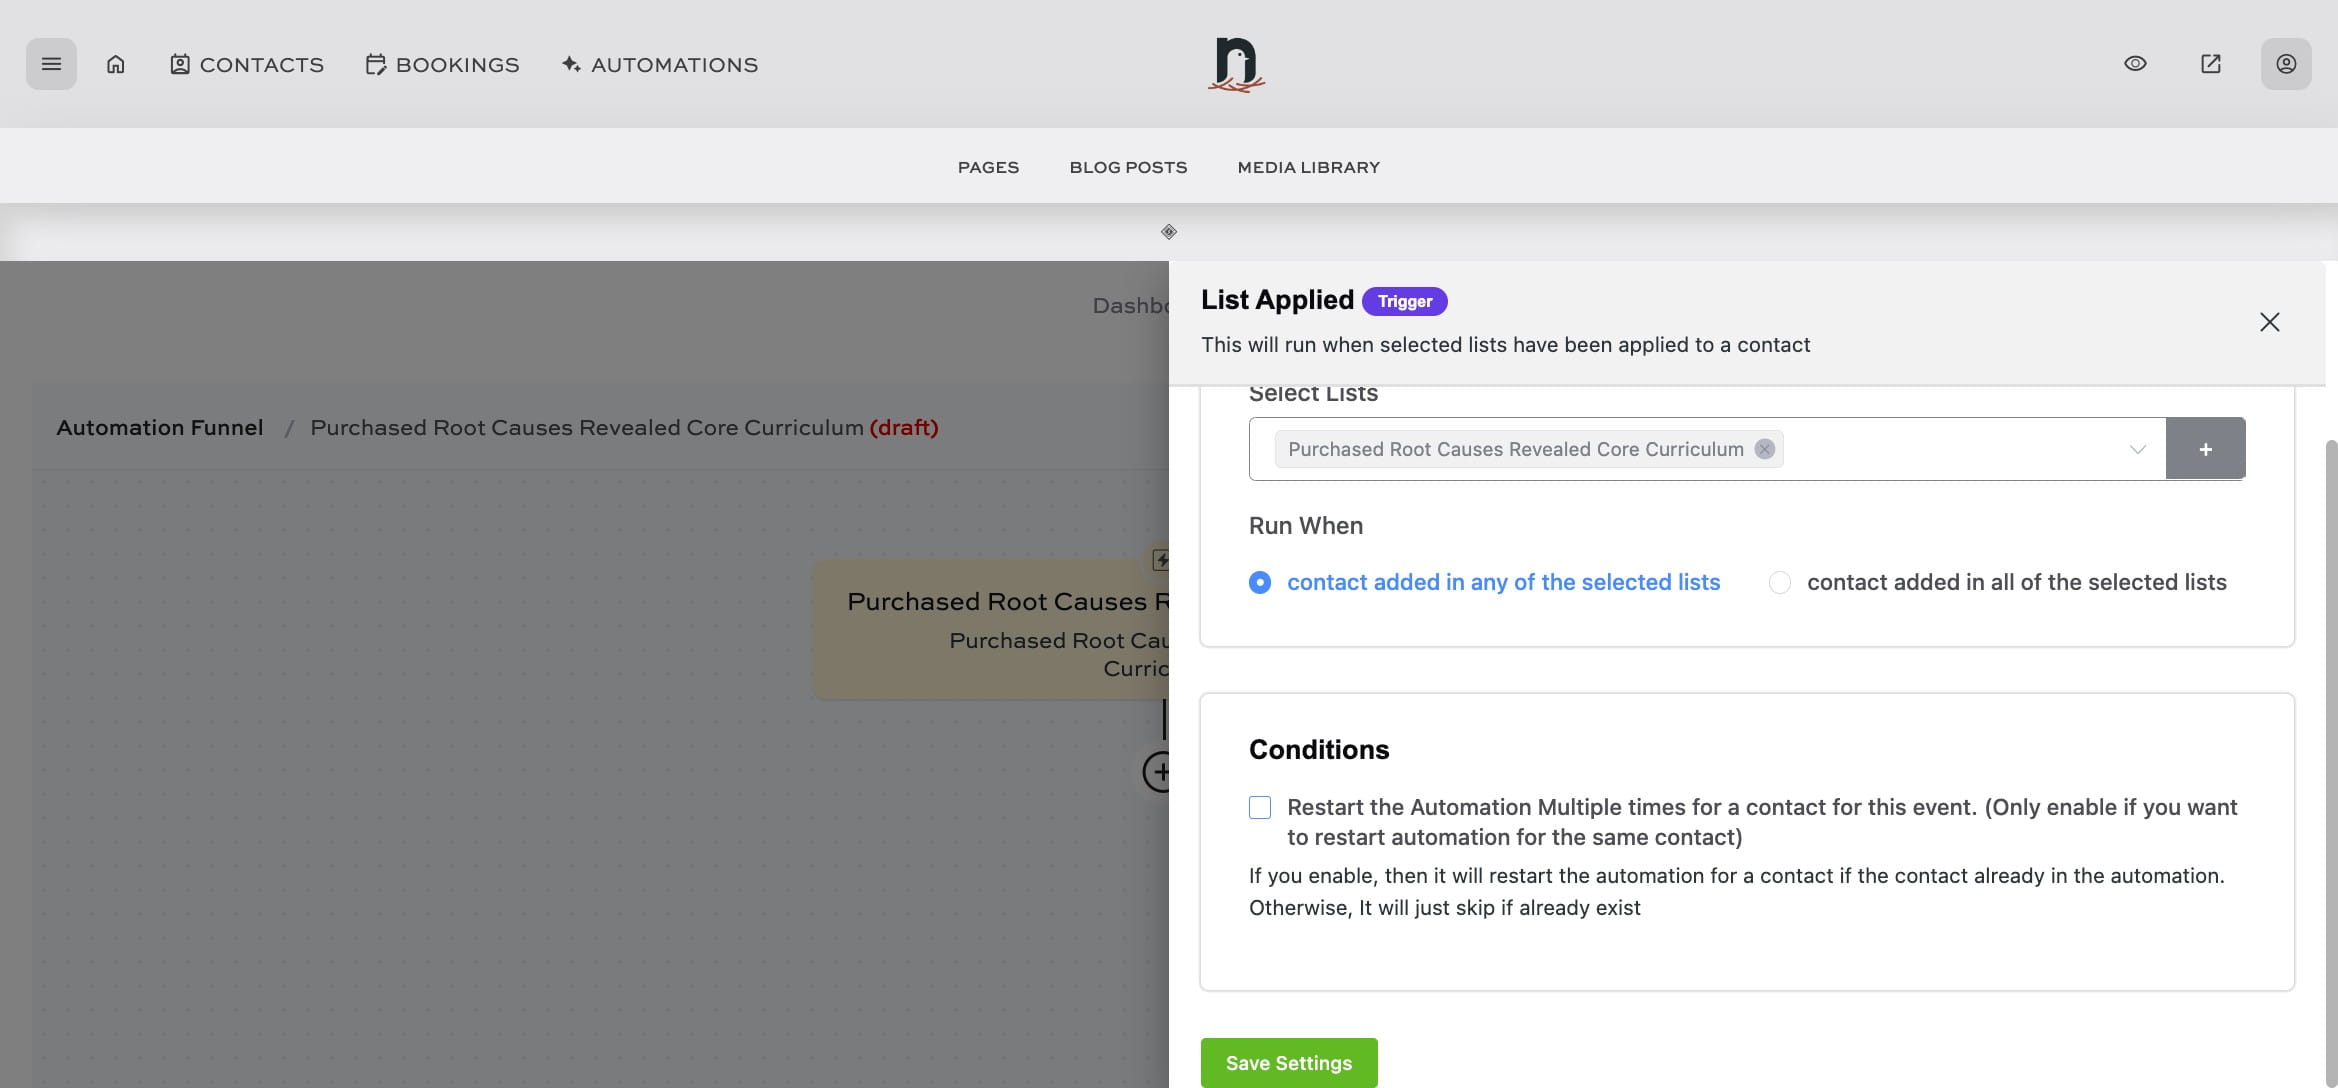
Under 'Run When' choose 'contact added in any of the selected lists'
13
Under 'Conditions', select the check box.
14
Click the "Save Settings" button
15
You've successfully set up the first part of your product delivery automation!