How to connect Zoom
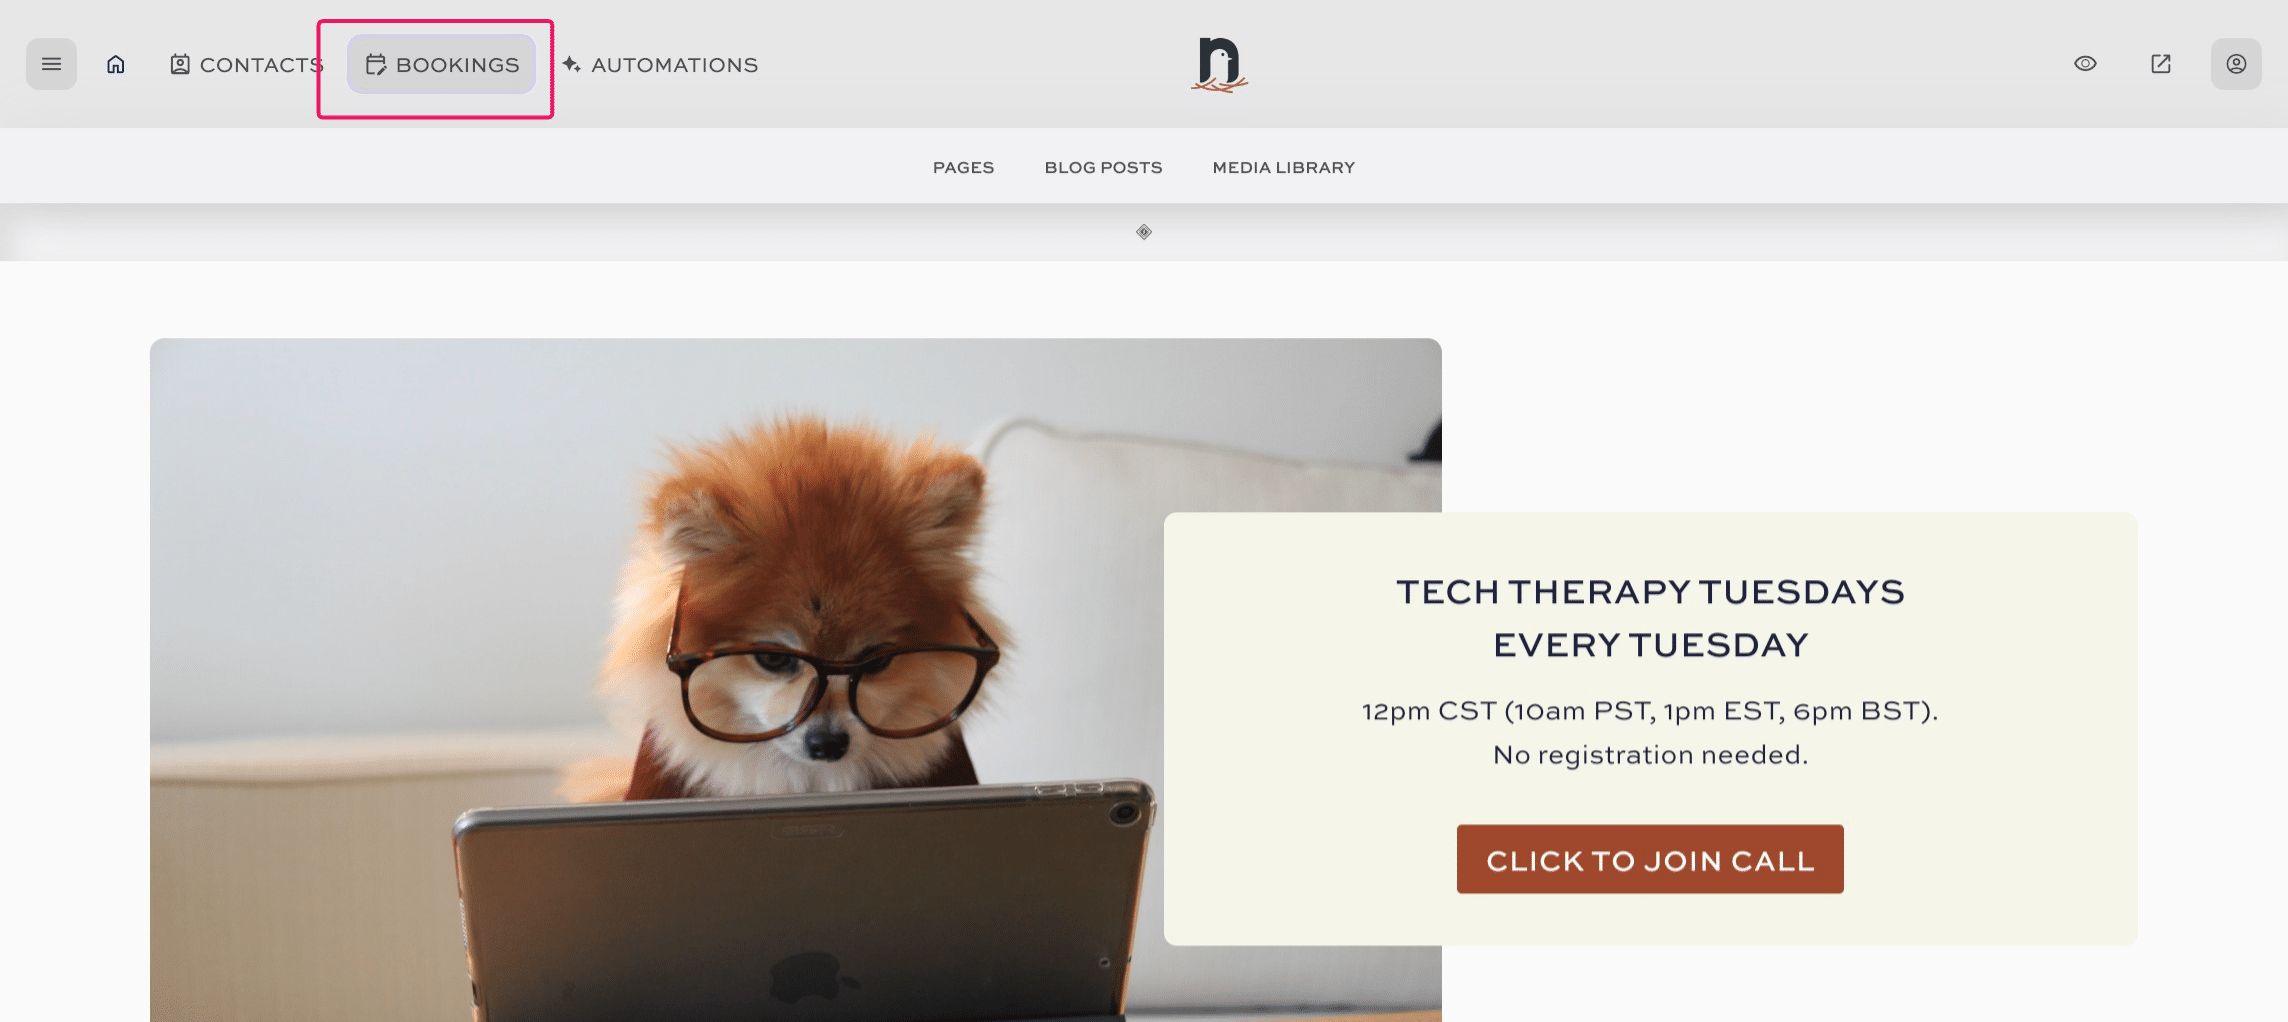
Click on "BOOKINGS"
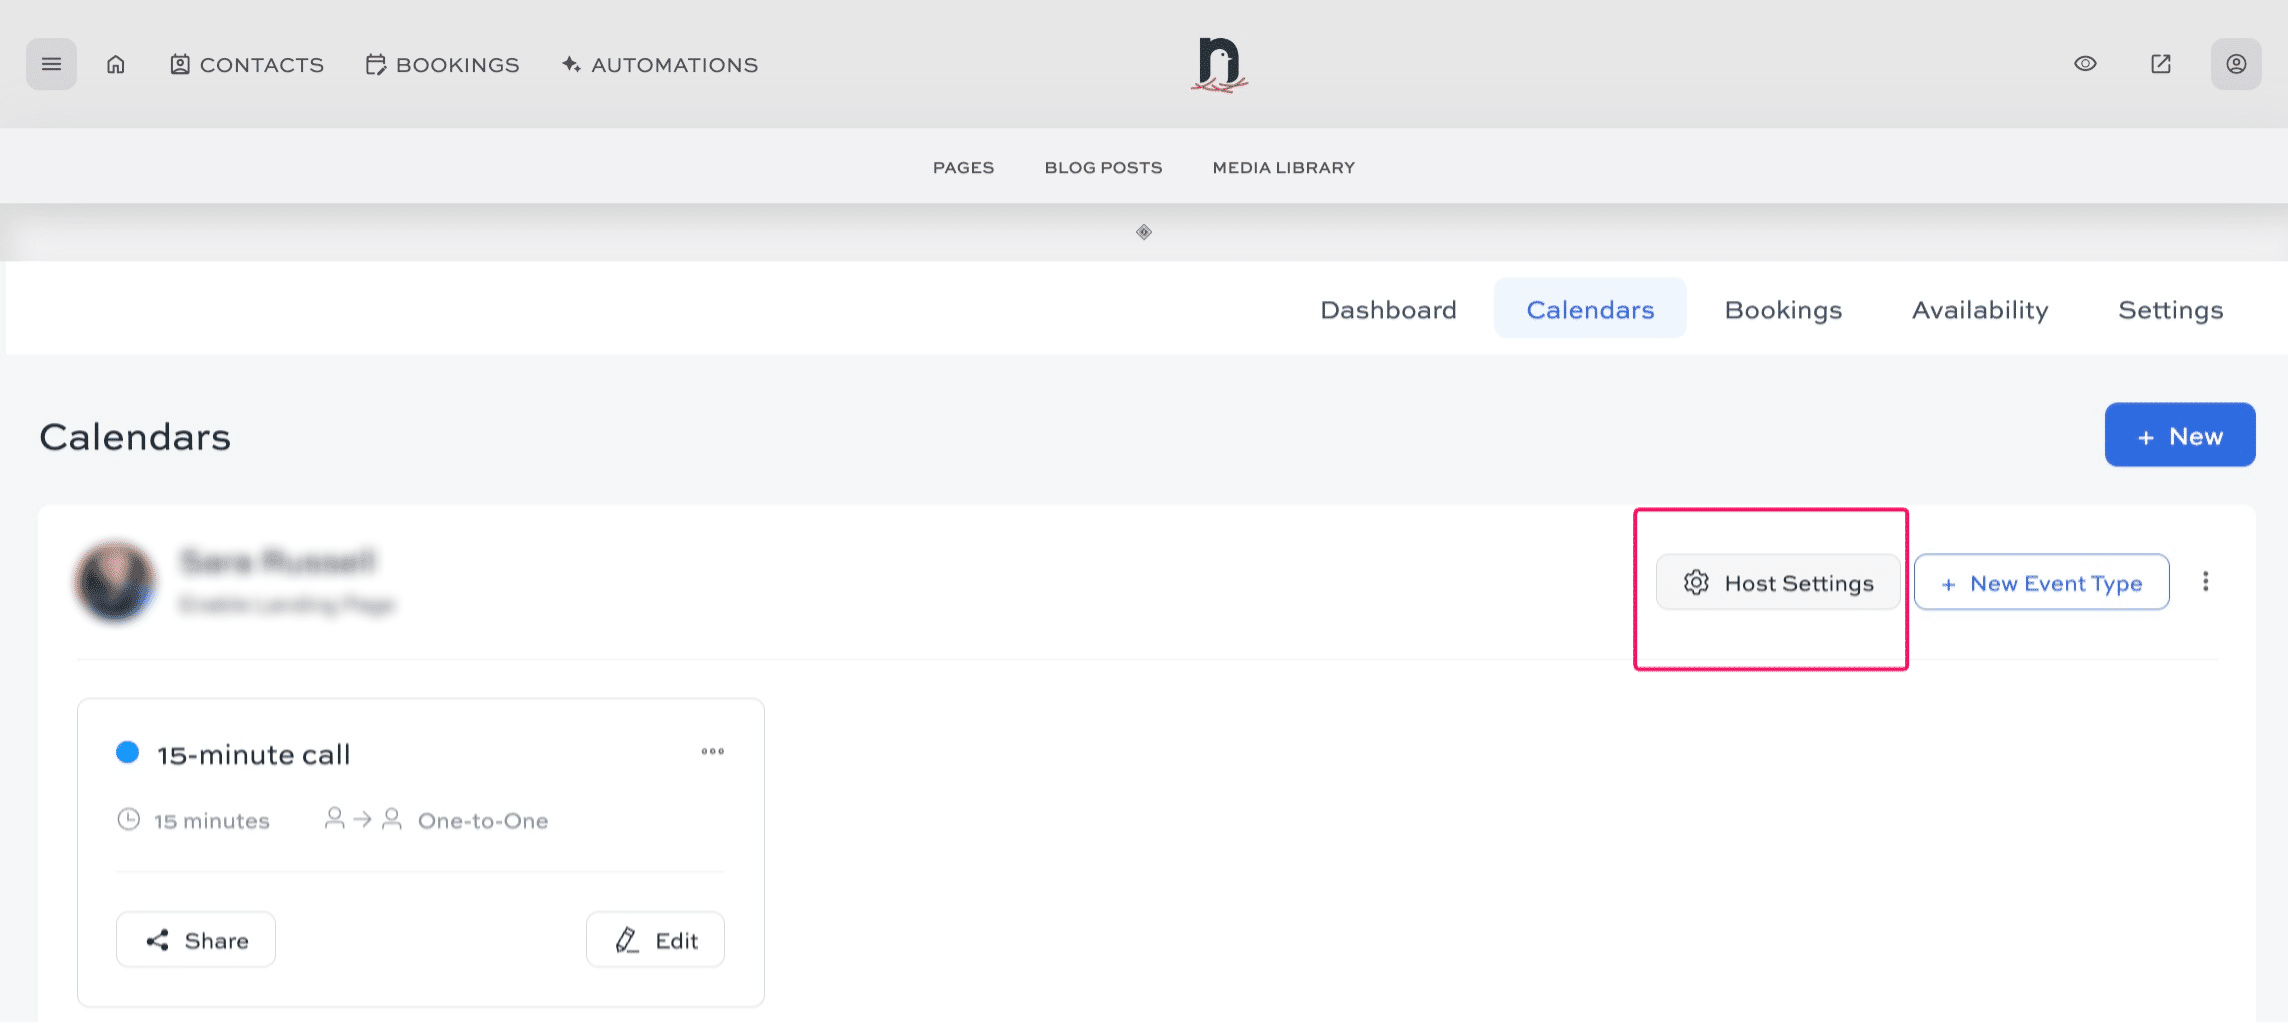
Click on "Calendars"

Cick 'Host Settings'
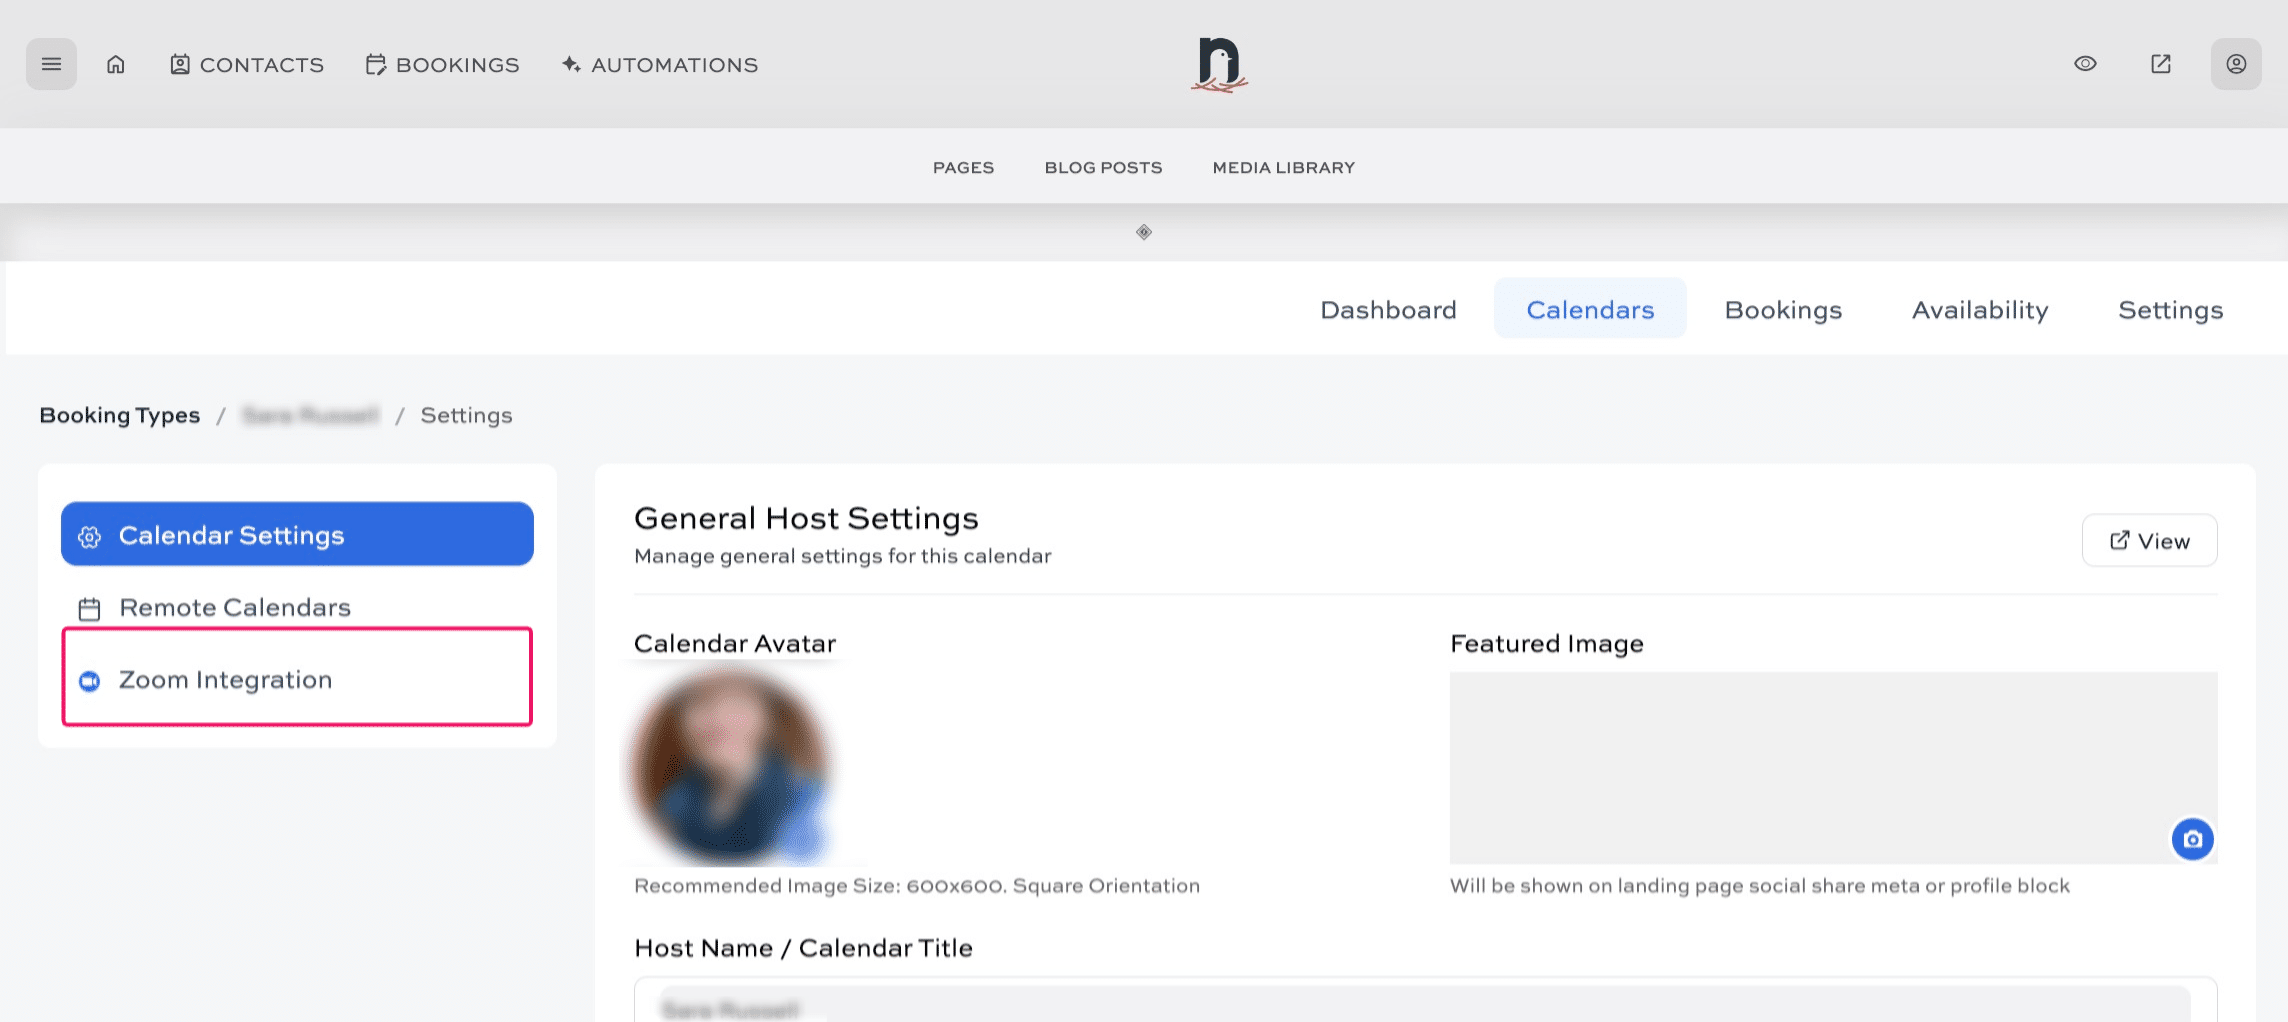
Click 'Zoom Integration'
Click on "Connect Your Zoom Account".

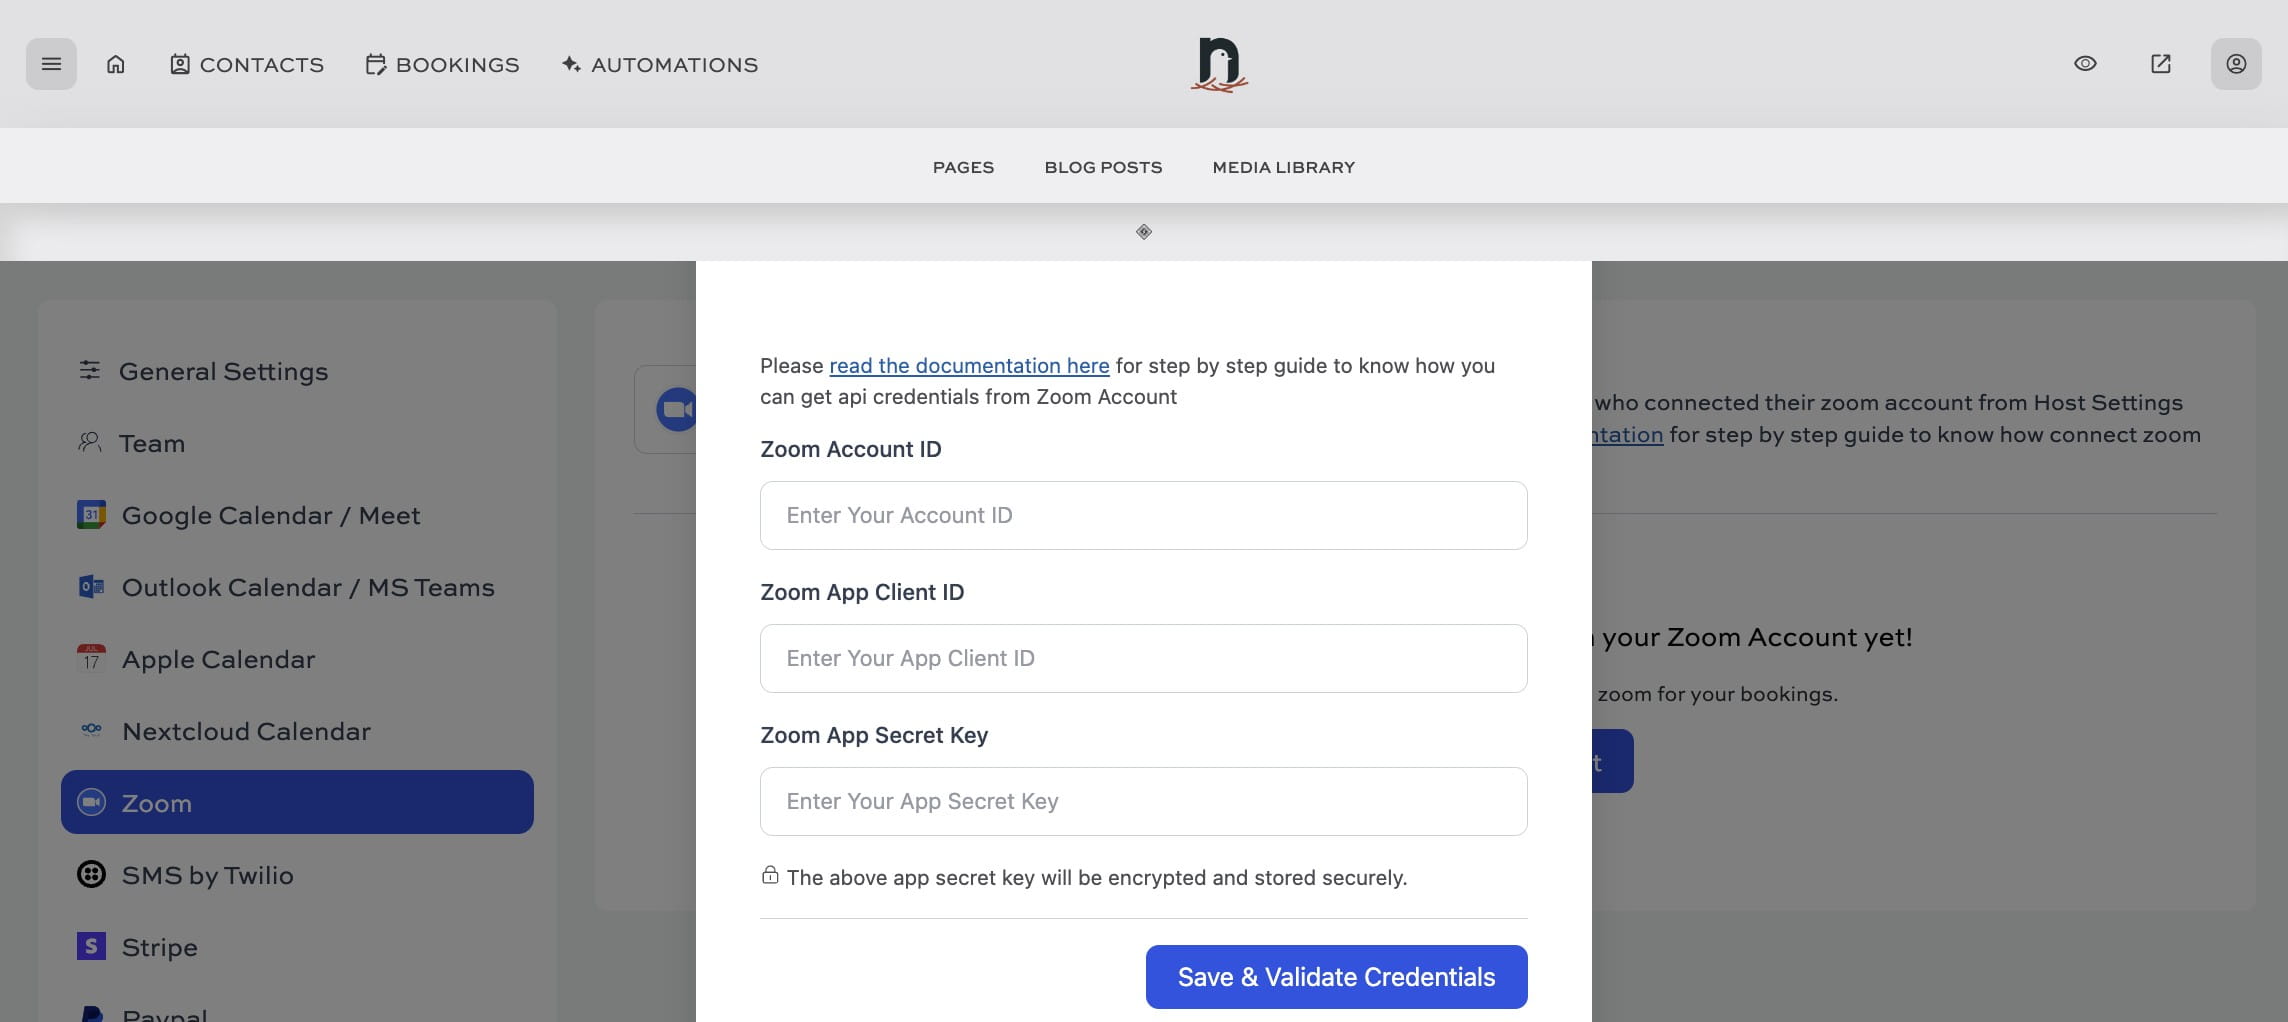
This screen will pop up. Now we're going to head to Zoom to connect your account. We'll head back to this page later to fill out this form.
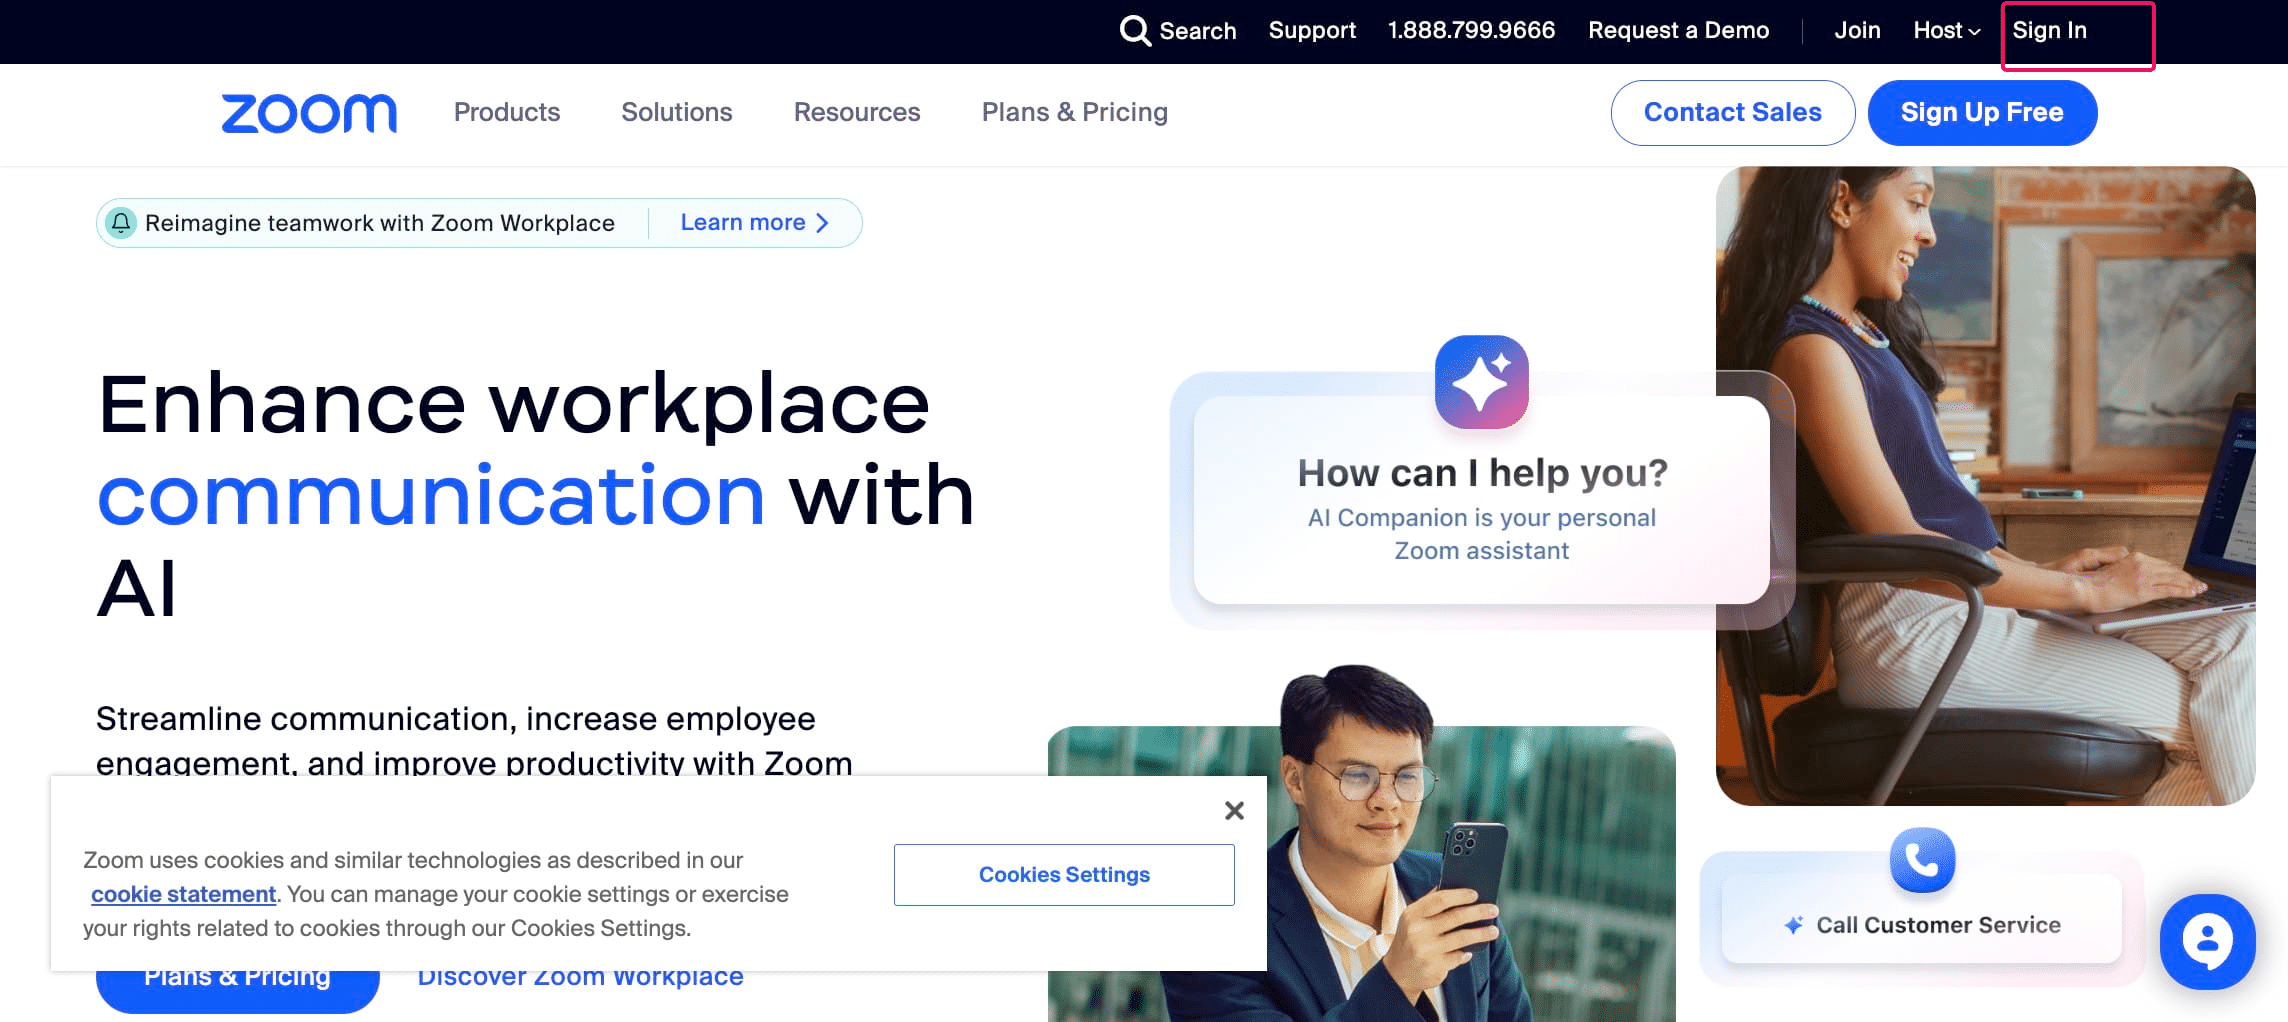
In a new browser tab, go to https://zoom.us/ and click on "Sign In"
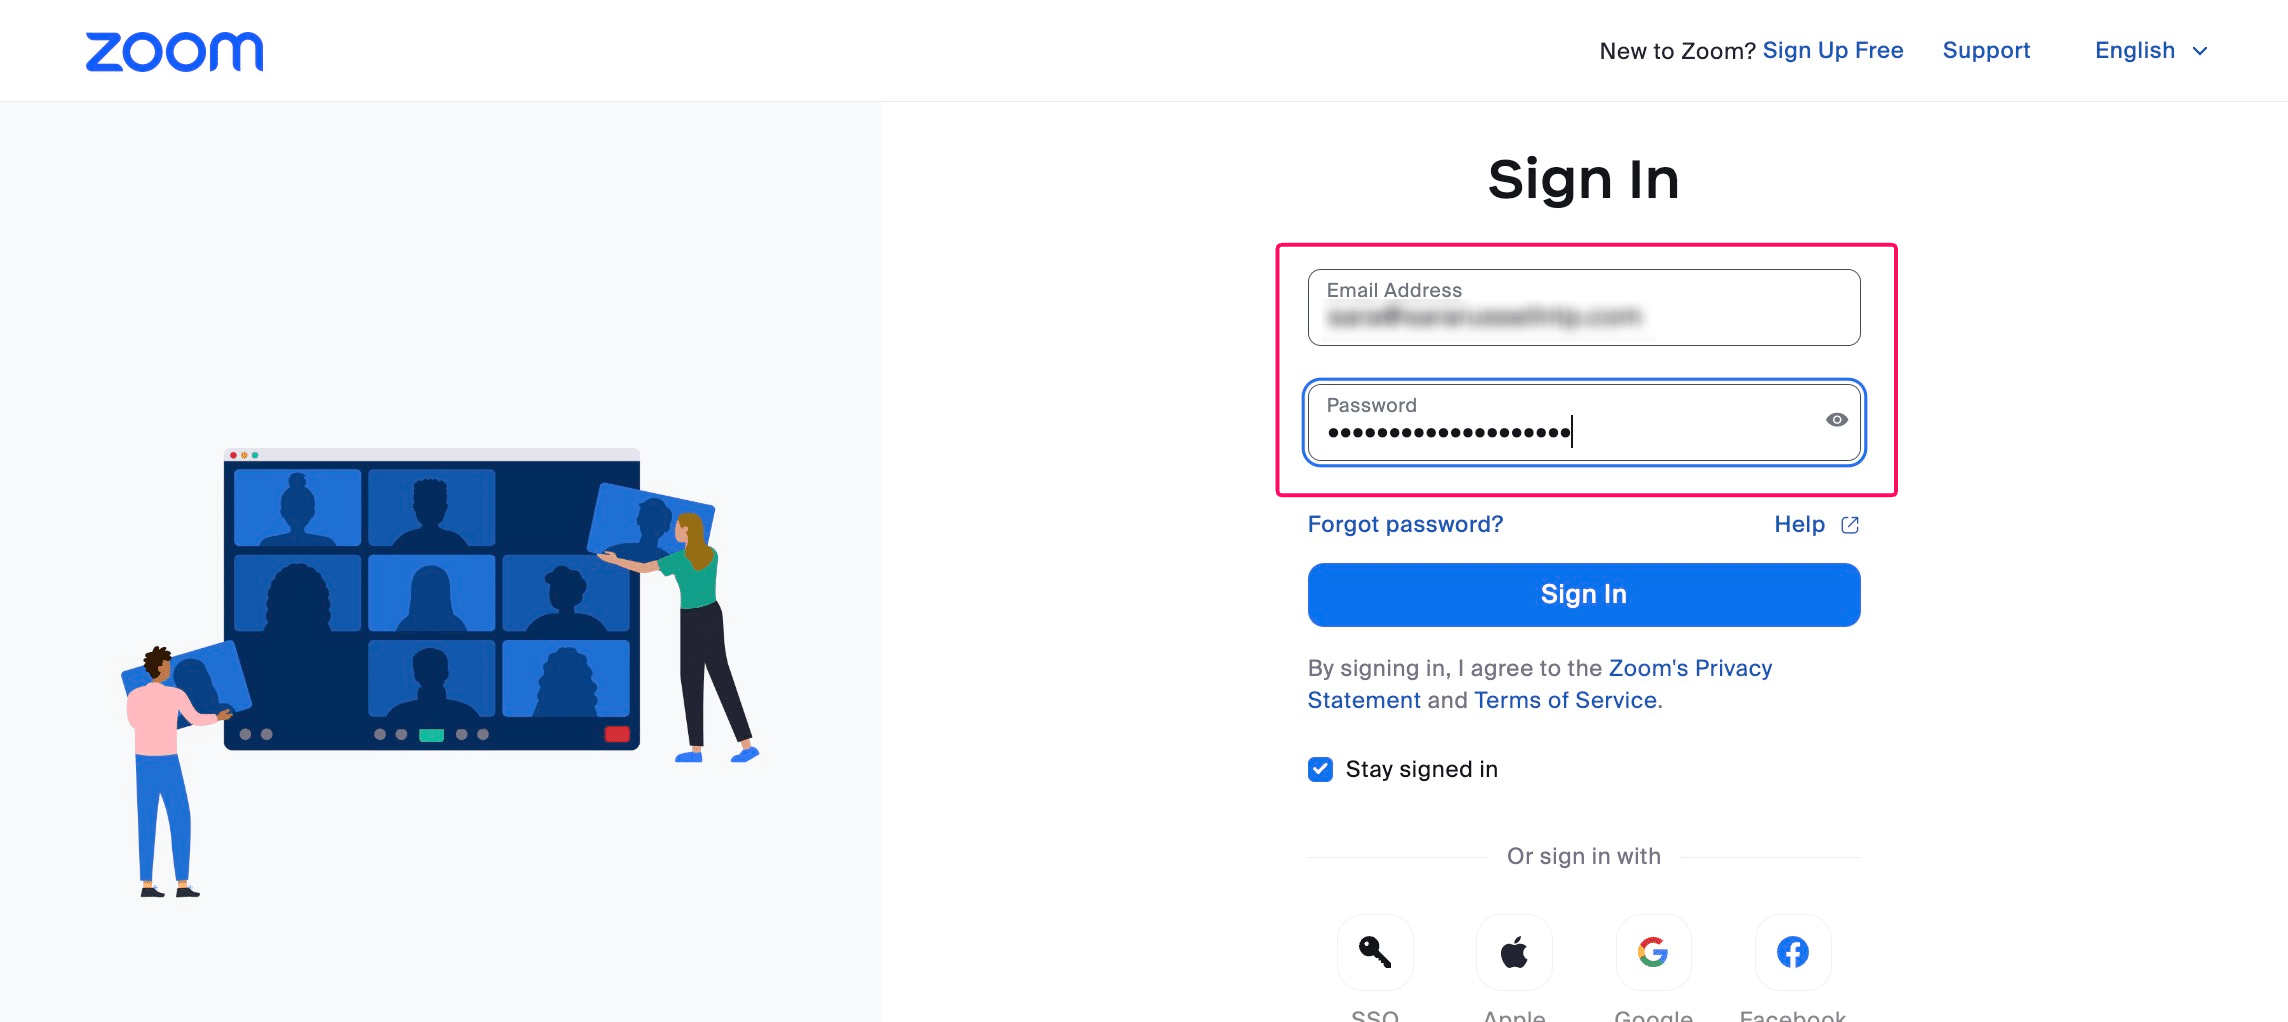
Enter your Zoom account credentials
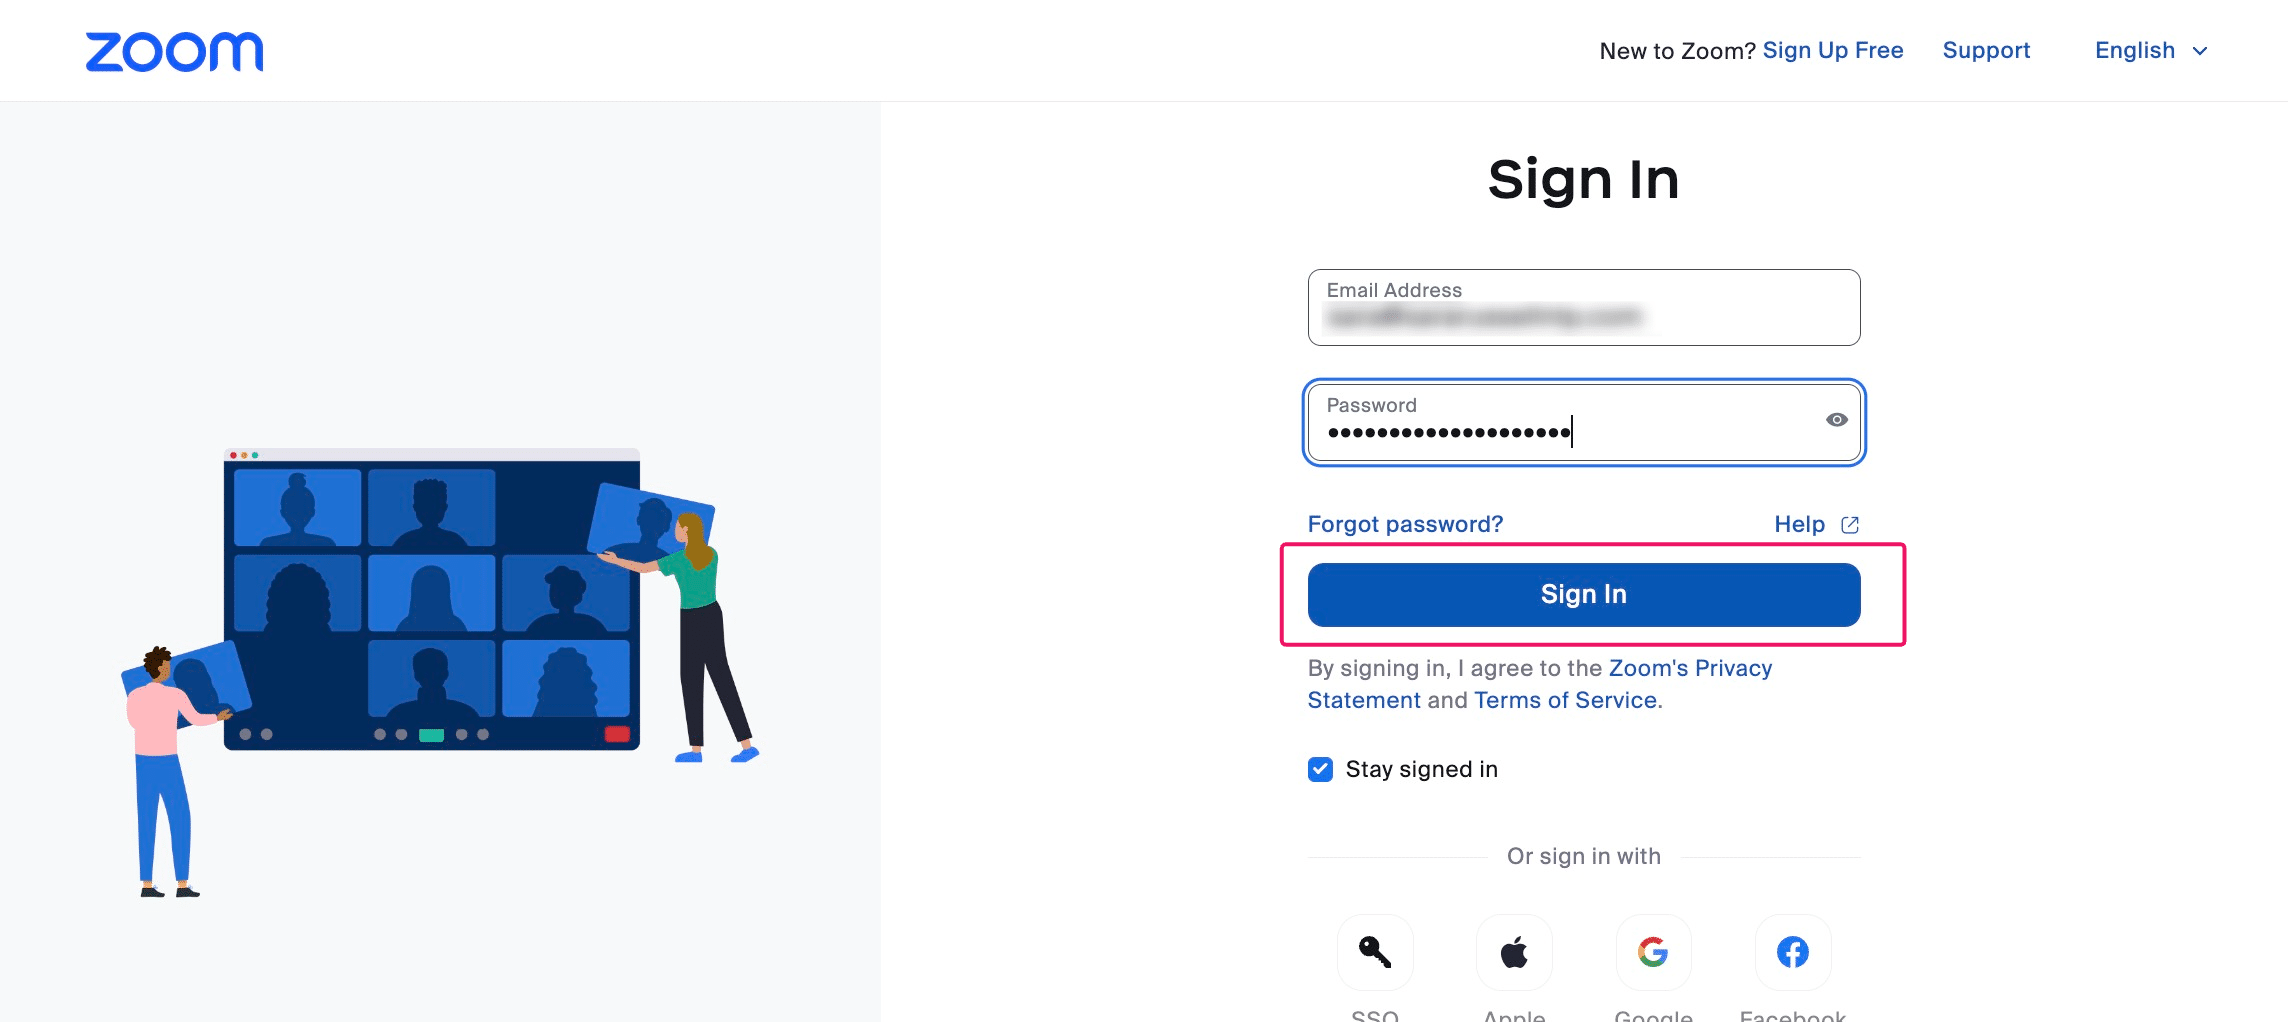
Click on "Sign In"
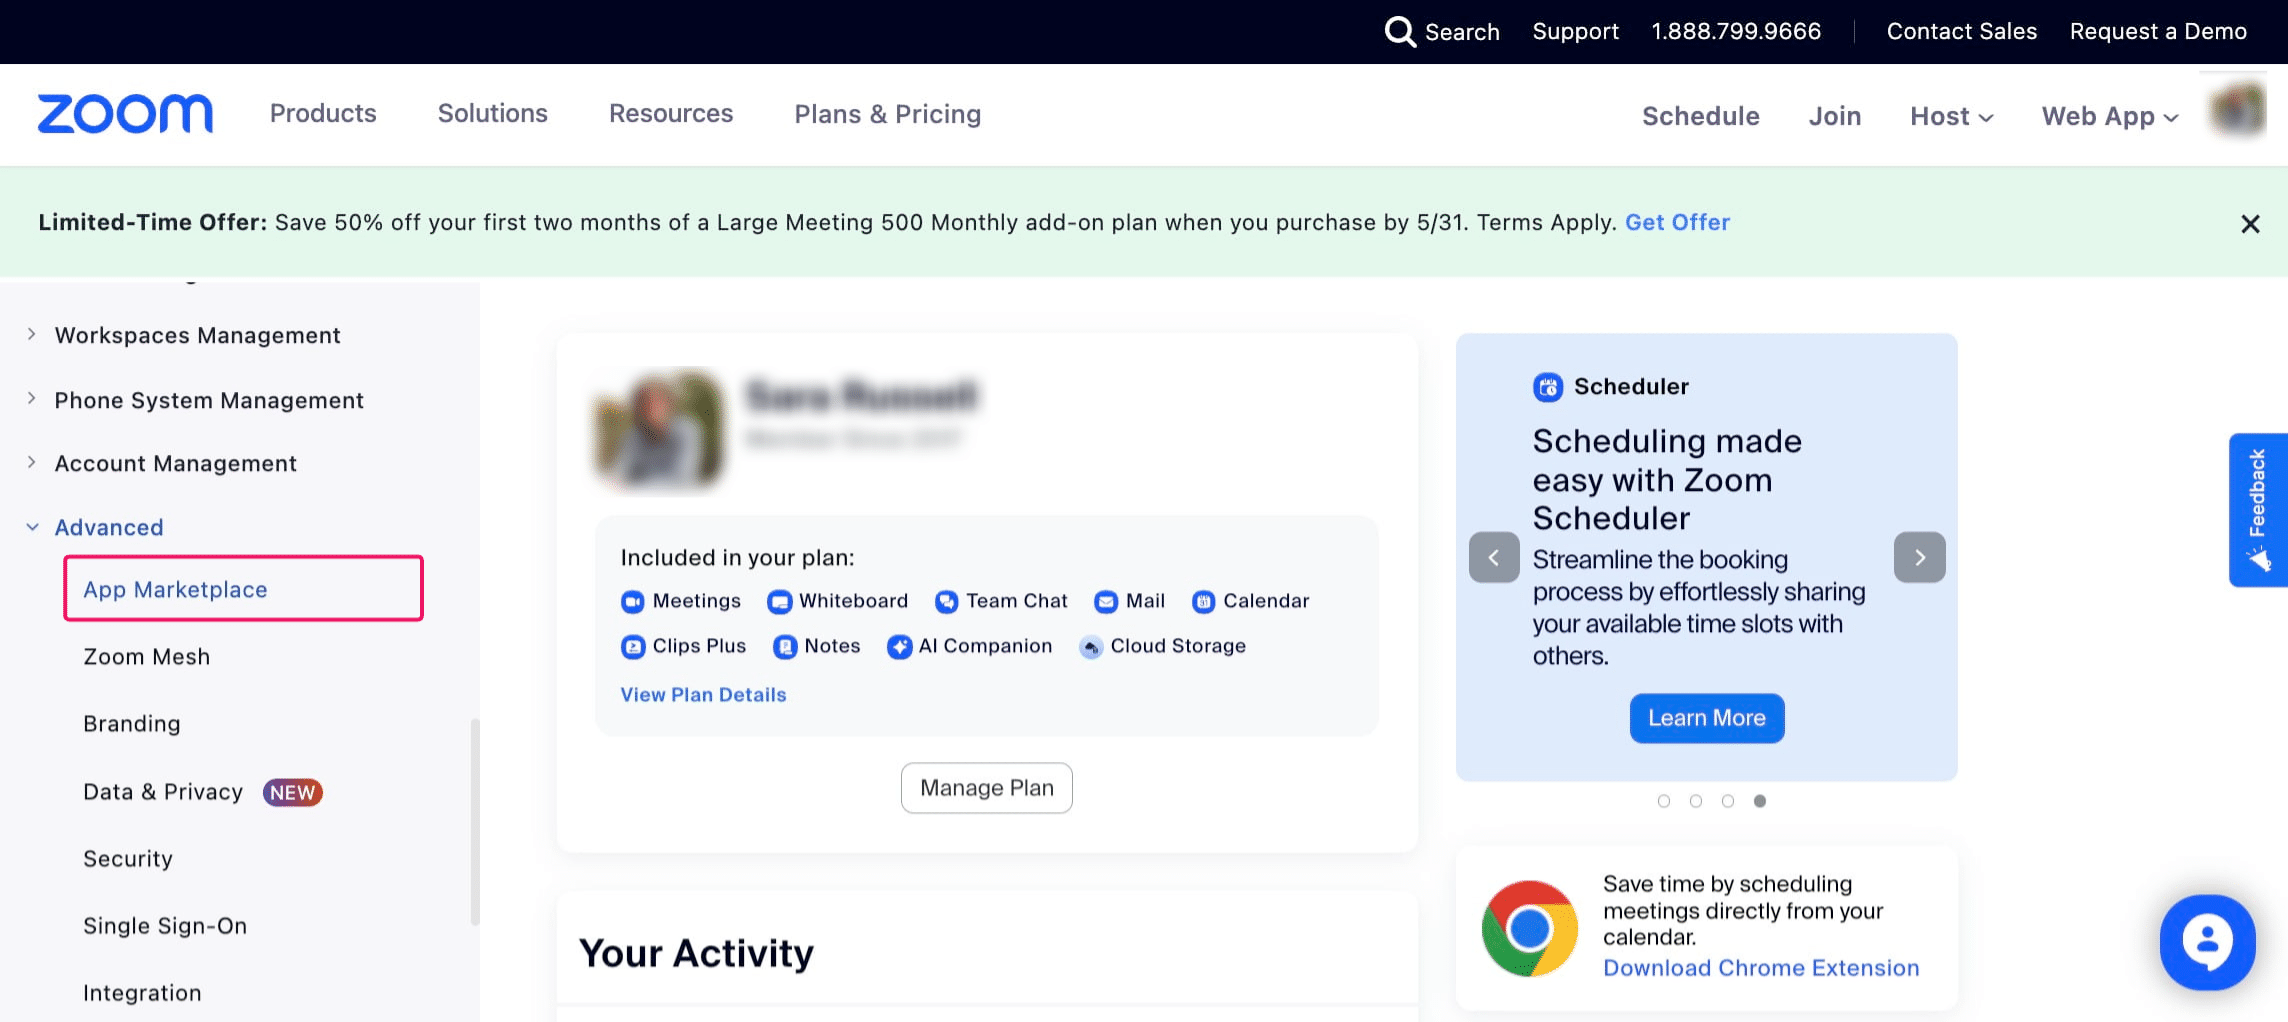
Click on "Advanced"

Click on "App Marketplace"
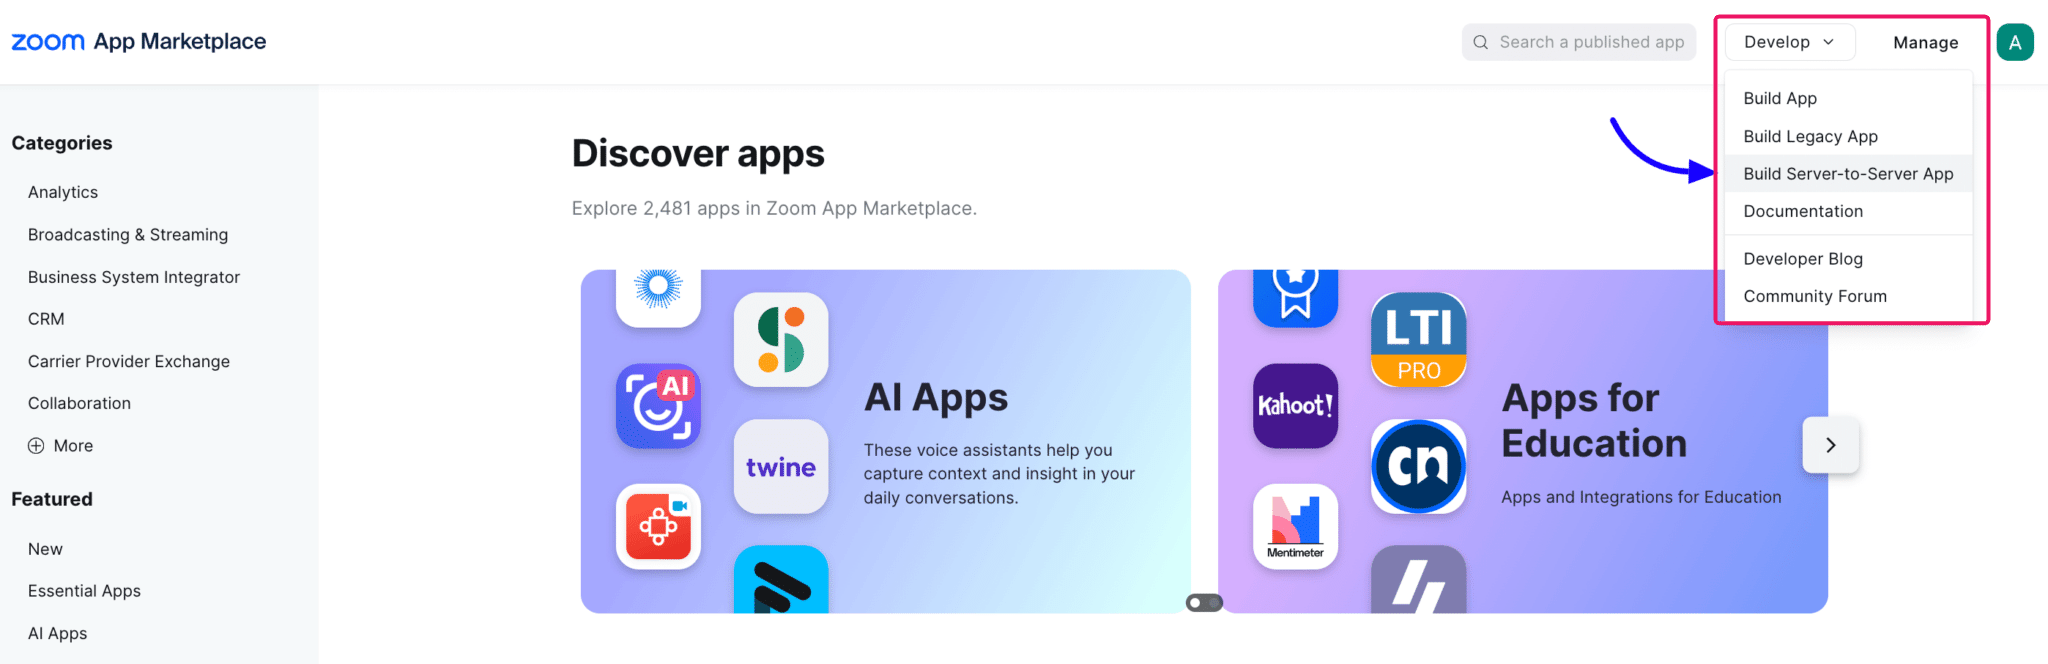
Now you're in the 'App Marketplace' screen. It's ok, don't be scared. There are just a few steps. : )
Click on "Develop" and then on "Build Server-to-Server App"
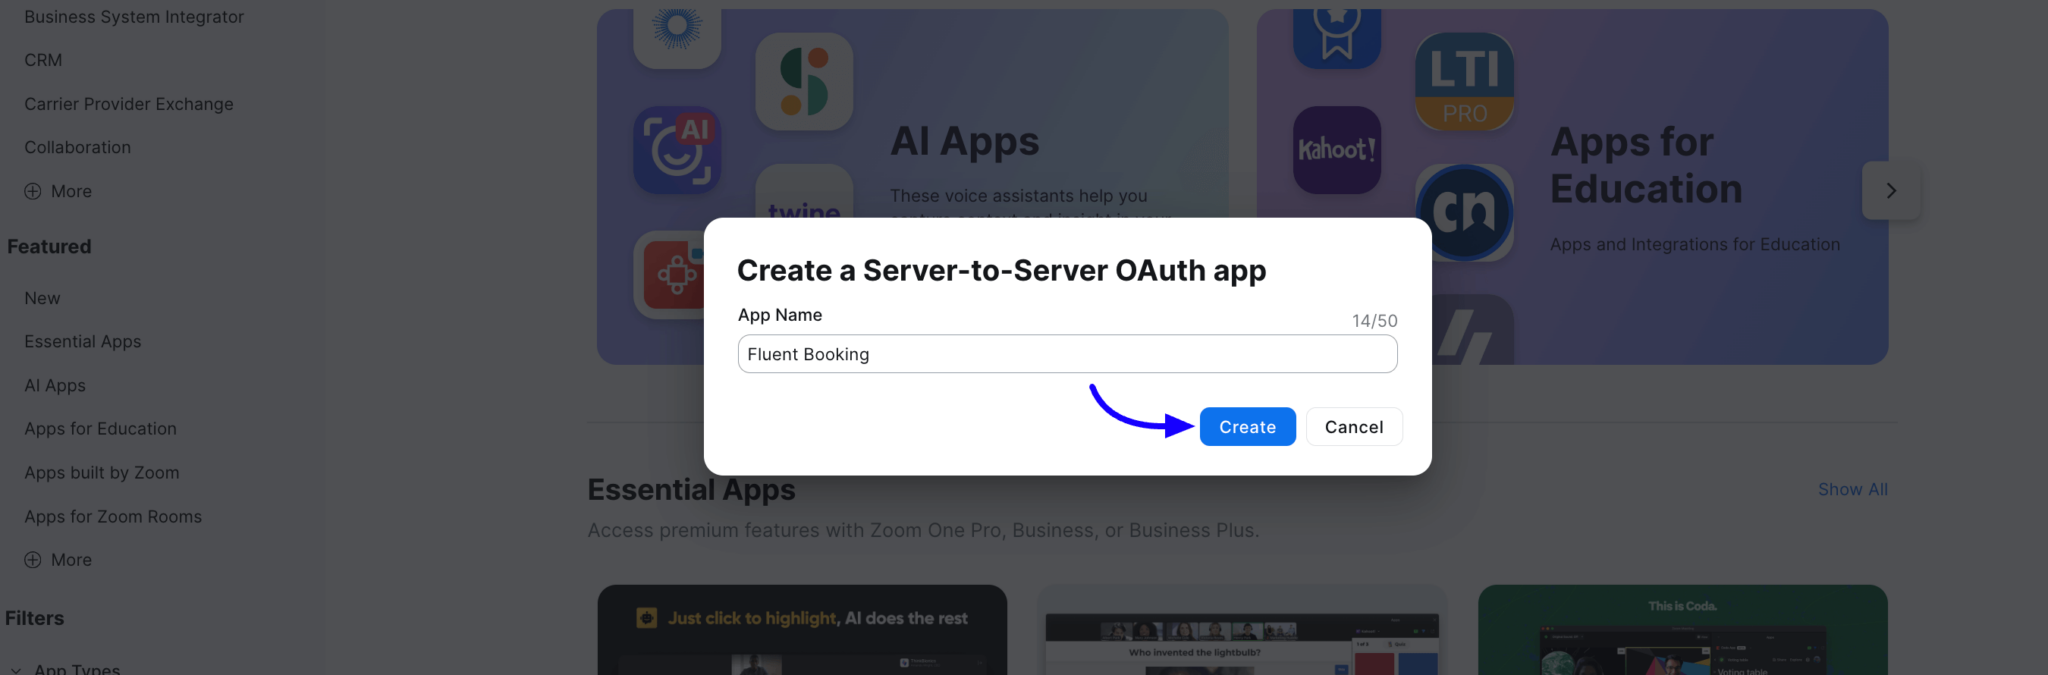
Give your 'app' a name. Since nobody will see this, something like "Booking" will suffice. Then click 'Create'
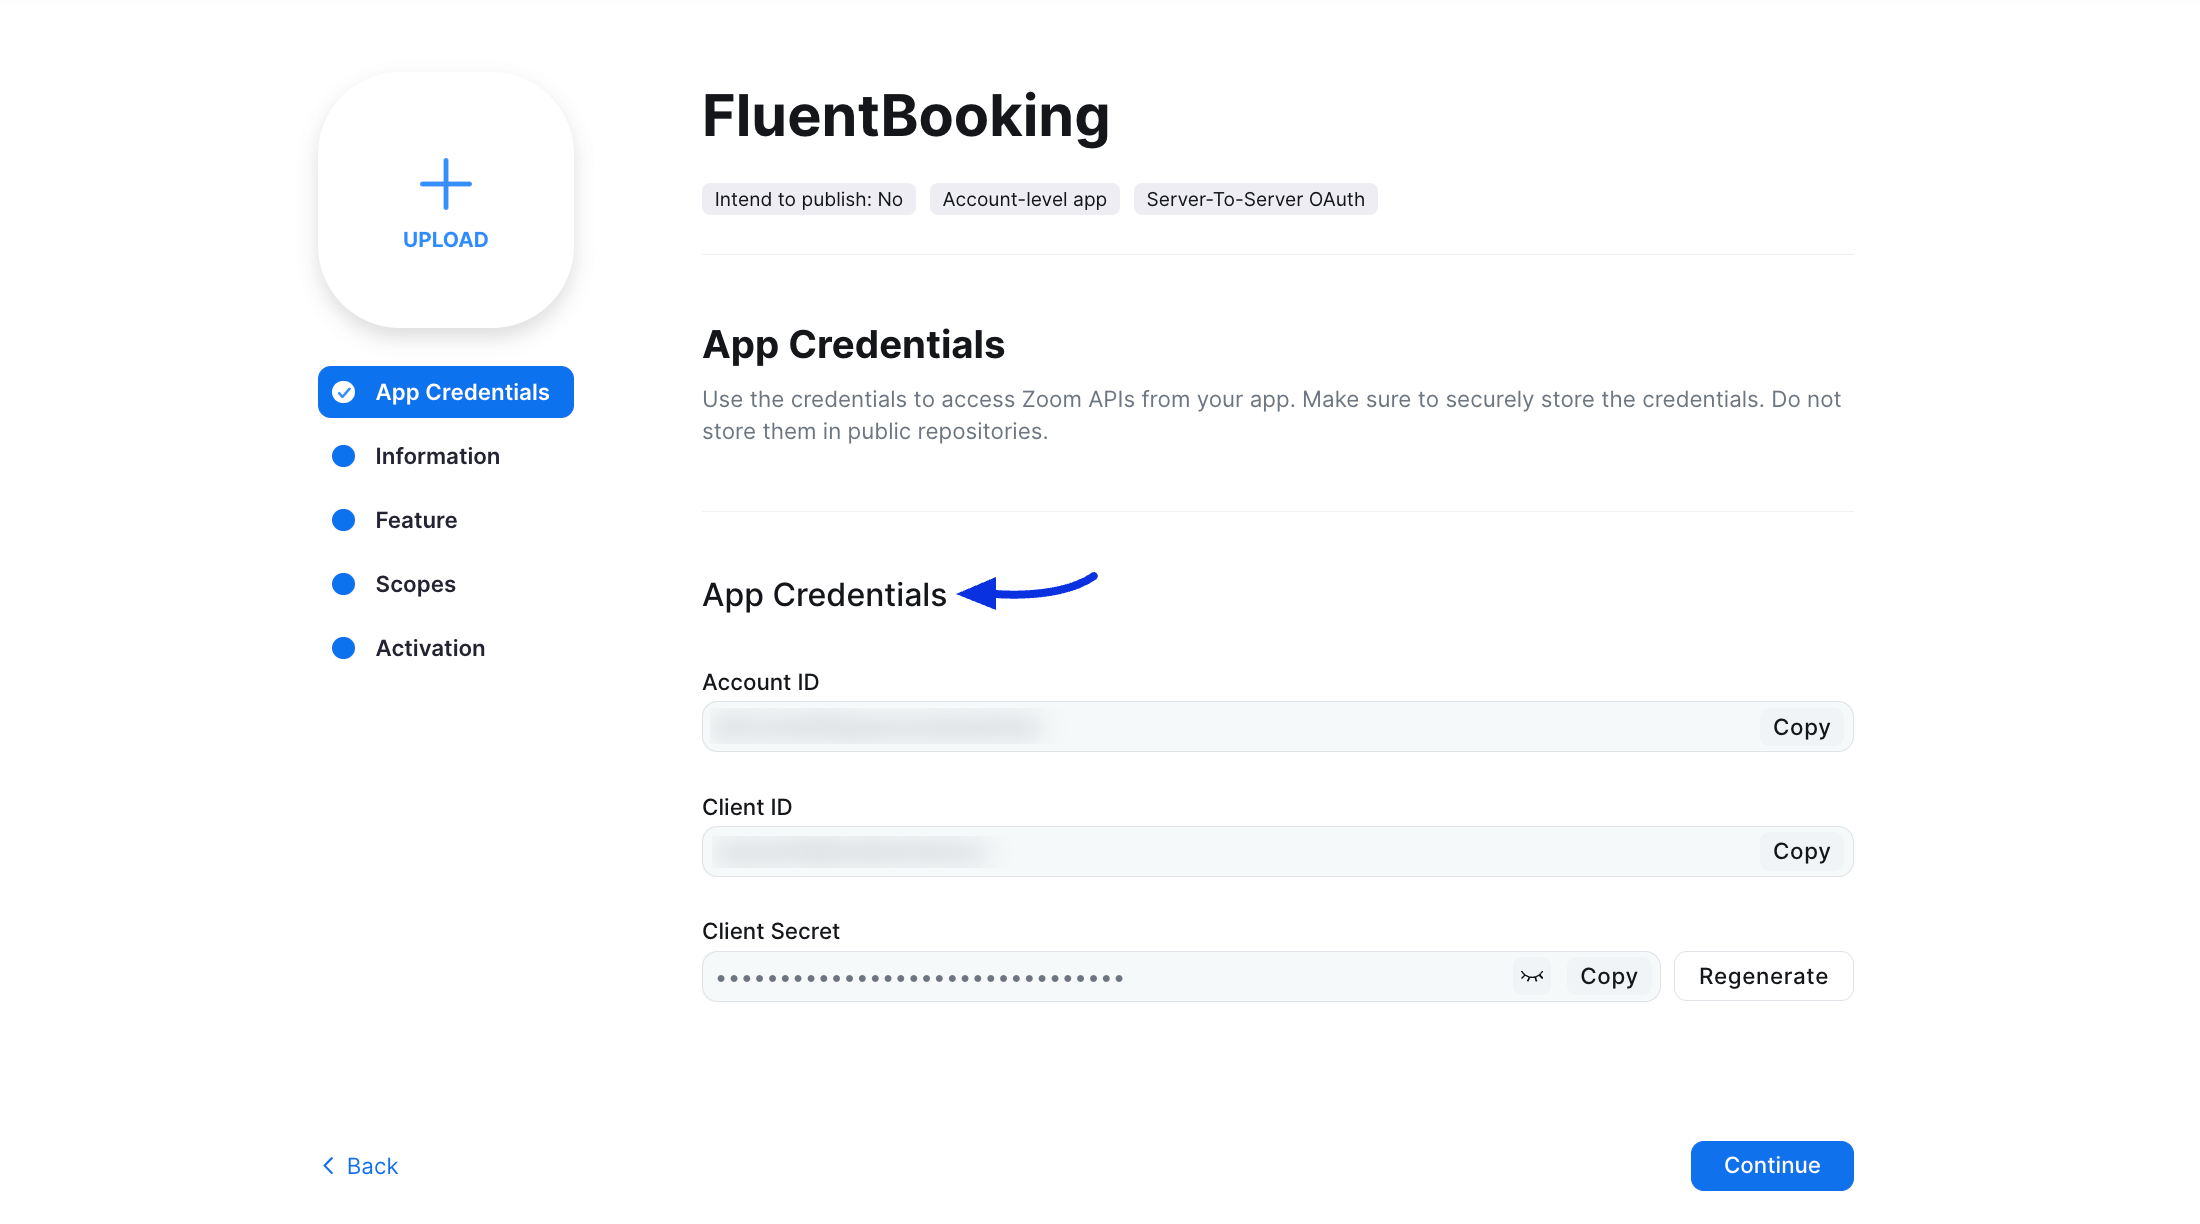
Copy/paste the Account ID, Client ID and Client Secret to a safe place - we'll need this soon.
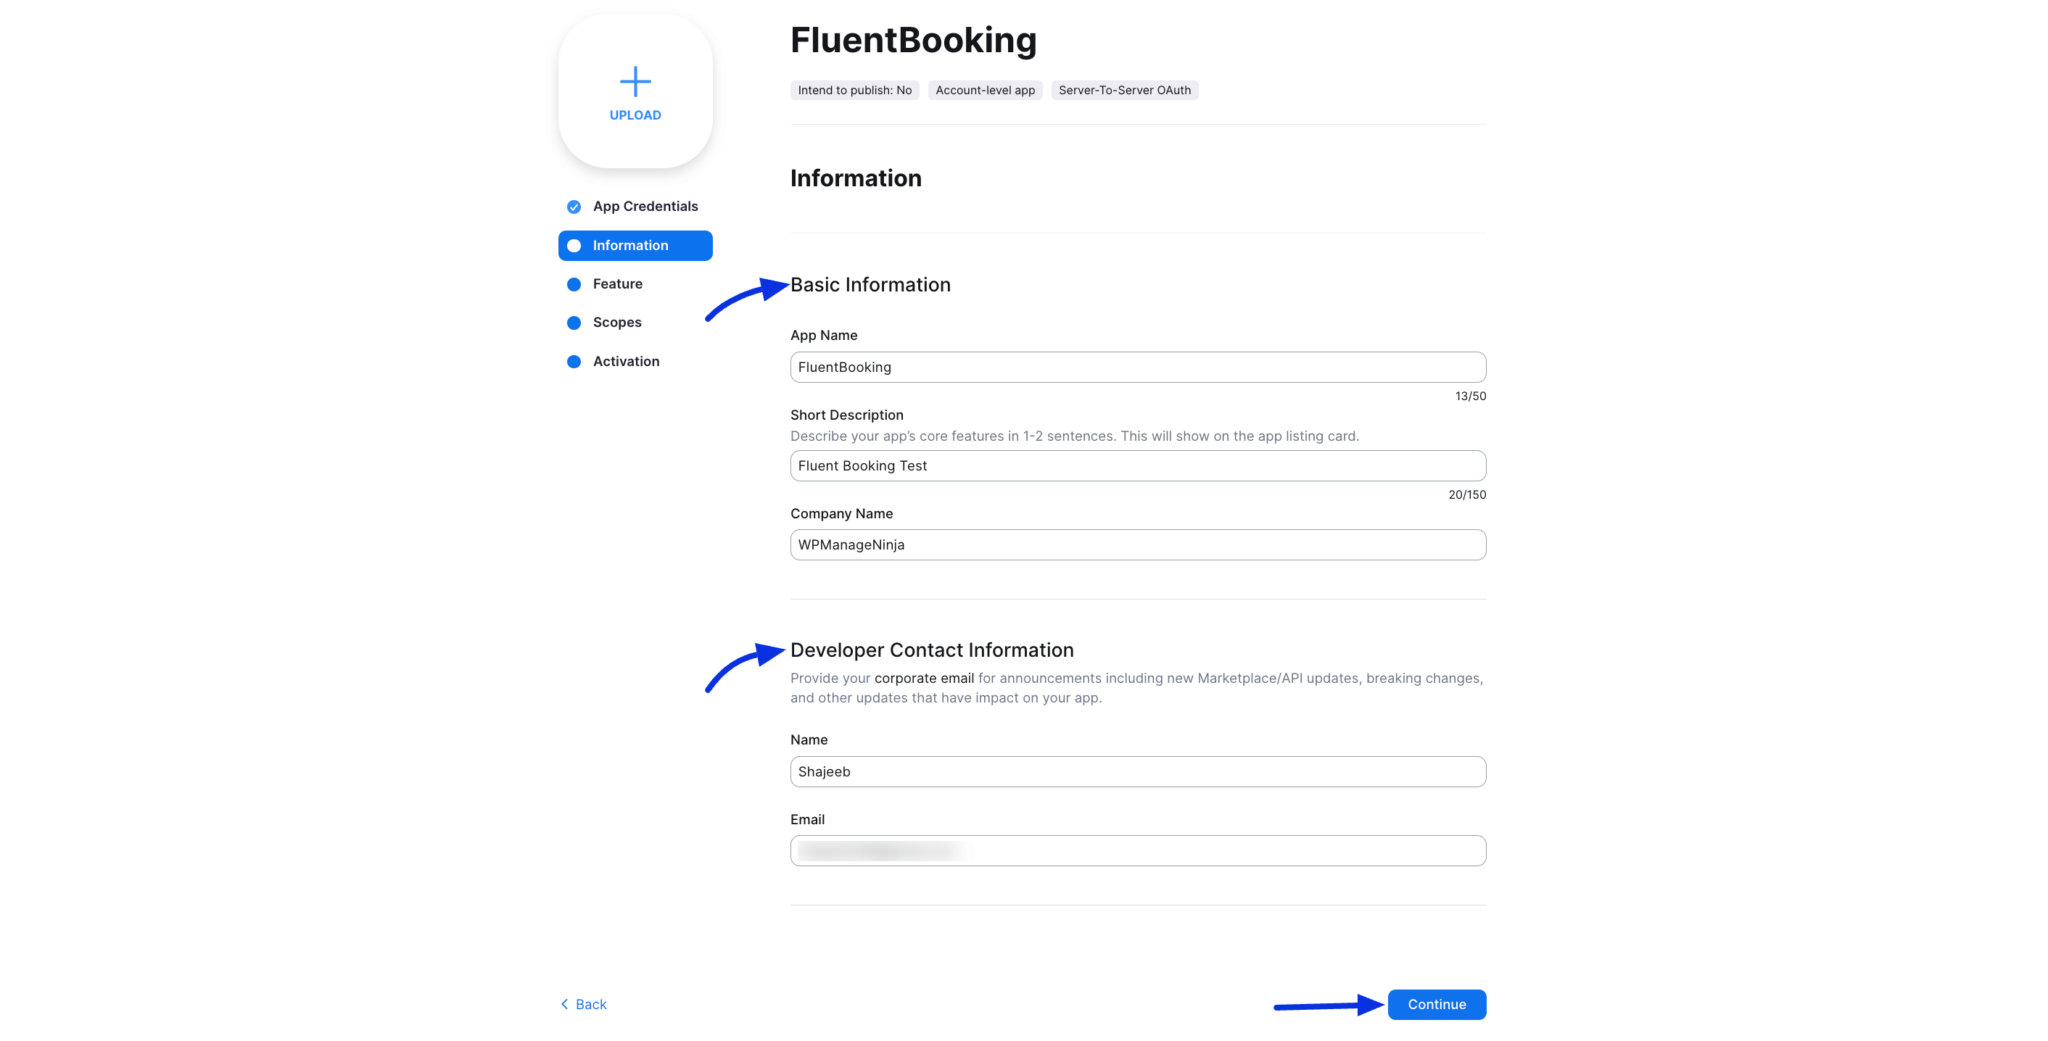
On the Information page, there are some mandatory fields: App Name, Short Description, Company Name, and Developer Contact Information (Name, Email ). You can enter 'NurtureDash' for the Developer name and 'support@nurturedash.com' for the email - or use your own name and email. Then click 'Continue'.
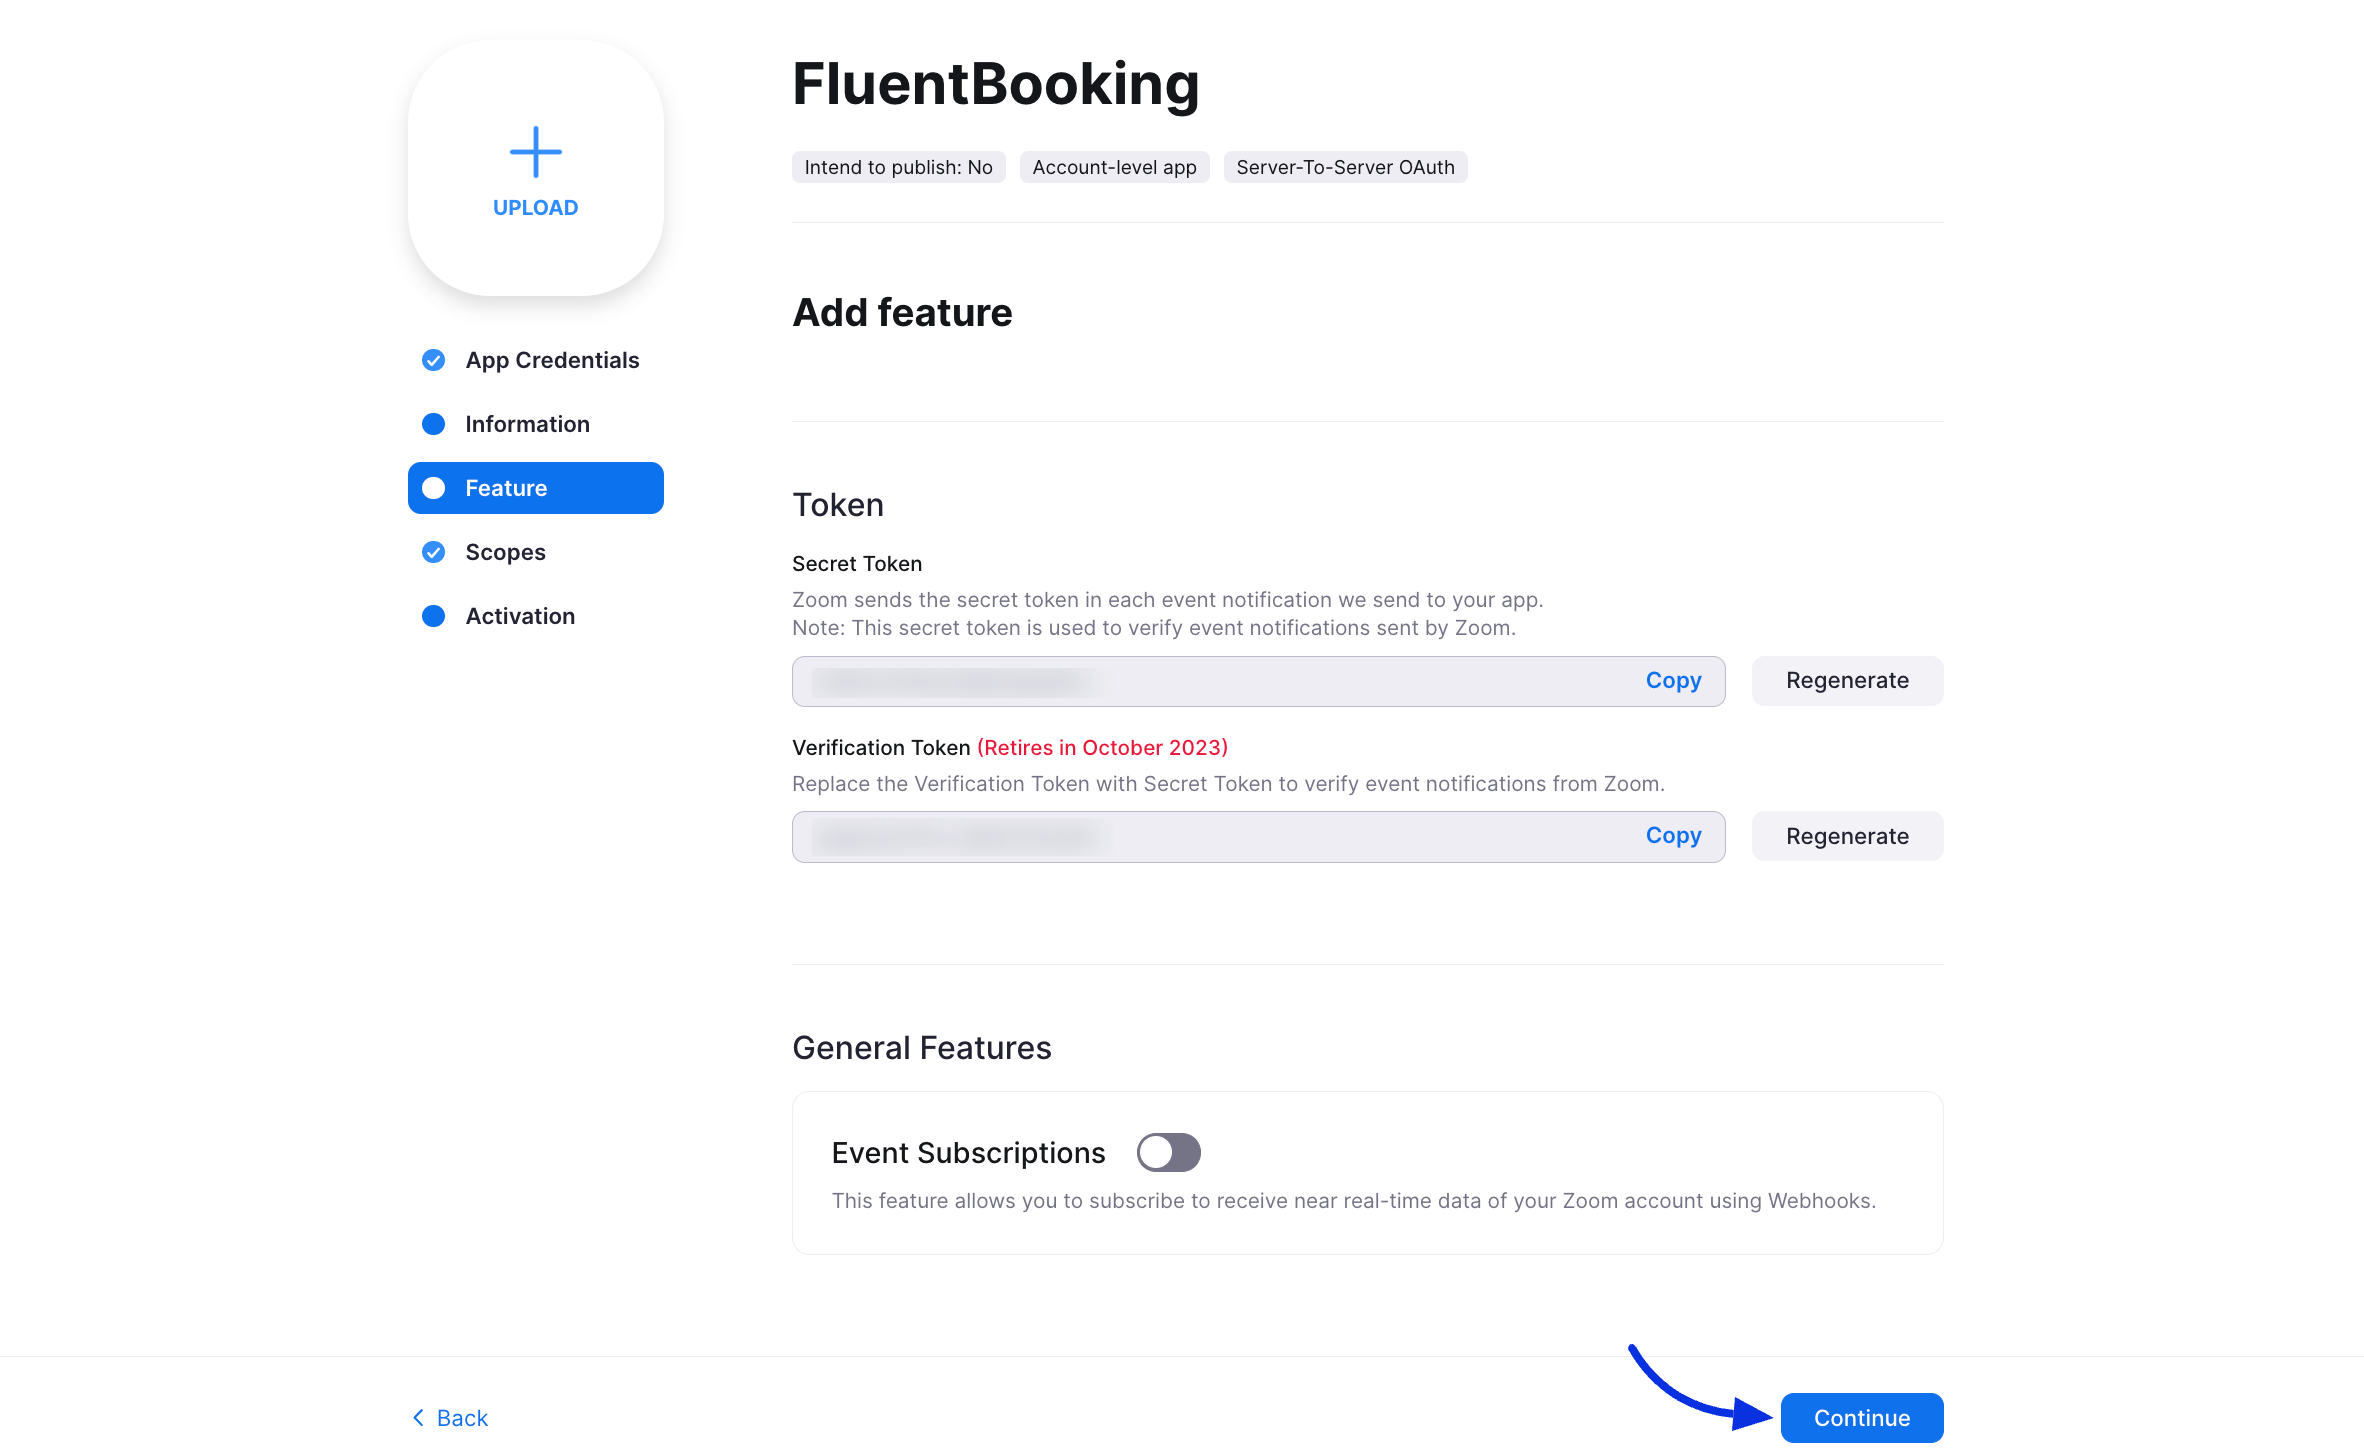
You don't need to do anything on this page except click 'Continue'
Click "Add Scopes"
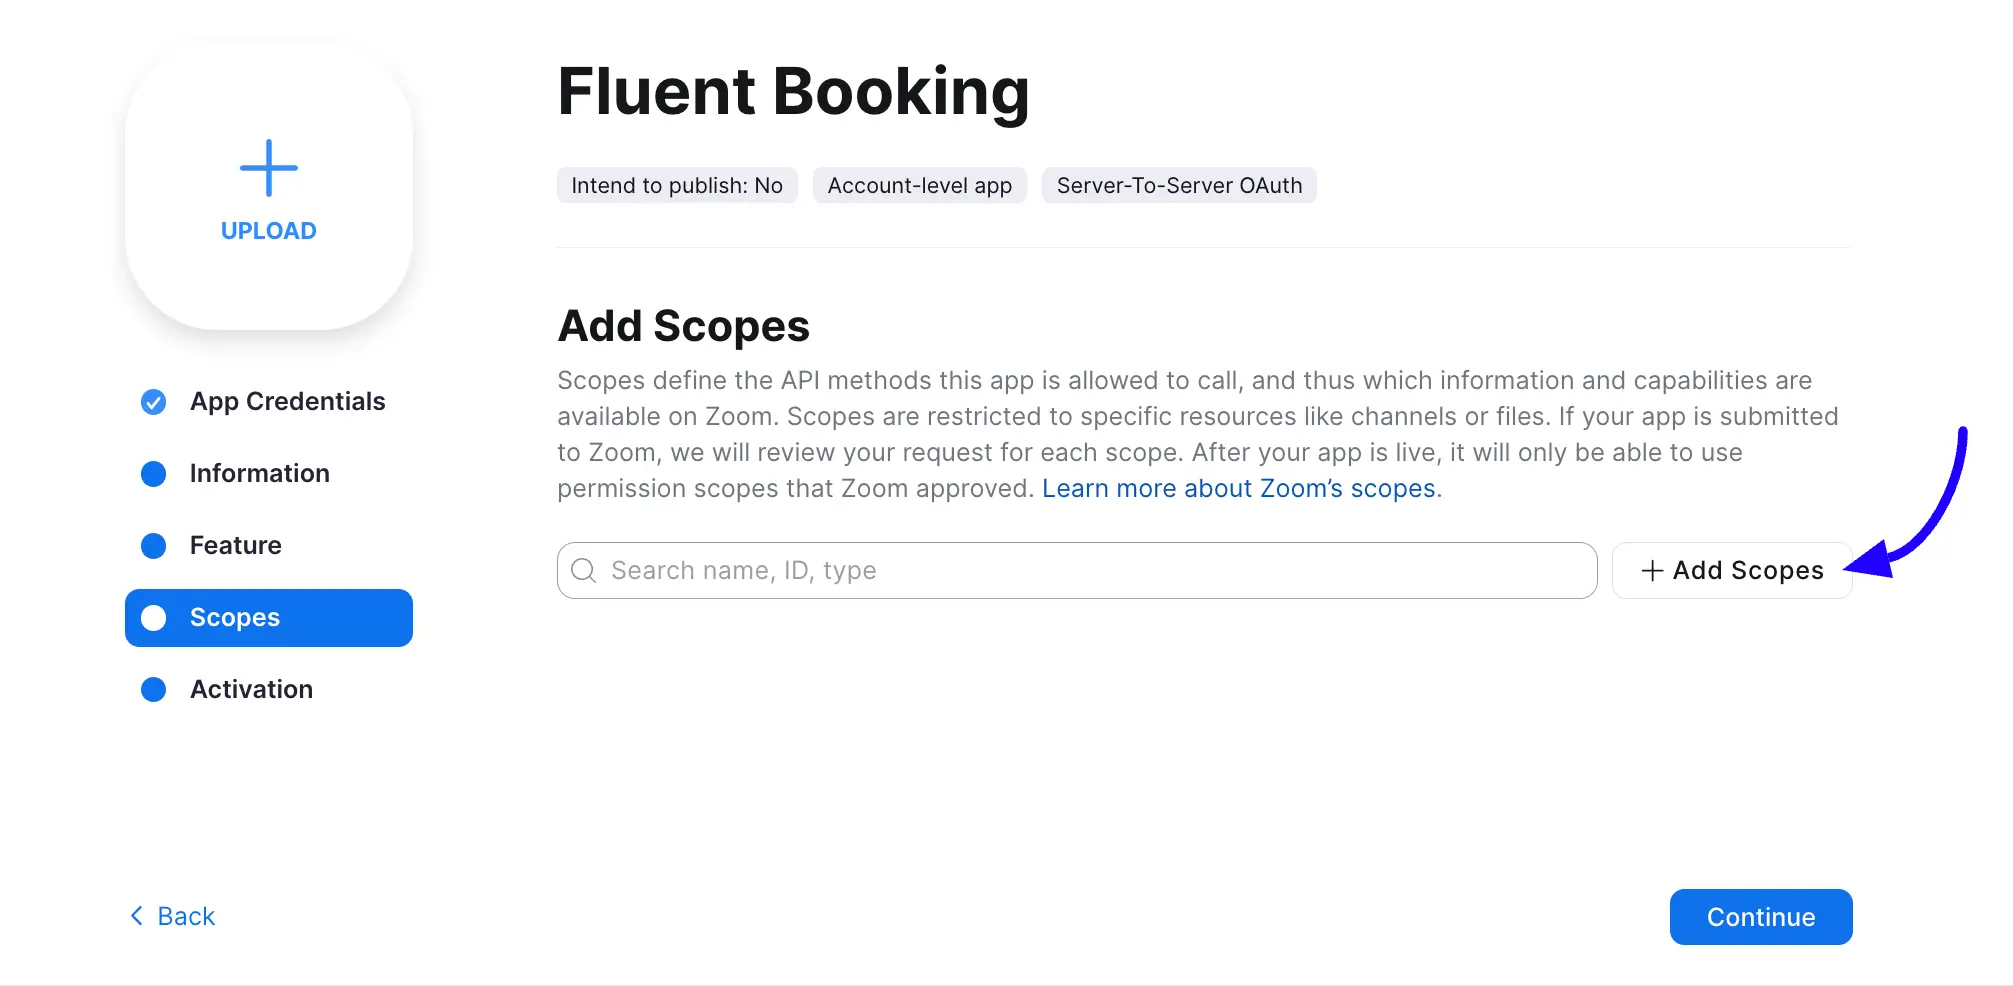
Select the following scopes from the Meeting and User Scopes then click on the Done button and continue:
From Meeting go to View and manage all user meetings and select ‘Create a meeting for a user (meeting:write:meeting:admin)’.

From User go to View all User information then select ‘View a user (user:read:user:admin)’.

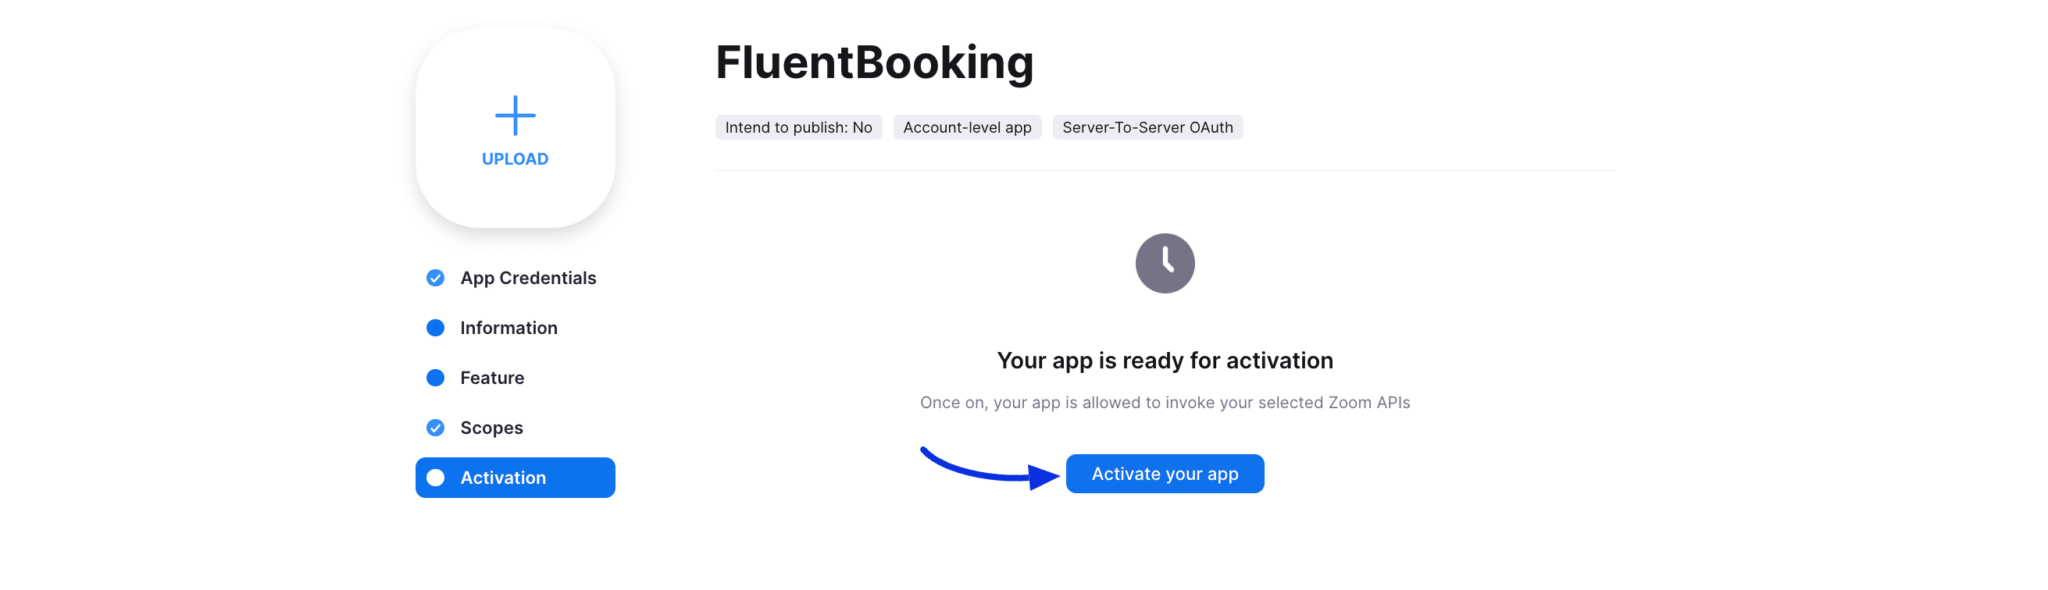
Now click the "Activate your app" button.
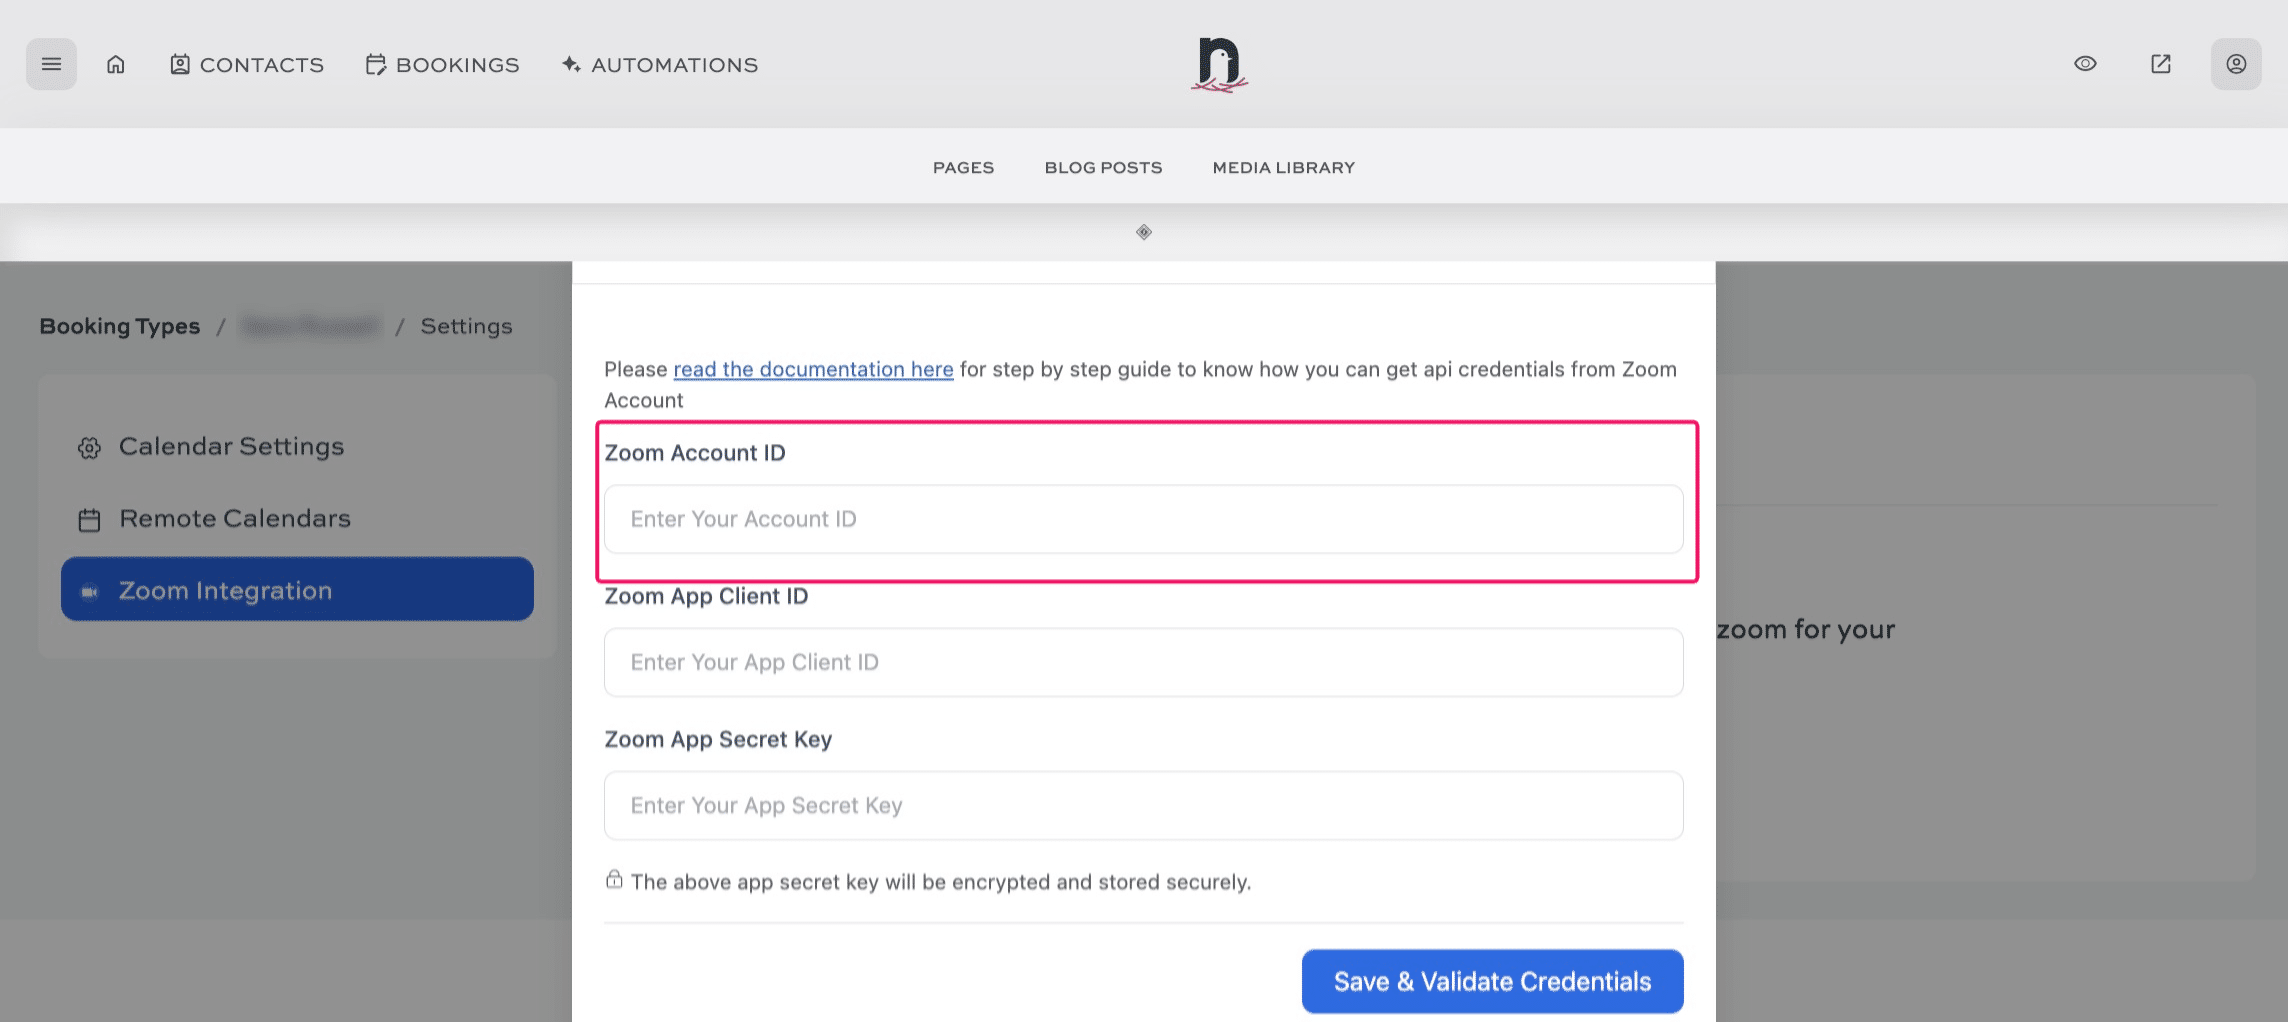
Now we need to head back to our website dashboard where we left off before, and enter your Zoom Account ID in the pop-up box.
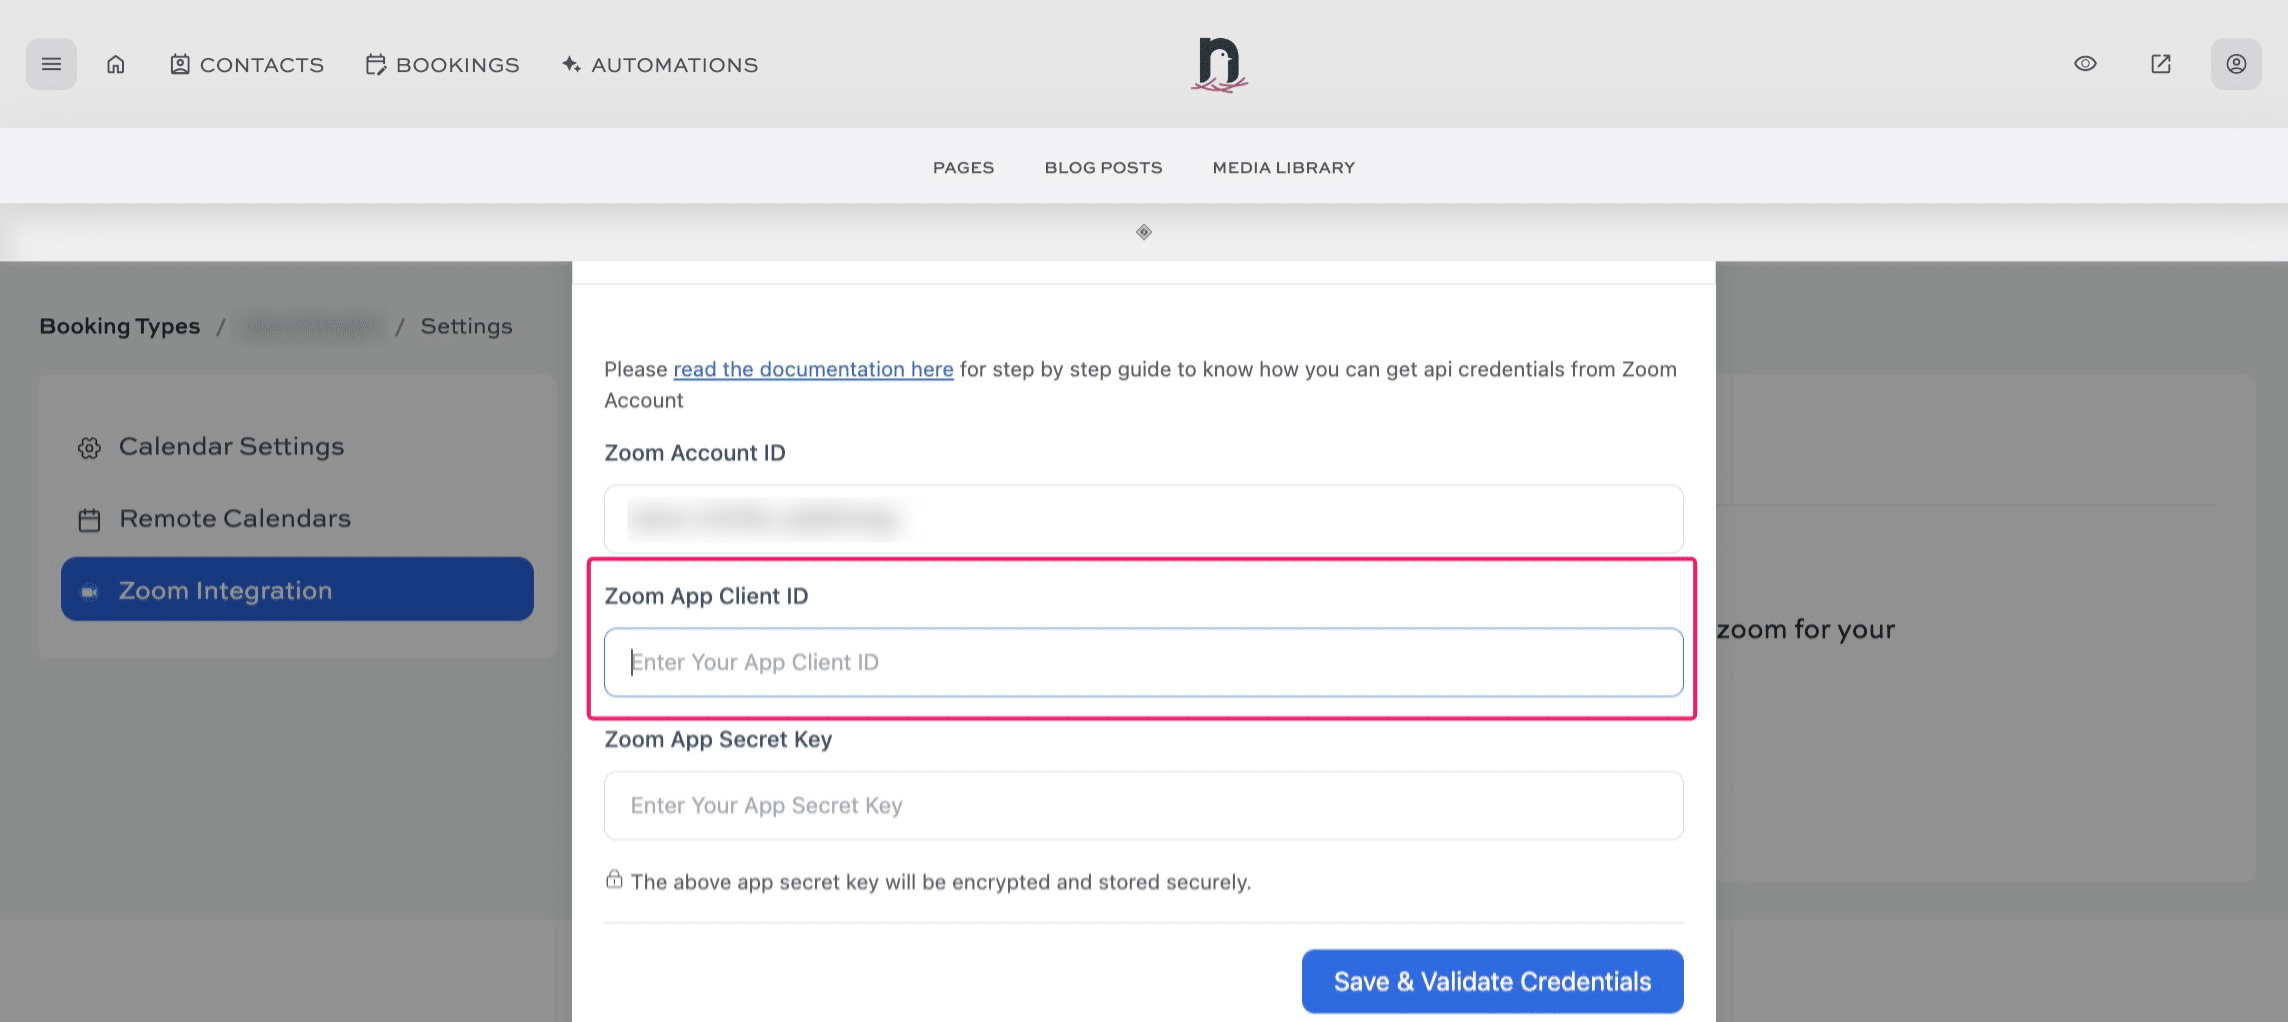
Enter your Zoom App Client ID
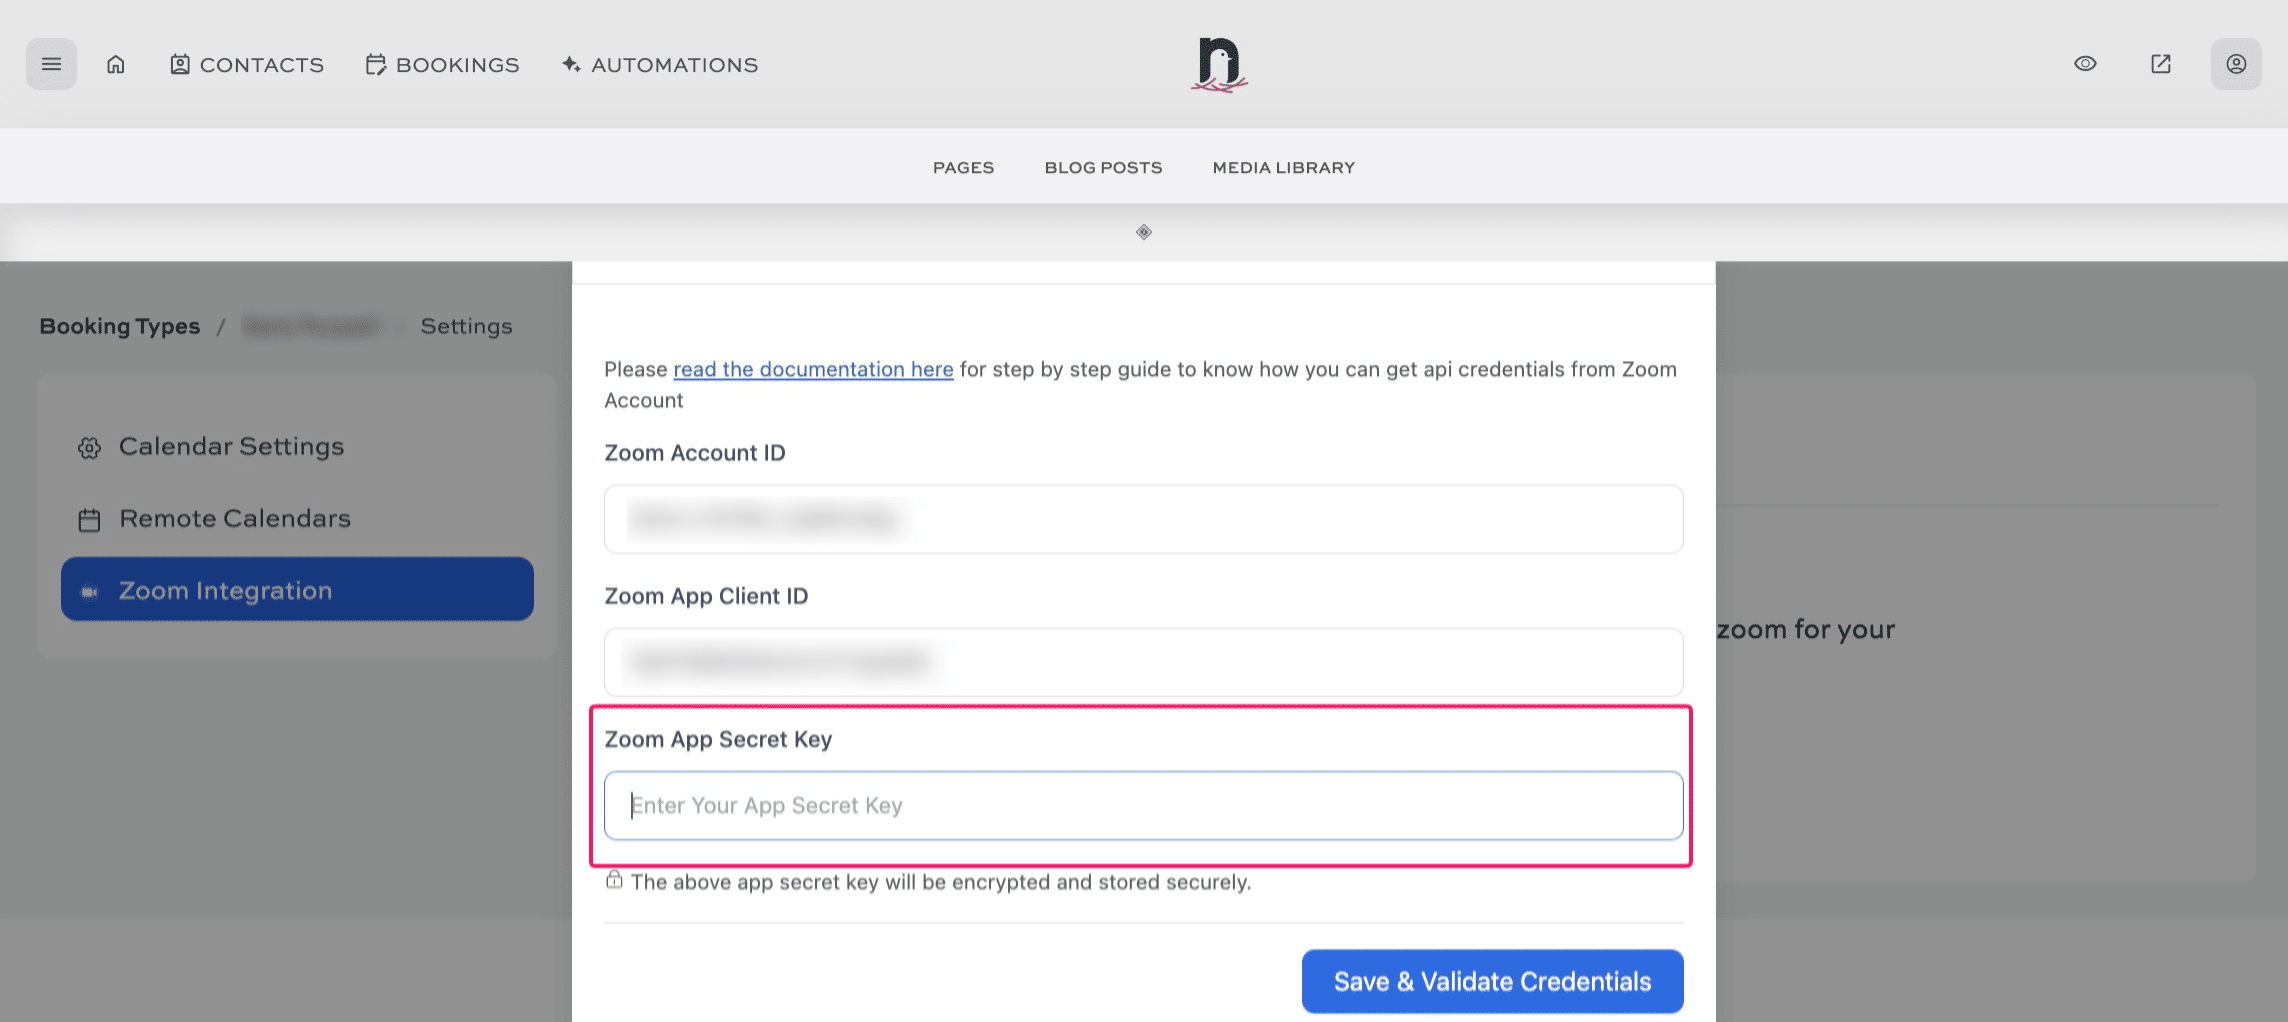
Enter your Zoom App Secret Key
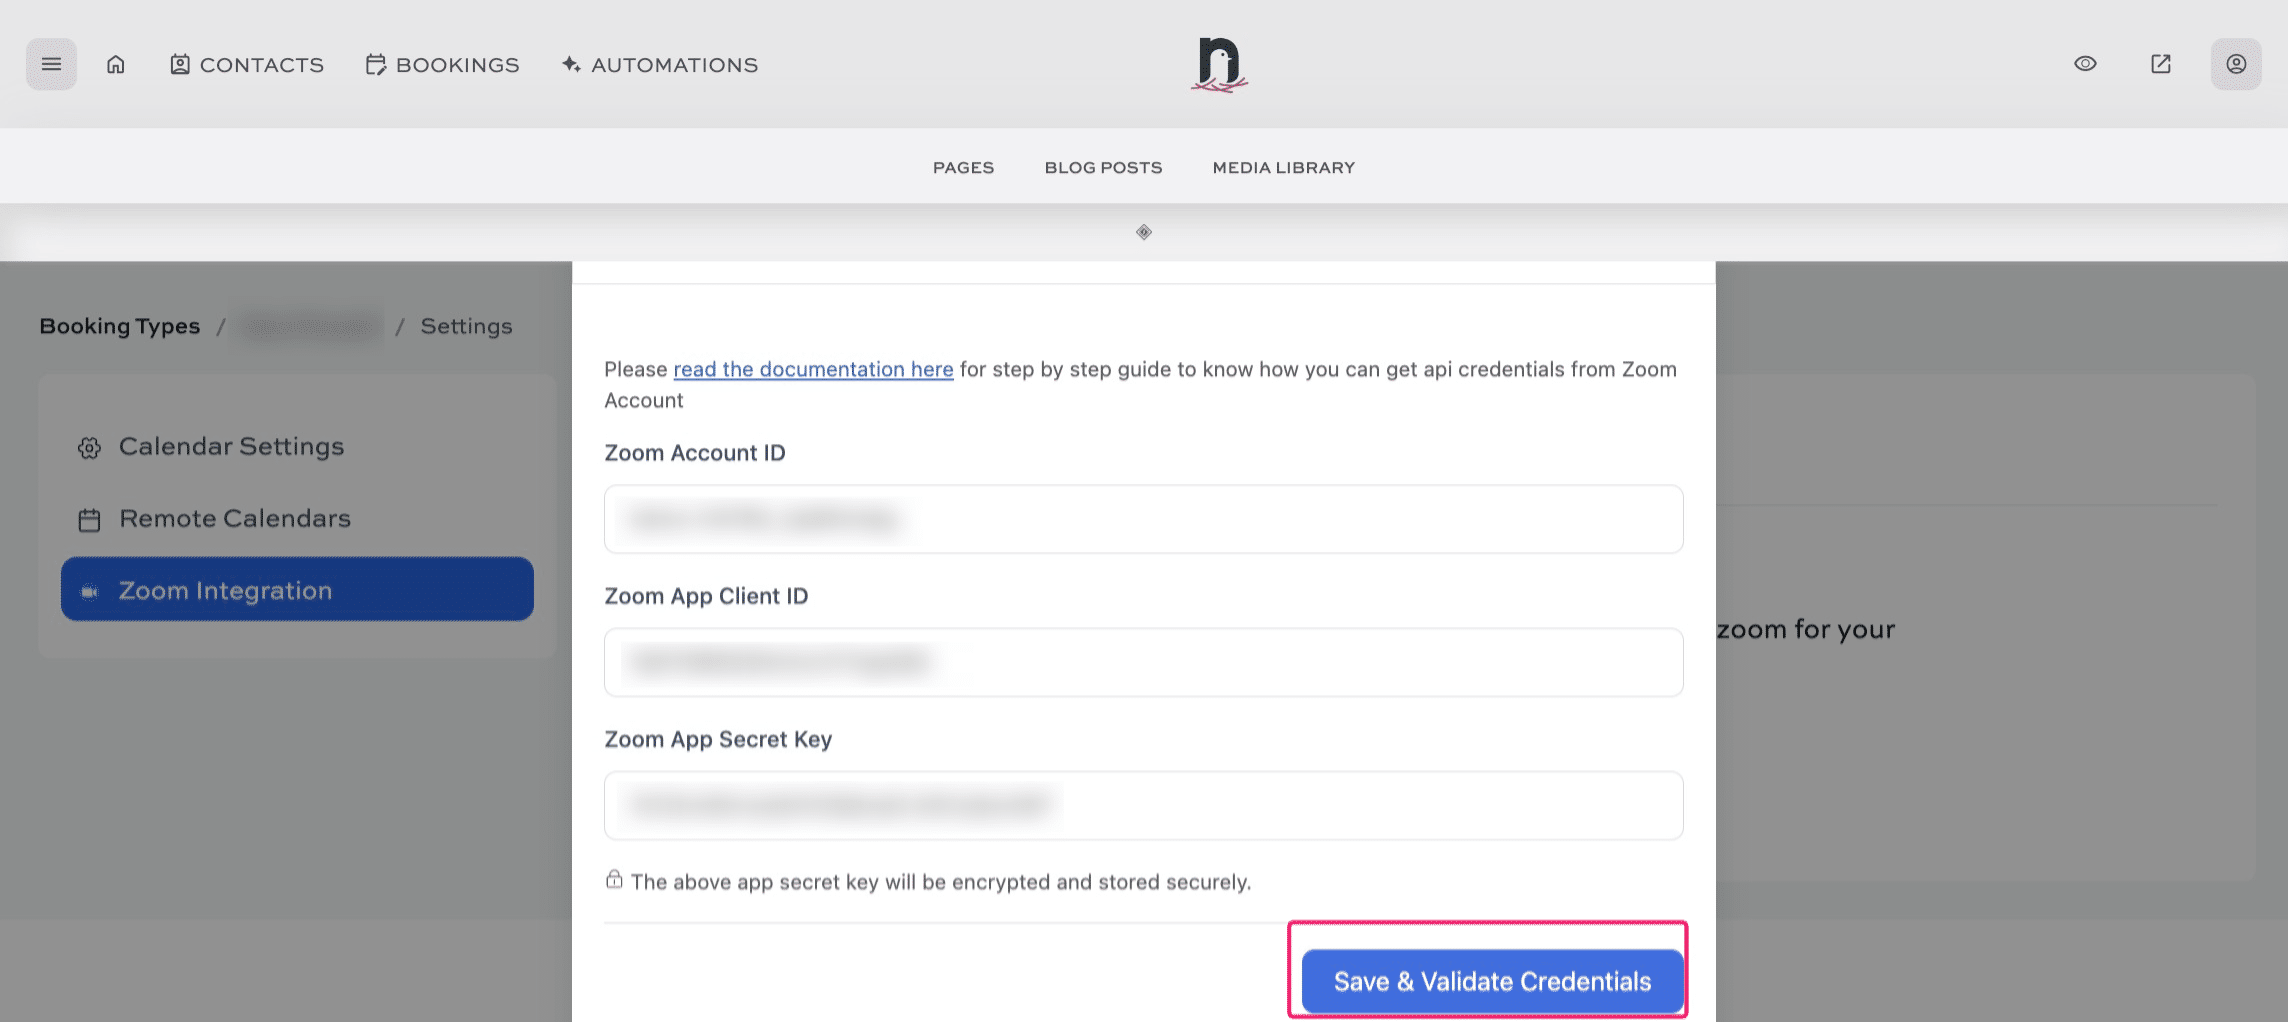
Add your Zoom Account ID, App Client ID, and App Secret Key to the pop-up form, then click on "Save & Validate Credentials"
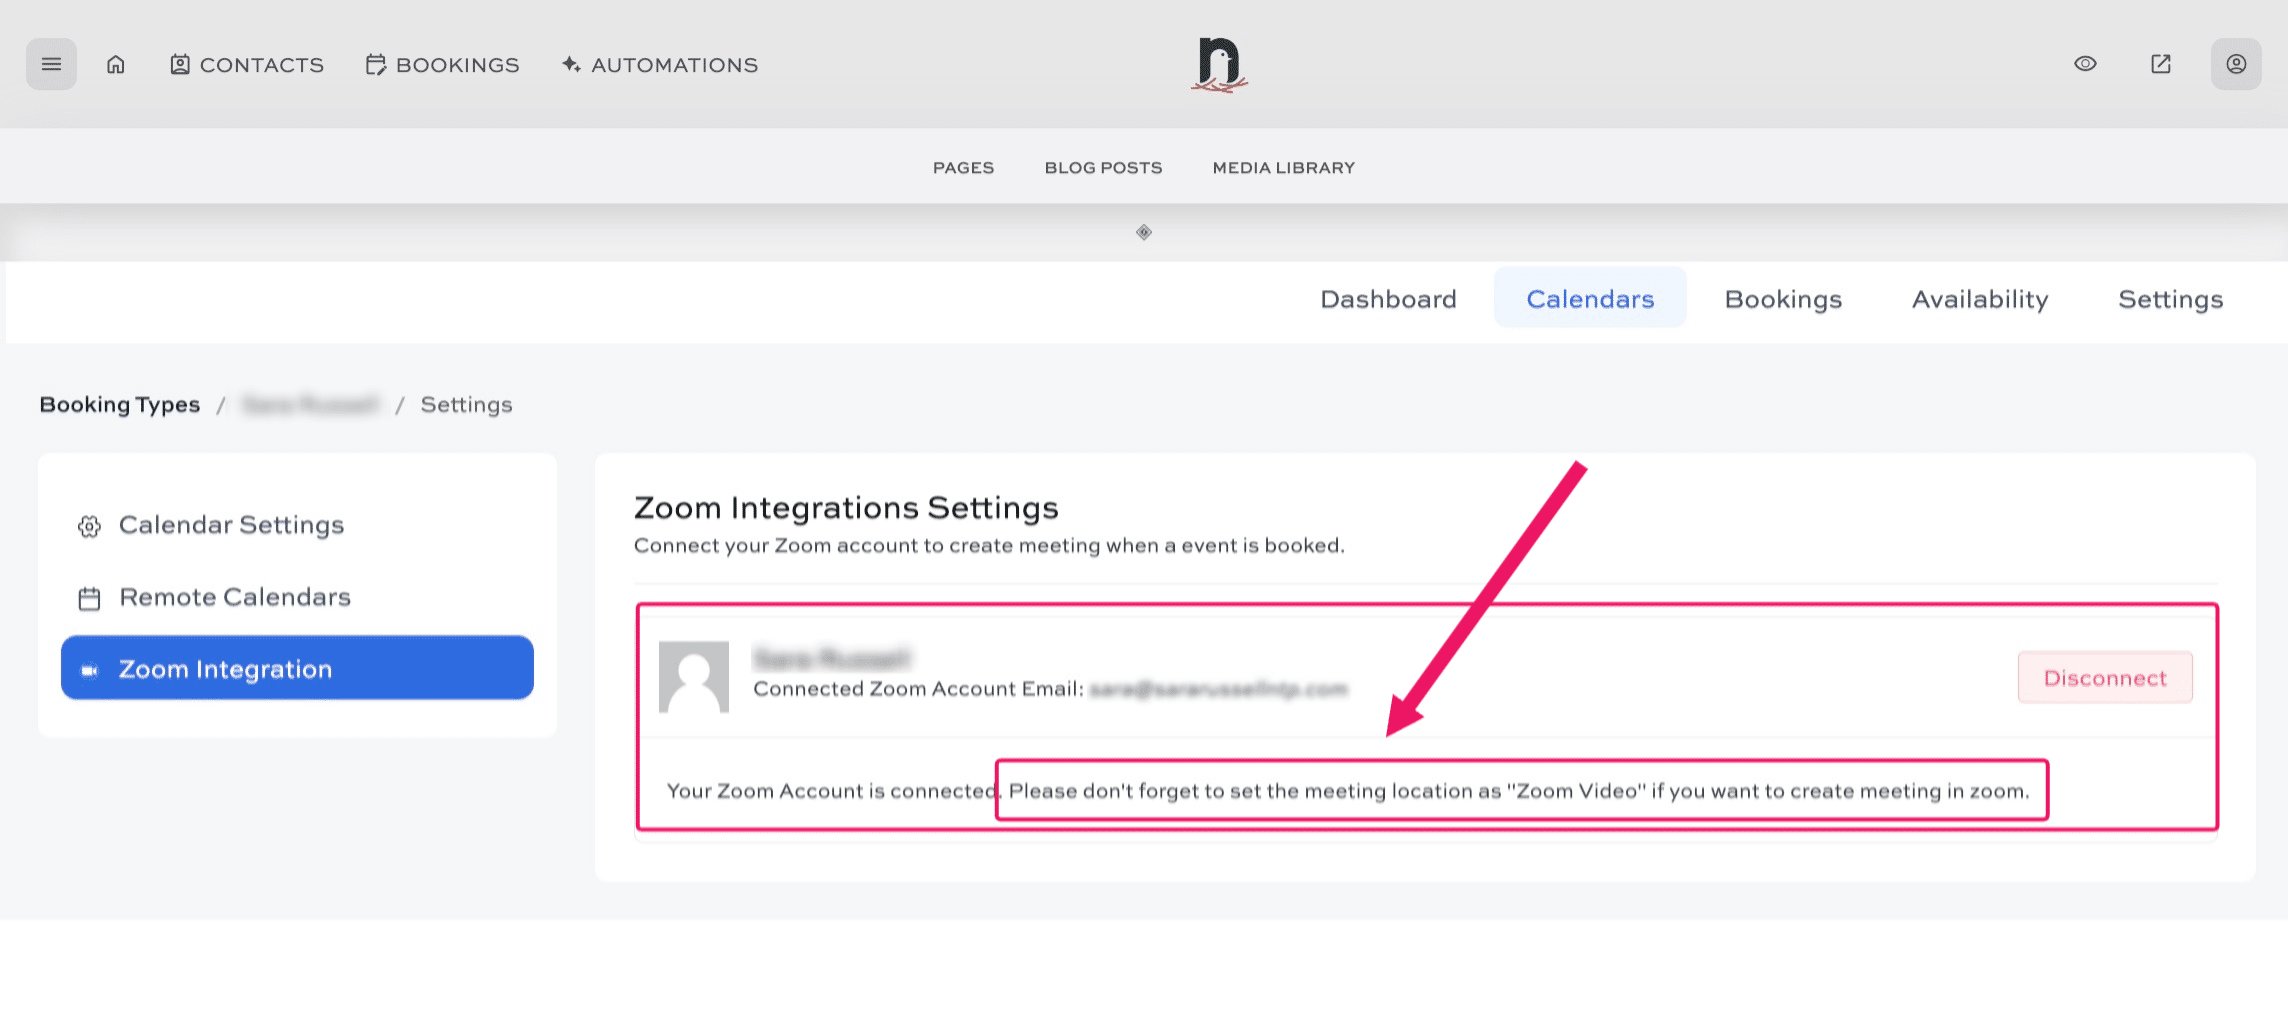
Done 🚀